Blade Edge

Computer software | Video production | My life in general

Blade Edge main header

Range Report

July 21st, 2013 · Personal

We had a massive heatwave this past week and it broke on Saturday. I got my license back on Friday so decided to celebrate with a trip to the range. I was accompanied by my stunt buddy Bobby and his wife Ewelina (both pictured above). While the heat was only in the 80’s there was on occasional cloud cover and as fate would have it this was the first time they assigned me a booth outside of the covered area. I figured it was because I told them I would have 2-3 people accompanying me and there was more room out there. I was tempted to ask them to change it but just sucked it up. You can see how my pad is sitting out there in the sun – and the air inside it gradually got so hot I had to lay a towel down under my bare arms because I thought they would get burnt.

Bobby and Ewelina mainly shot with Bobby’s pistols, a .22 Ruger semi-auto and a .22 revolver at clay targets they had set up on the ground 25 yards out. I started with my AR15 at 50 yards with the 1-6x scope, checked to make sure it was still sighted in properly and then proceeded to demolish 5 of 9 clay pigeons I had set up. I left the last 4 for Bobby and Ewelina to take care of. Next firing session I moved the target and clays back to 100 yards and attached the 6-24x scope. Again used the target to make sure I was still sighted in properly and then began taking out clays, leaving the last few for my friends. Ewelina hadn’t shot prone with a rifle before through a scope but she still managed to hit clays at both 50 and 100 yards.

Next I set up the CZ .22, still at 100 yards and used my dope from the last range trip to check my shot grouping on the target. I didn’t see any holes after shooting so tried again, aiming higher up on the target board and finally saw some holes way down towards the bottom. I had remembered backwards (I’ve since gone back and corrected what I wrote in my previous range report to hopefully avoid future confusion). Once I corrected my hold it was easy pickings. I love, love the trigger pull on my .22 and have to add to my AR15 ToDo list getting a trigger like that – the break on my AR trigger is really abrupt while the .22 rifle is a smooth pull all the way back. Once we cleared out the clays at 100 yards the next fire session I had them moved back to 50 yards. This close it’s like taking candy from a baby so the challenge I like to set for myself is shooting out just the center of the clay pigeon. You can do this purposefully if you nail one or two shots right in the center, so it’s a good test of marksmanship. For two of the clays I put a hole dead center, then had to shoot again to actually pop out the middle. Afterwards you can continue to test your aim by picking away at the outer clay ring.

Hopefully a better trigger will help my aim with the AR – I really don’t like how it breaks I feel like I’m jerking it almost every single time. Below are the targets for my 3-shot groupings at 50 yards and then 100 yards. I wouldn’t really call them groupings tho, heh heh. You can see both times I nailed a good shot, had an okay shot and had a bad shot. That’s about how it is for me in general, 1 out of 3 shots is dead-on. At 50 yards I would have hit a clay pigeon all three times, at 100 yards I would have missed once. Not too bad, but I know I can do better.


Going 50 to 100 on the AR and 100 to 50 on the CZ worked perfect for the two hours that we had to spend at the range that day, something to keep in mind for future group trips or trips where I only have two hours to spend myself. I still have a box of .22, and around 200 rounds of 5.56 and just over 100 of .223 – Dick’s made their ammo purchase policy even stricter by allowing you to only walk out with a single box of .22, .223, 9mm or 5.56 (more calibers too, but in this case the only ones I care about). The upside is that if you wanted to you could buy one for all 4 calibers, so in a sense the policy is a bit more lenient than just allowing you to walk out with three boxes of anything, period. Luckily since my rifle can shoot both 5.56 and .223 that means I can get twice the ammo for it at once, and Dick’s had some 100-round boxes of American Eagle .223. Booyah.

Still have a lot of work to do with the weapons. Haven’t got around yet to having my P22 checked out at the gunsmith. I need to get a new end-piece so I can fit the longer barrel on without it sticking out looking dumb. Also still have to look into a strap for the AR and now a lighter trigger.

→ No CommentsTags:··

Three Weeks, Three Shows

July 10th, 2013 · Grucci

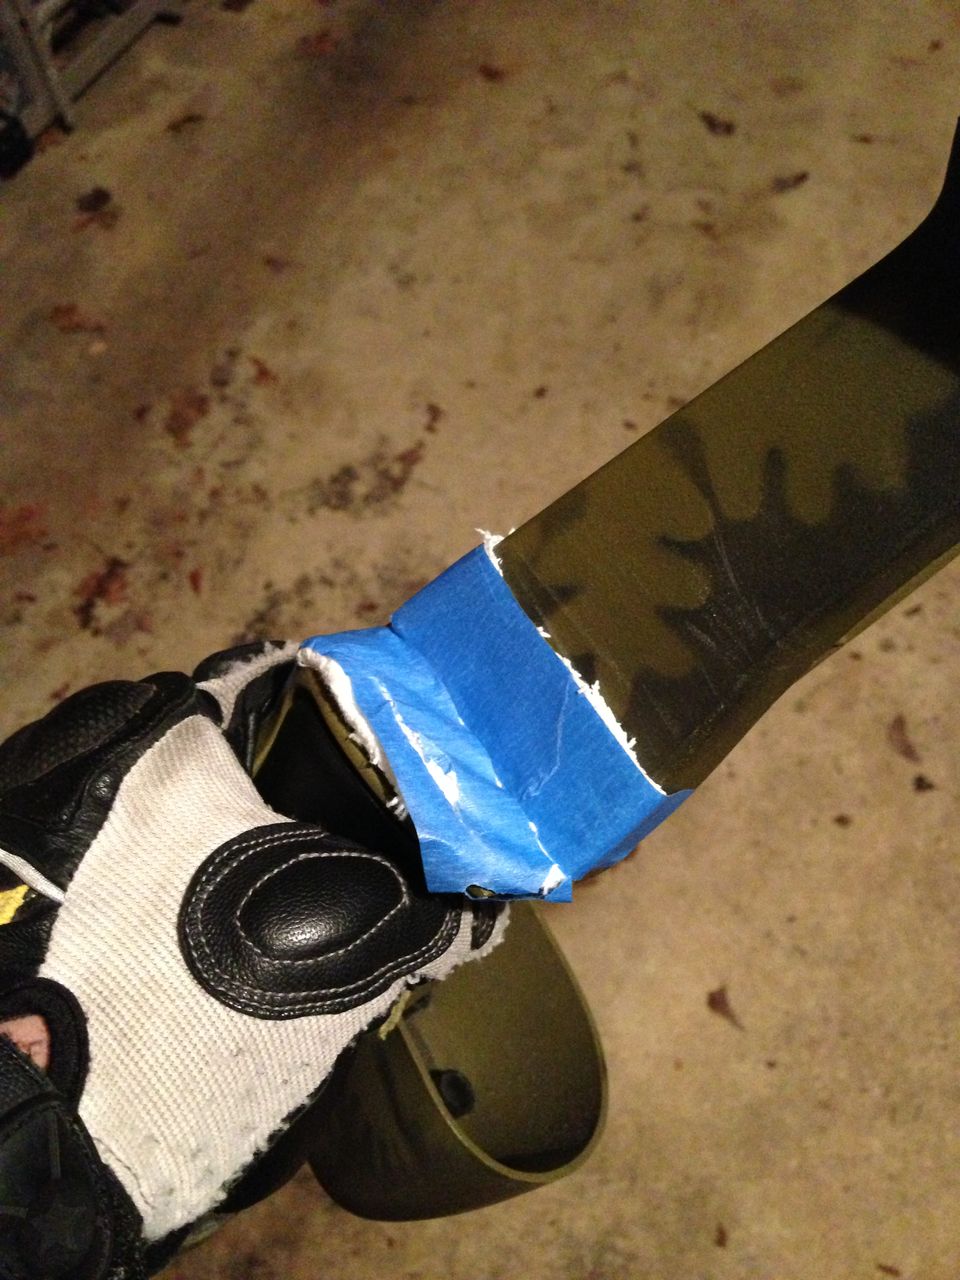
June was coming around soon and I was expecting a call from Grucci at some point for the annual Music at Moorland show they do up in Far Hills, NJ, which I worked on last year. I hadn’t done any more shows since then so I was a little rusty on my technique and procedures for many things, but at least it was a show I was familiar with so I didn’t expect any real issues – the crew on the show is real great. Surprisingly, when Grucci called they told me they had 3 shows for me practically back-to-back-to-back and that they wanted me operating the firing computers. They mentioned training and I was like “please!” since it’s been a year since I sat at backup fire control, but they never called to set up anything before my first show began. But then I realized that the shows themselves would be my training as I was on crews with very experienced computer operators and the 3 shows actually had a perfect progression for me to get re-acquainted with the system – the first show I was primary (and backup!) with show command sitting right next to me watching and guiding. The second show I was remote from command and talking on the radio with an experienced operator looking over my shoulder. The third show I was again remote but also one of four separate sites, so I was on the radio and waiting for my turn to talk to command – again with an experienced tech to watch over me.

It was a great three weeks, and fire control operations are now well-ingrained into my brain. From here on out I’m going to try and hustle a show every 2-3 months (roughly once a quarter) to maintain my current level of proficiency and add experience on top of it. Doing this many shows this close was necessary this time but it’s really thrown a wrench into all the other things I have going on (coaching, GameDev.net, airport design, etc) so I need to keep it spaced out more moving forward, even if that means saying “no” to some shows they call me for.

Anyways, I’ve been waiting until all three were over to write about them, so here they are.

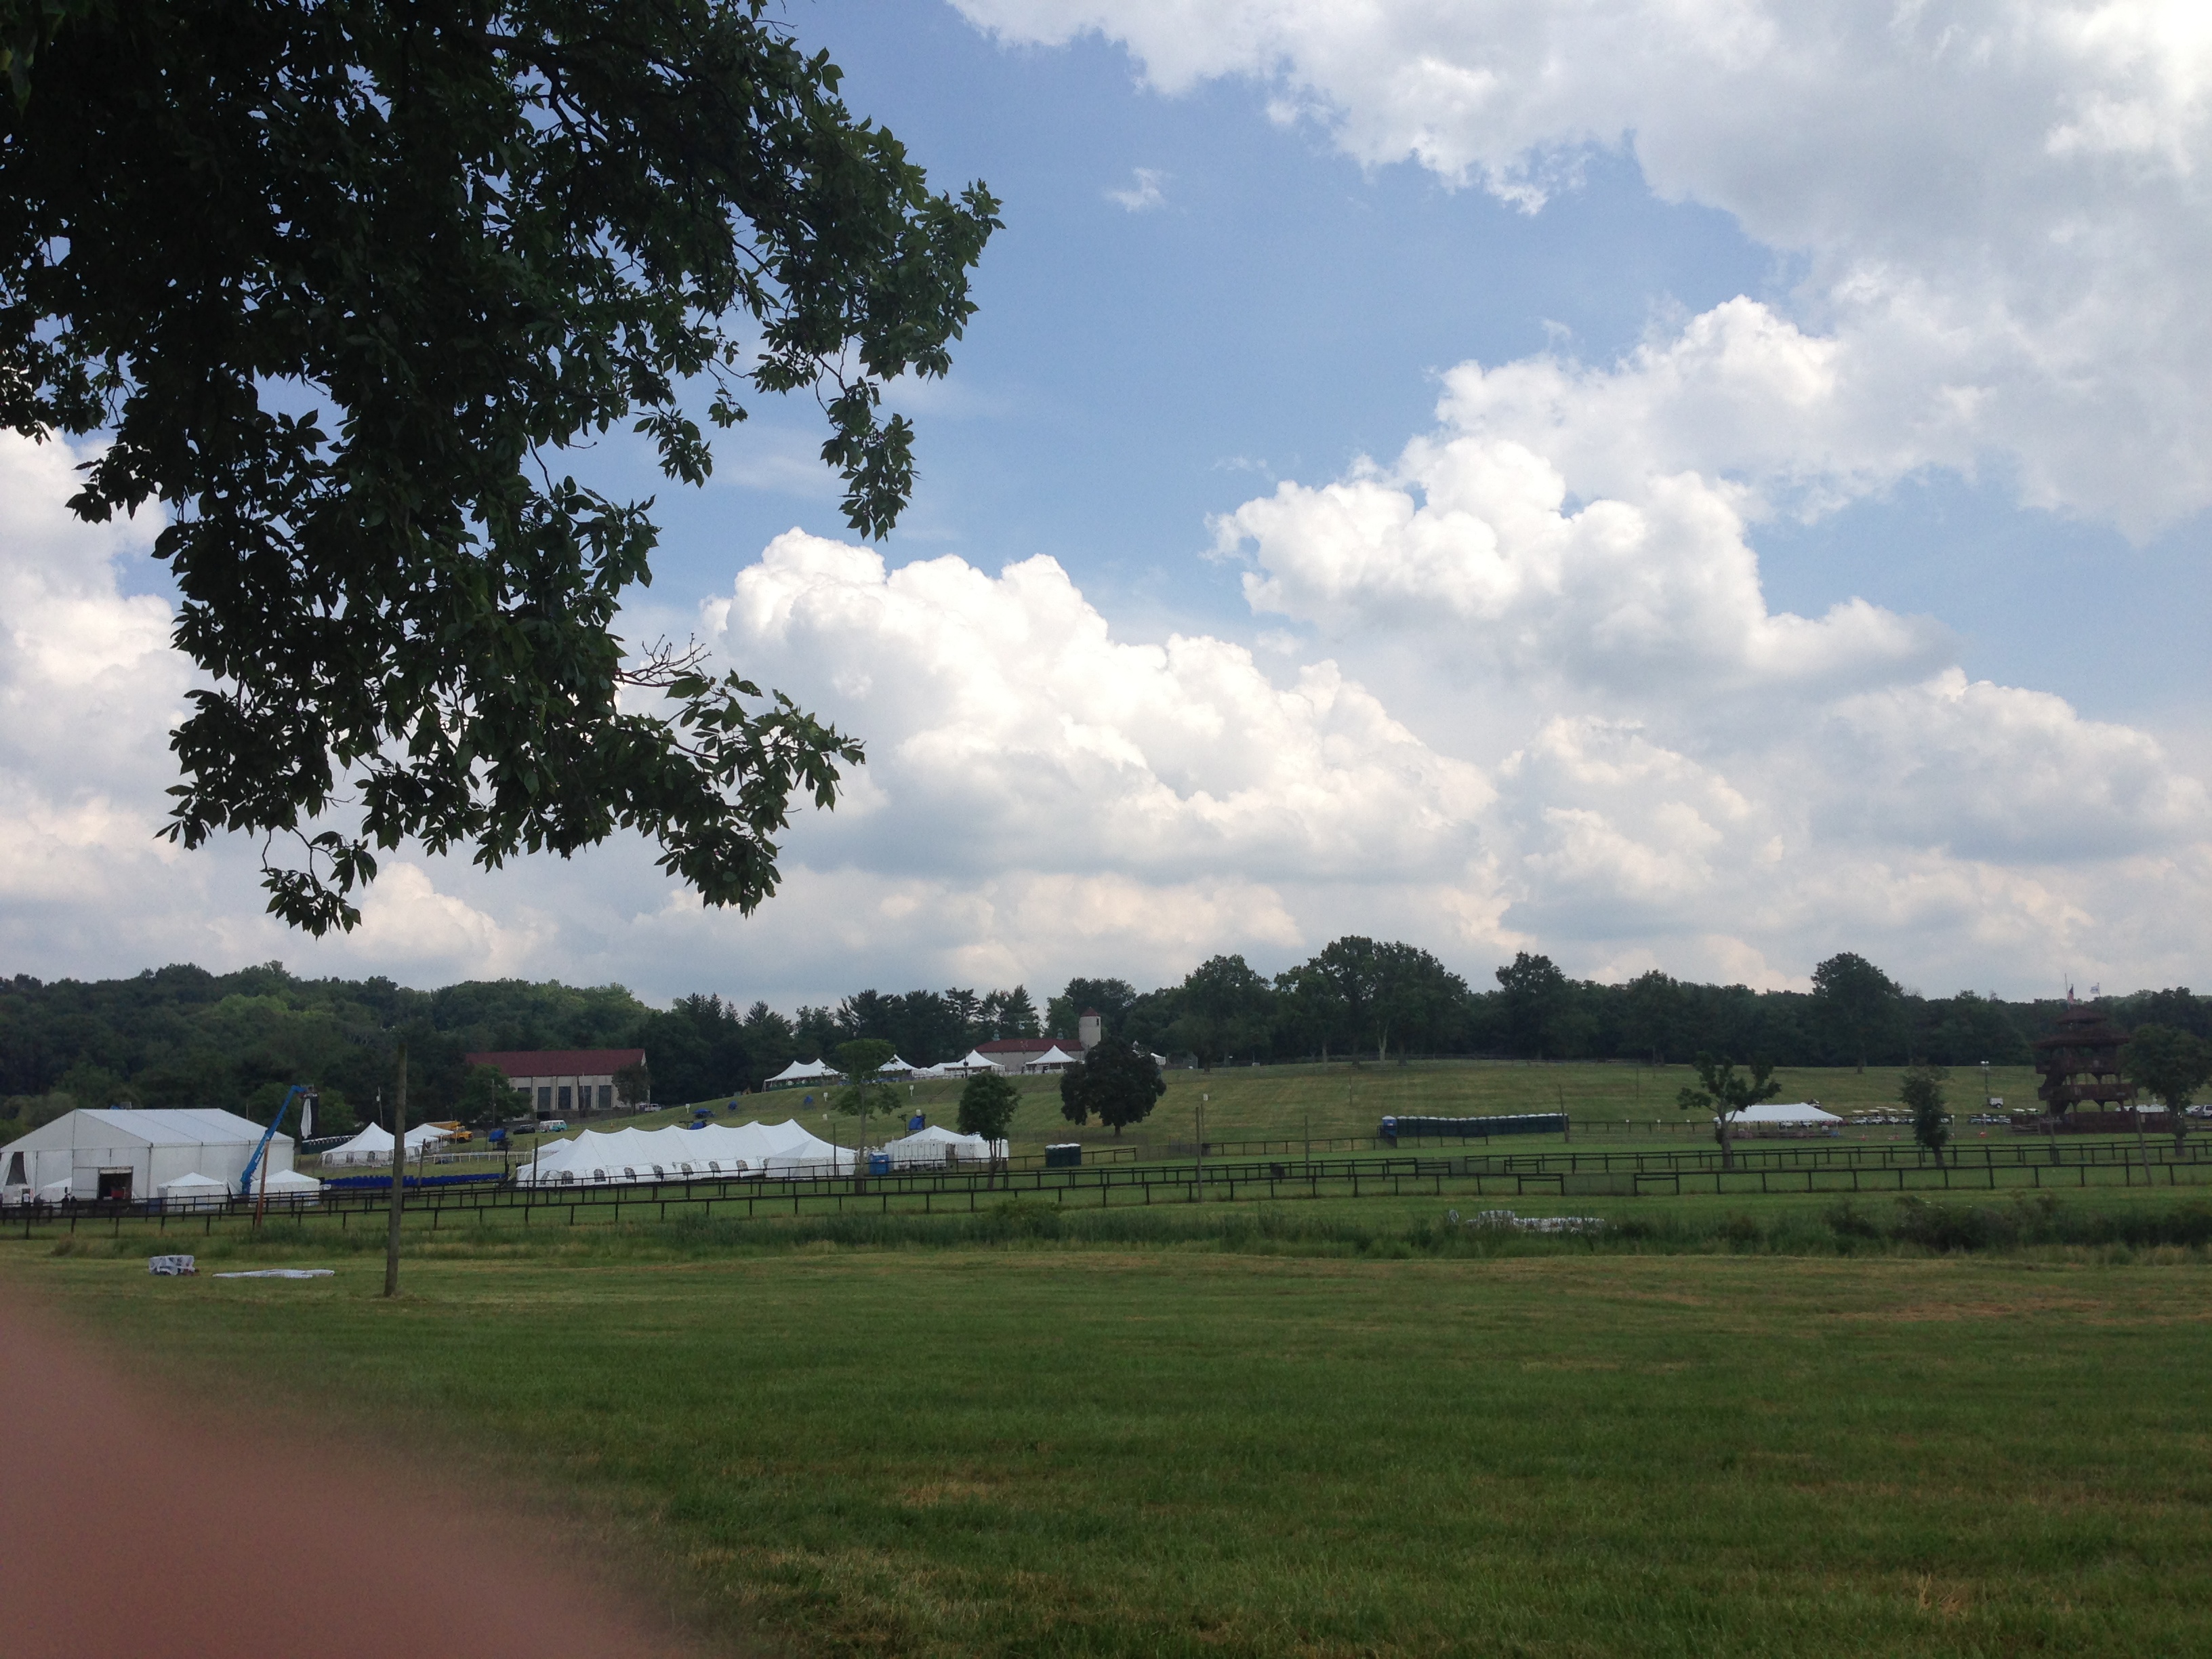
Hagley Museum (Wilmington, DE) – 6/19 to 6/22

This was a 4-day show roughly 2.5 hours drive from my house, so it was down for all 4 days and then back up rather than commuting back and forth like I do with Far Hills. The show actually spans 2 weeks, with two firings and I was on the second one so all the mortars and set piece scaffolding and everything was already in place, we just had to re-load the product and put up the new set pieces. Temperature-wise we lucked out a bit since the mercury had just fallen a bit from the high 80’s and was only climbing to about 80°F each day we were there, with partly cloudy skies that sometimes covered up the sun, but never for long. What really helped though was this huge tree (oak?) we parked under that kept our cars and equipment in the shade pretty much all day until the sun was too low to really matter.


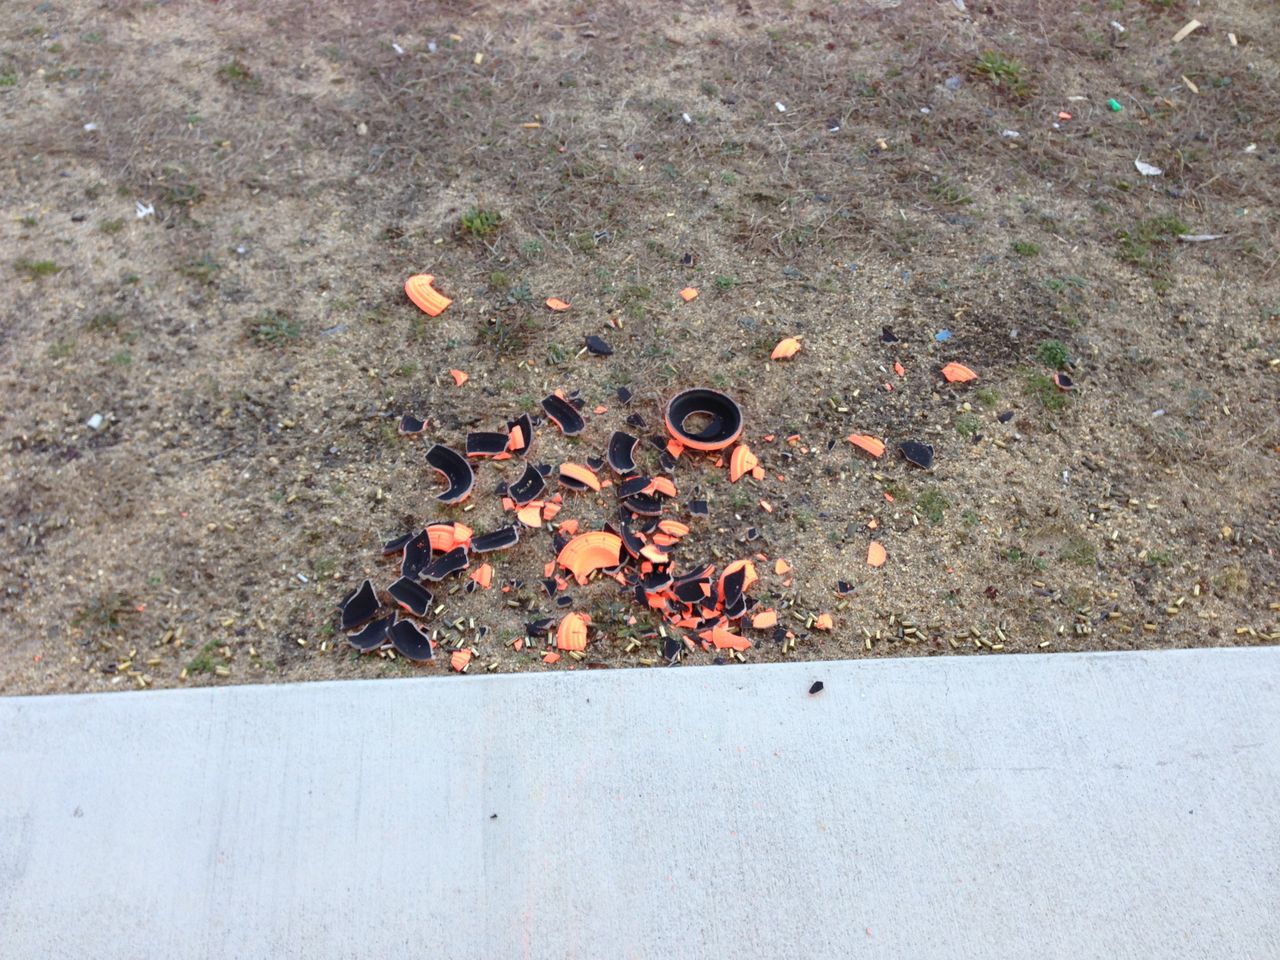
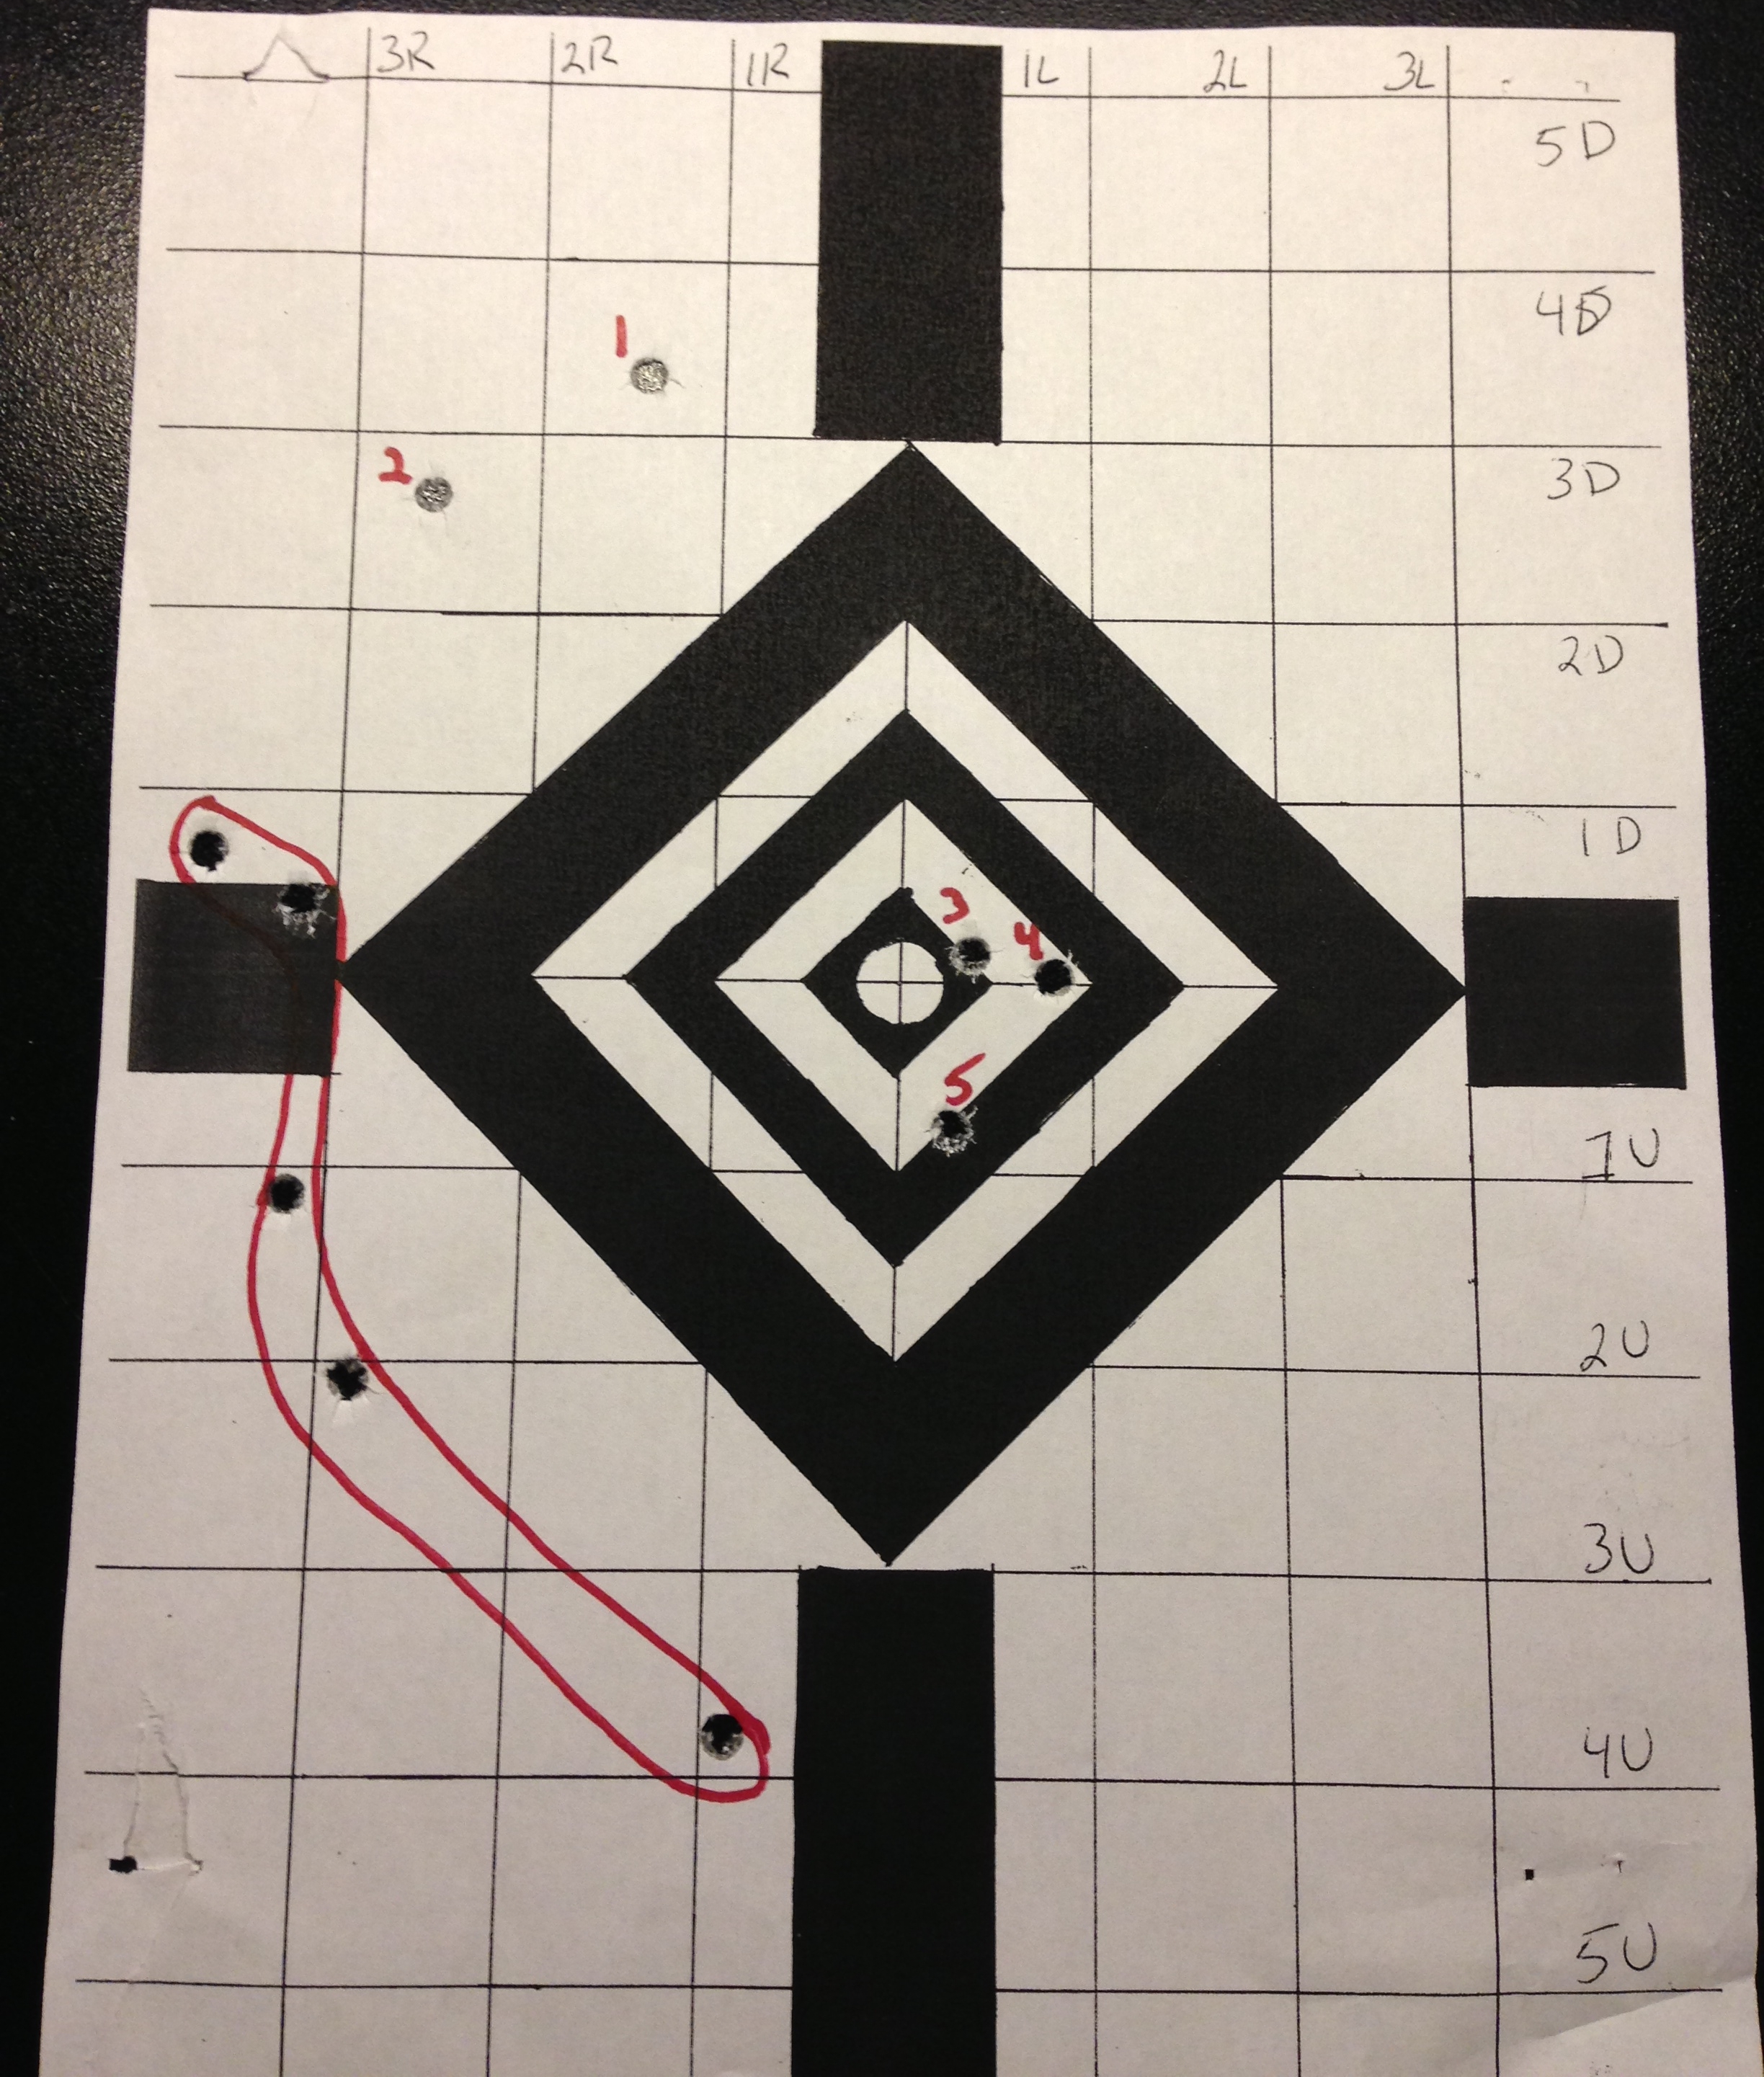
No freight train when I took the picture

I went out to a bar one night with some of the crew, we found a cool place in town that had a back patio area with some live music and couches and a bar and all that, but what was really cool was the back wall of the place actually had train tracks running on top of it. At one point that night I looked up and there was a frickin freight train chugging along right past us. I kinda felt like I was in Disney World with the railroad running right through an attraction or something.

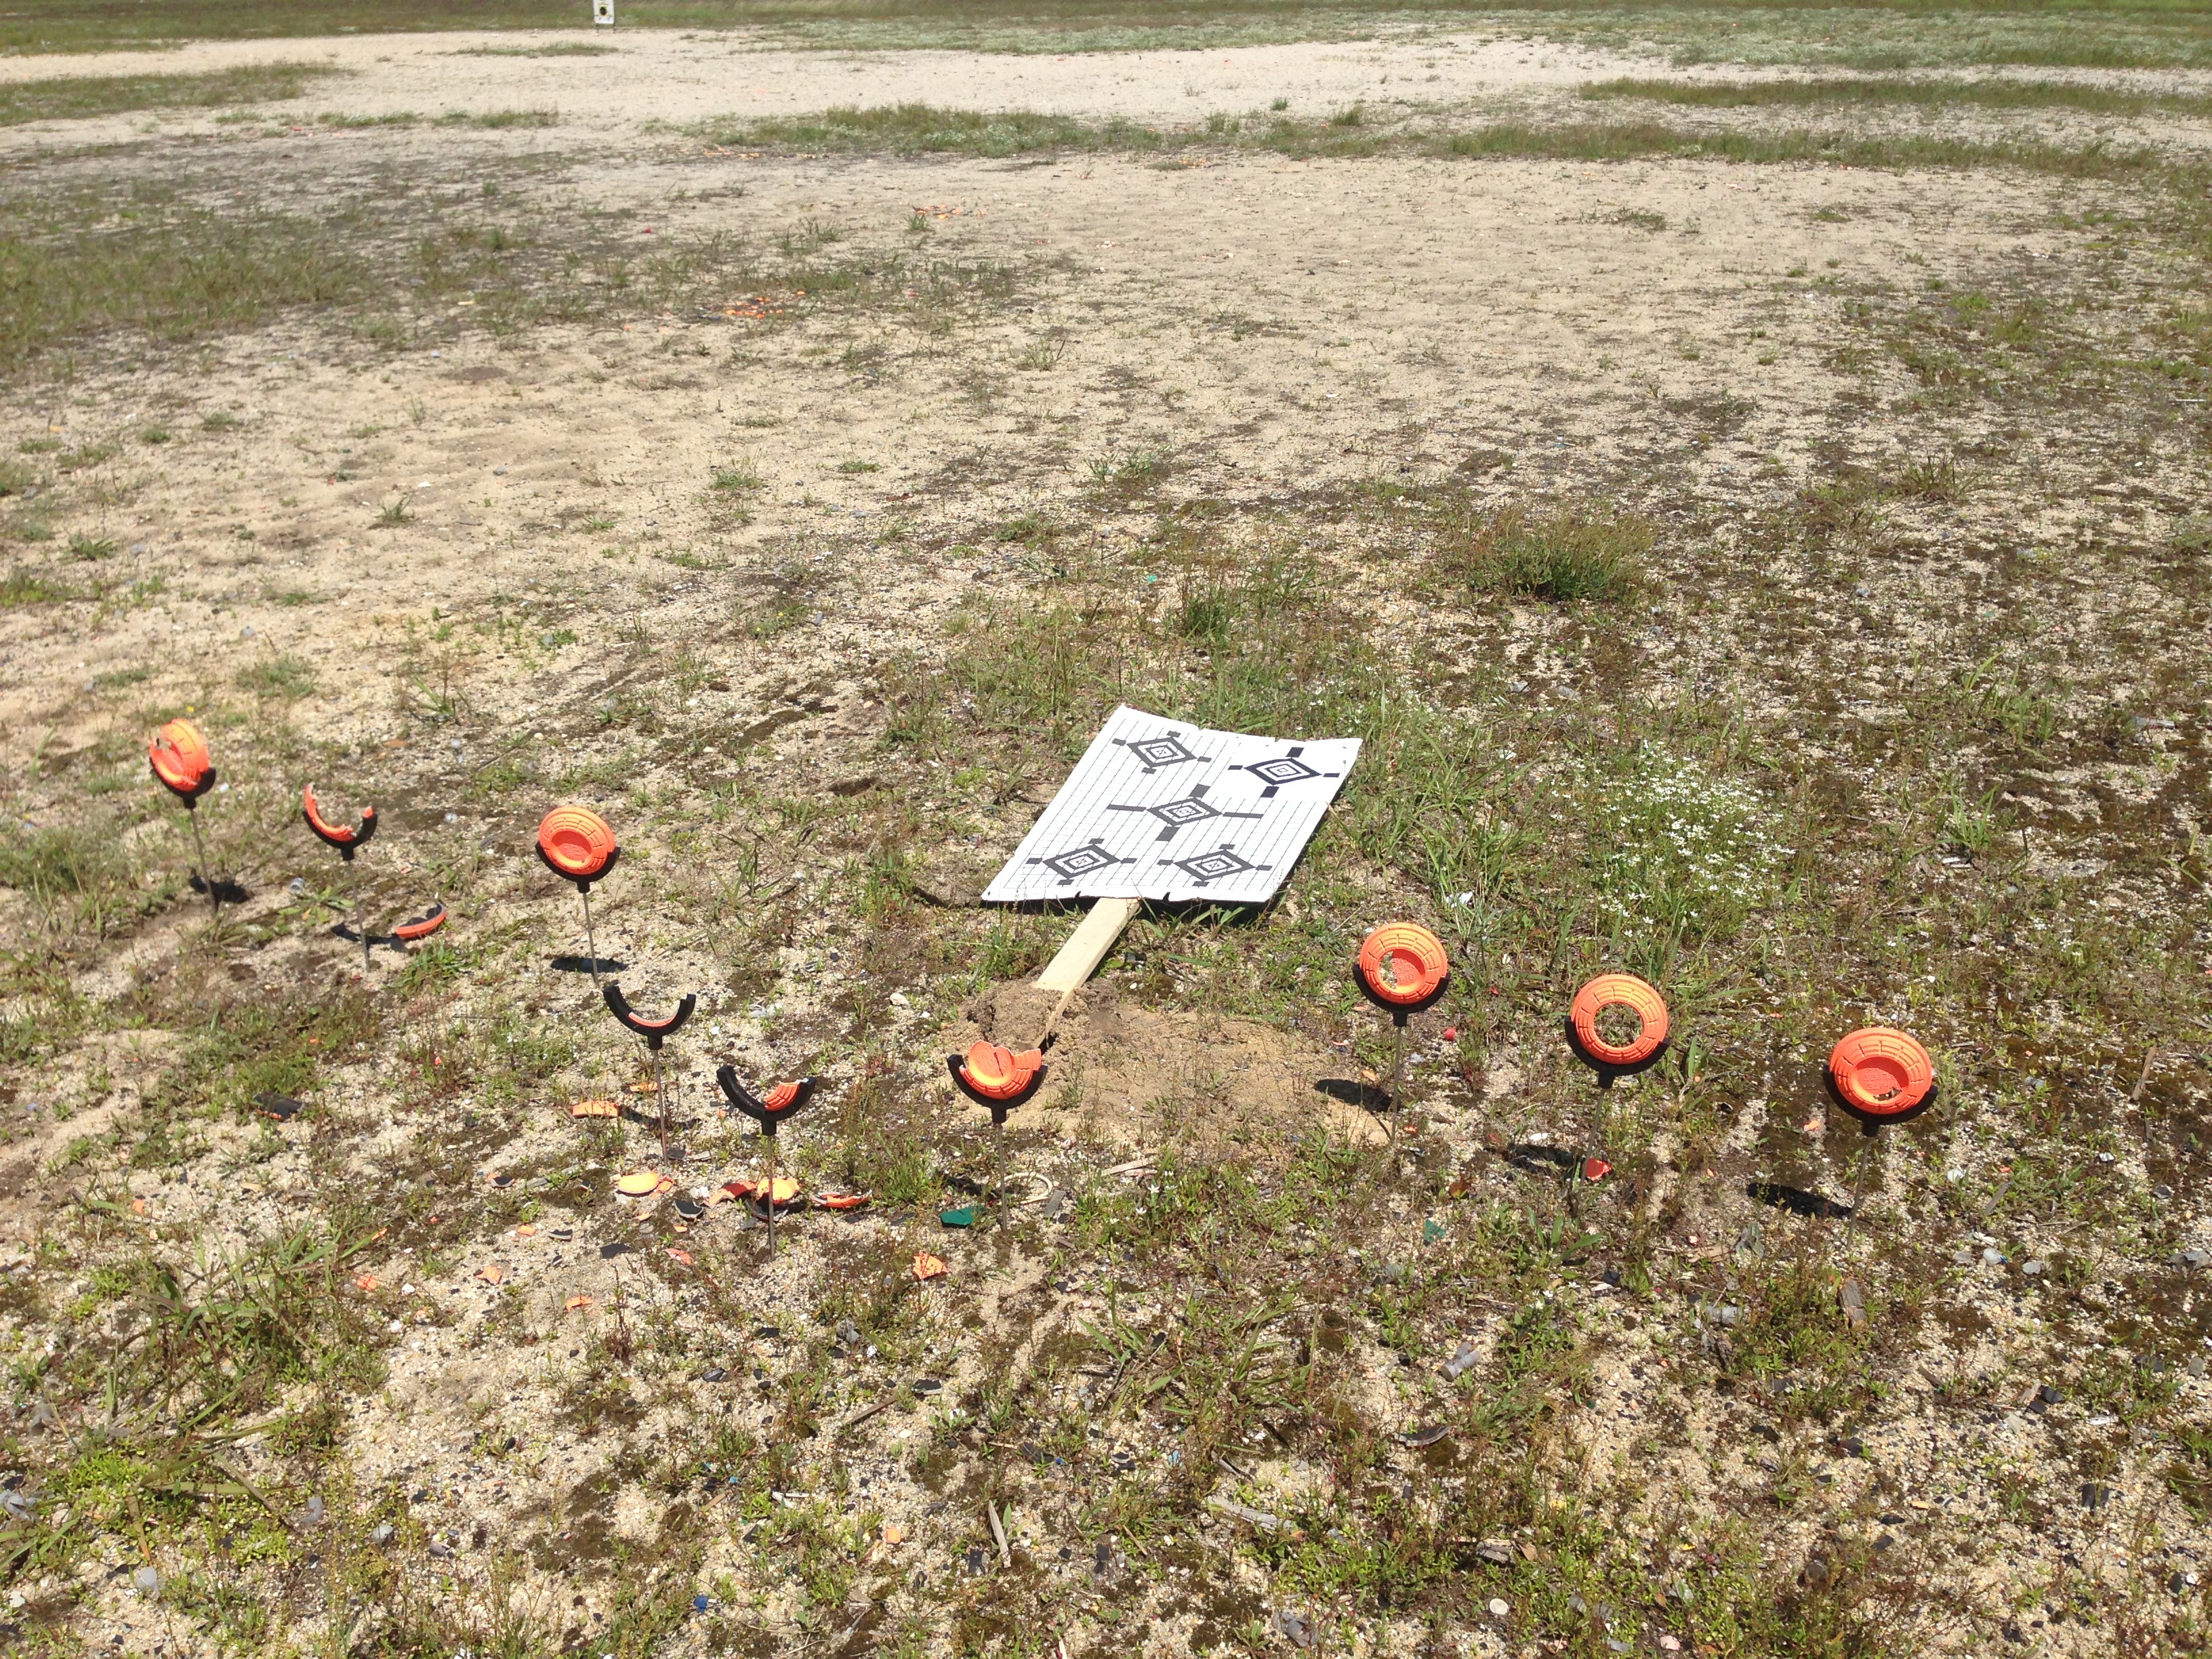
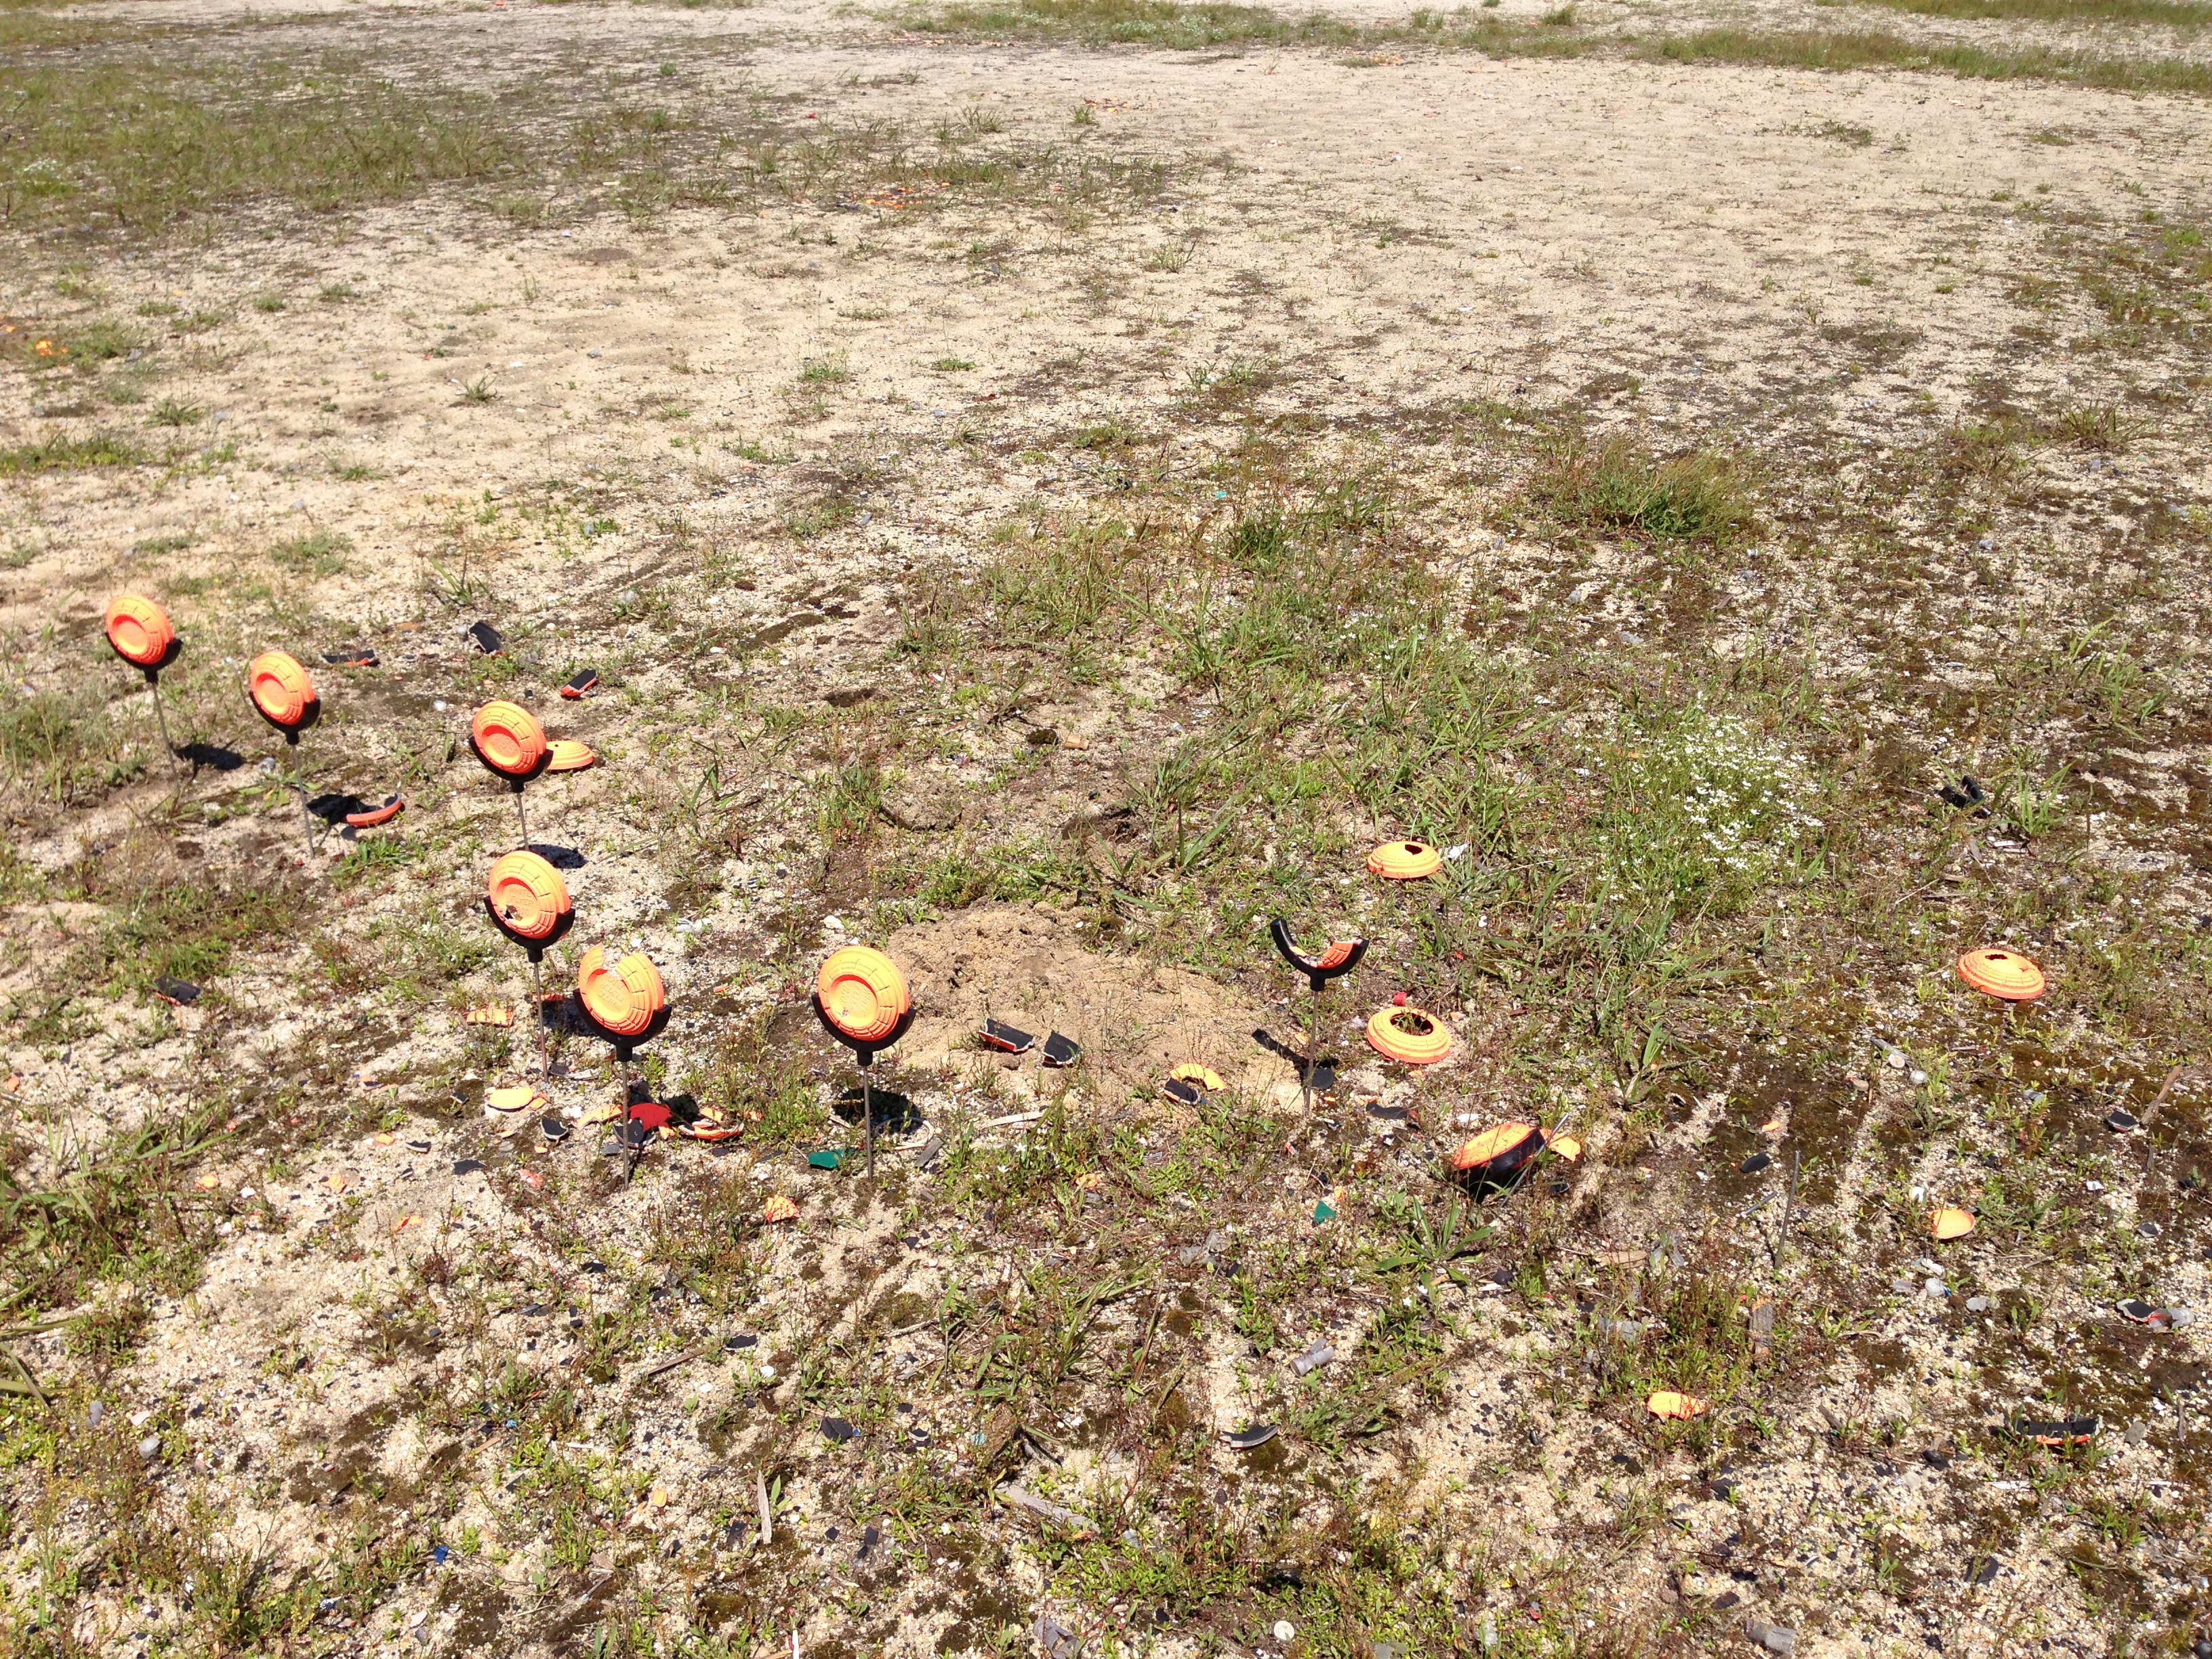
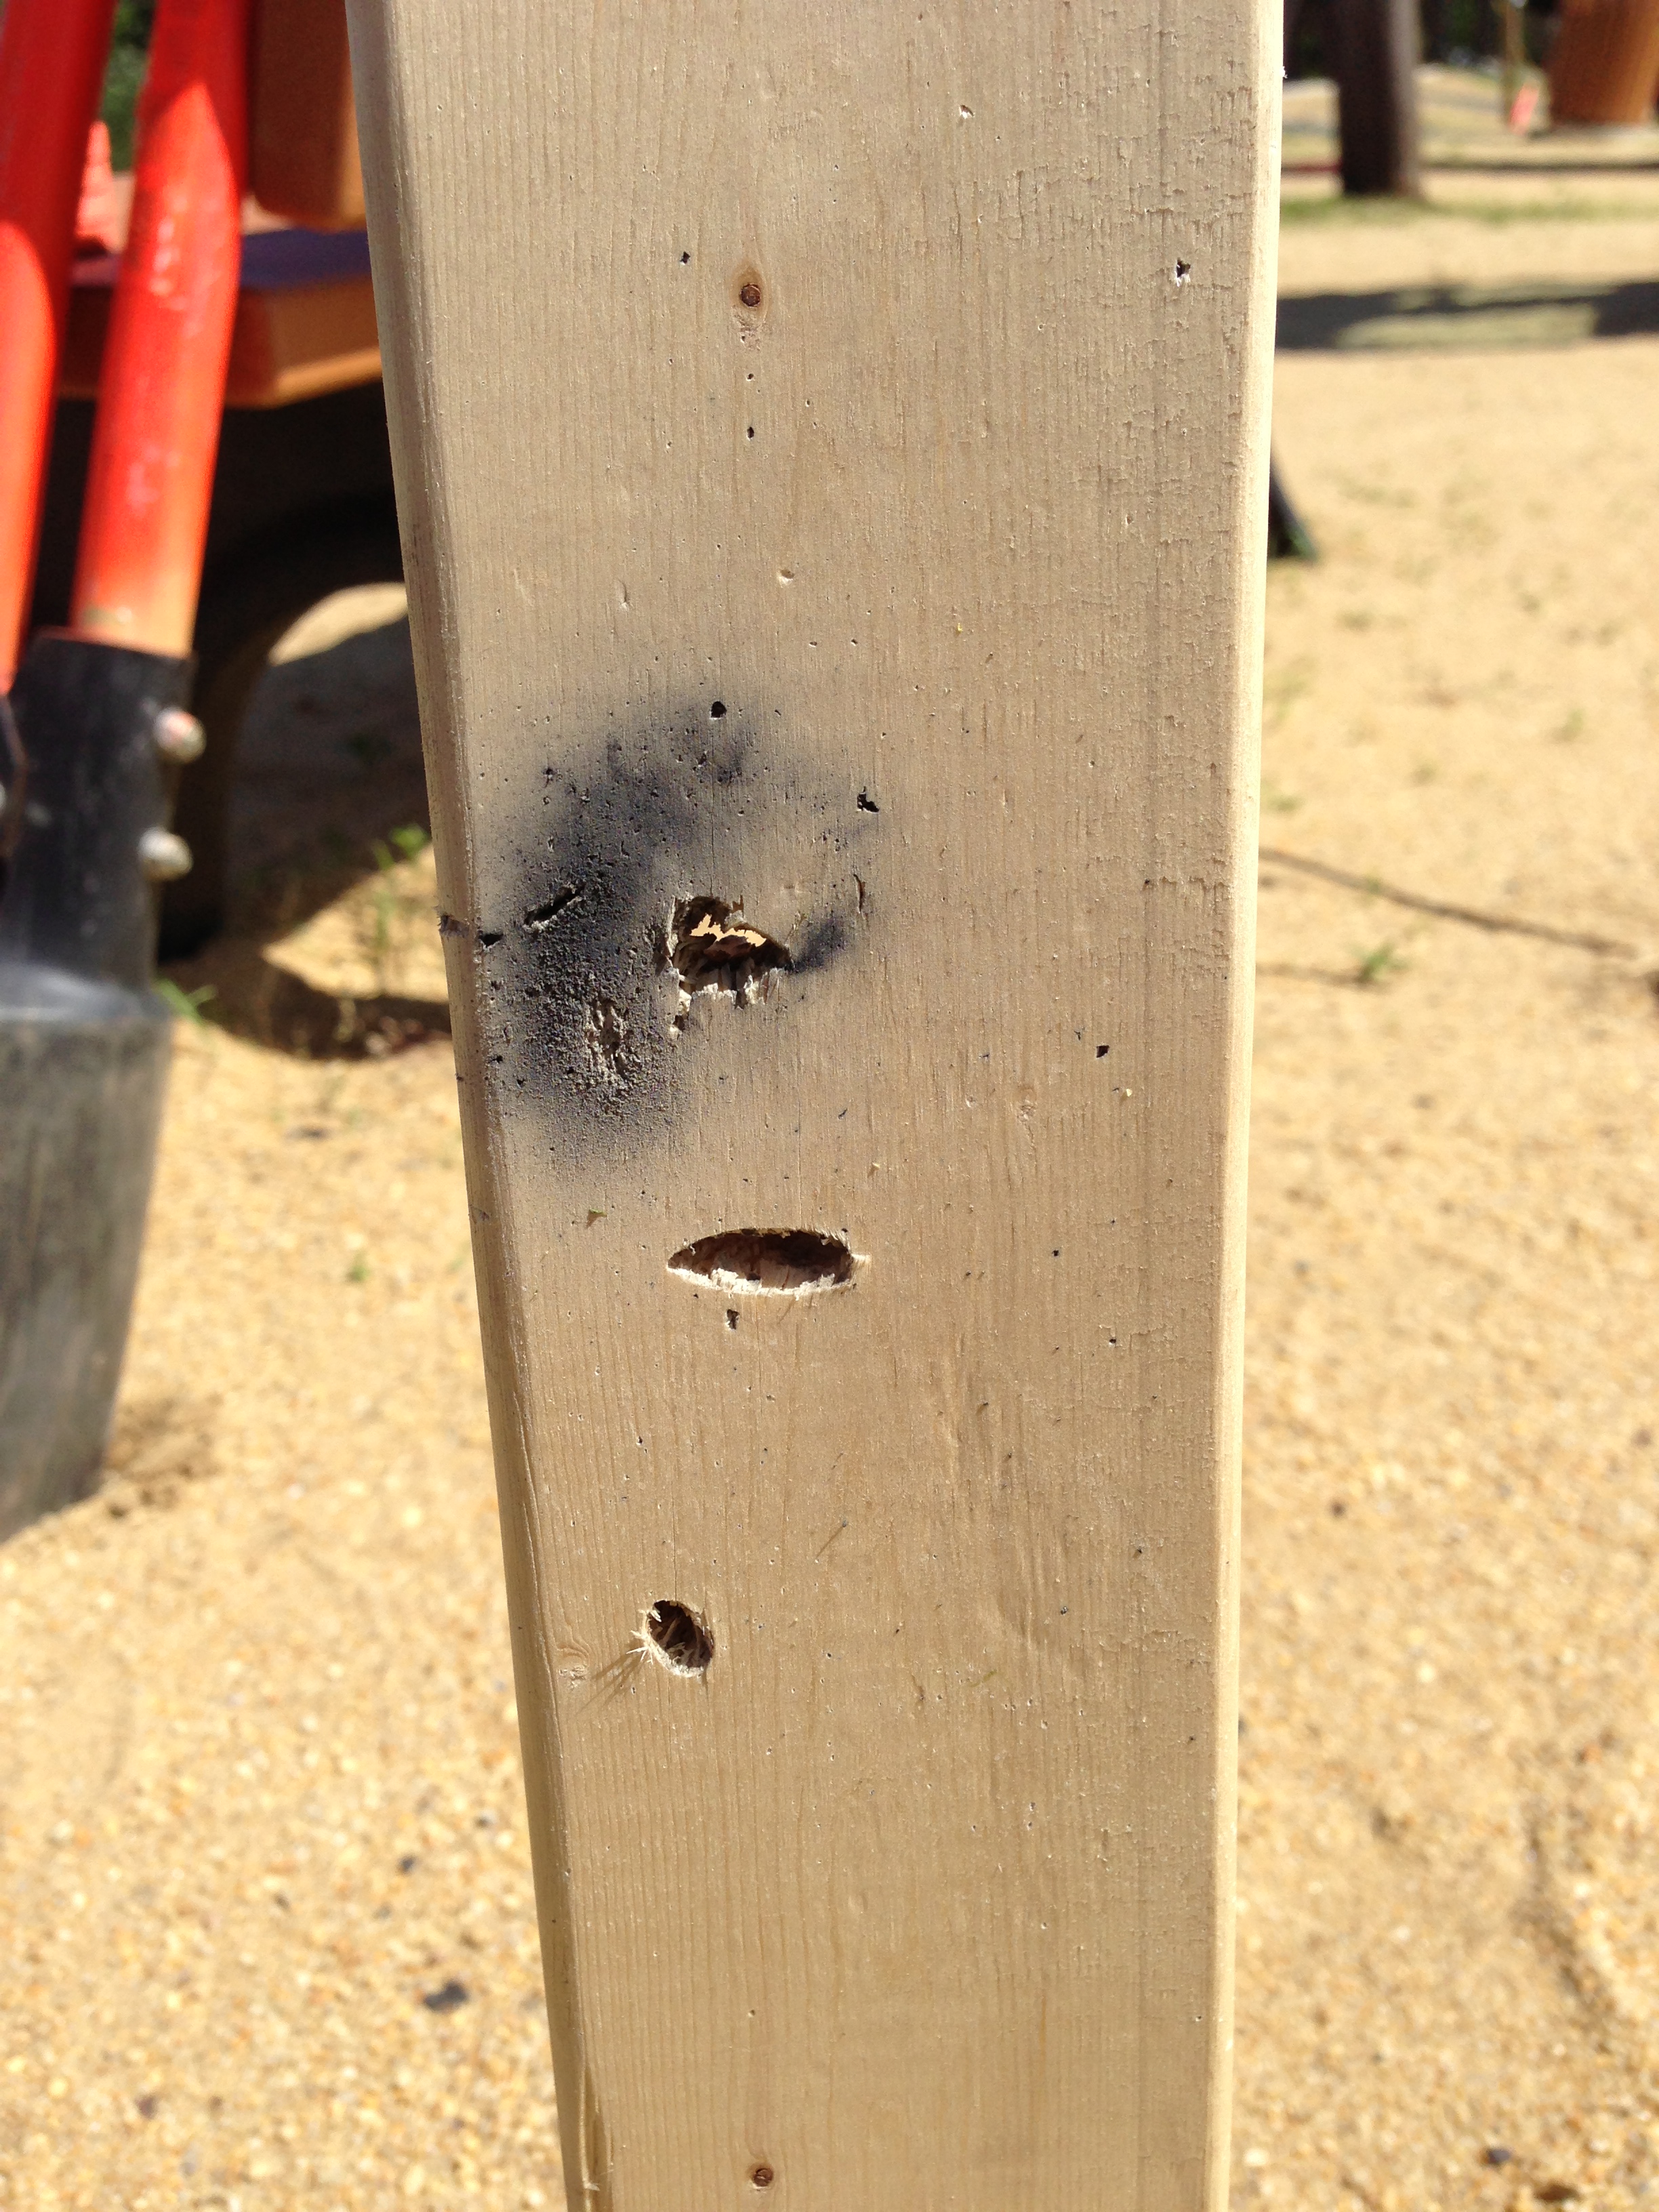
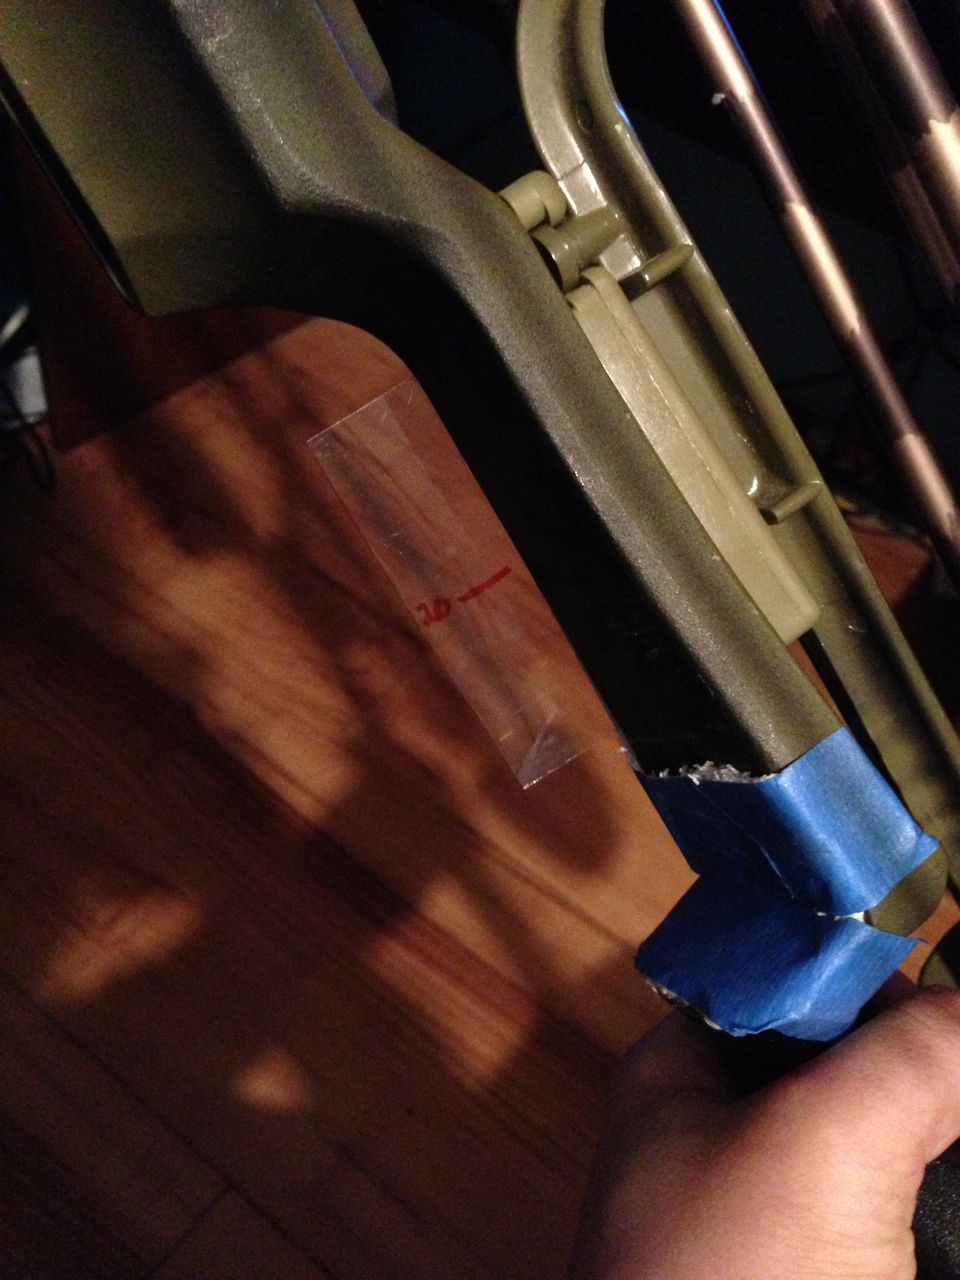
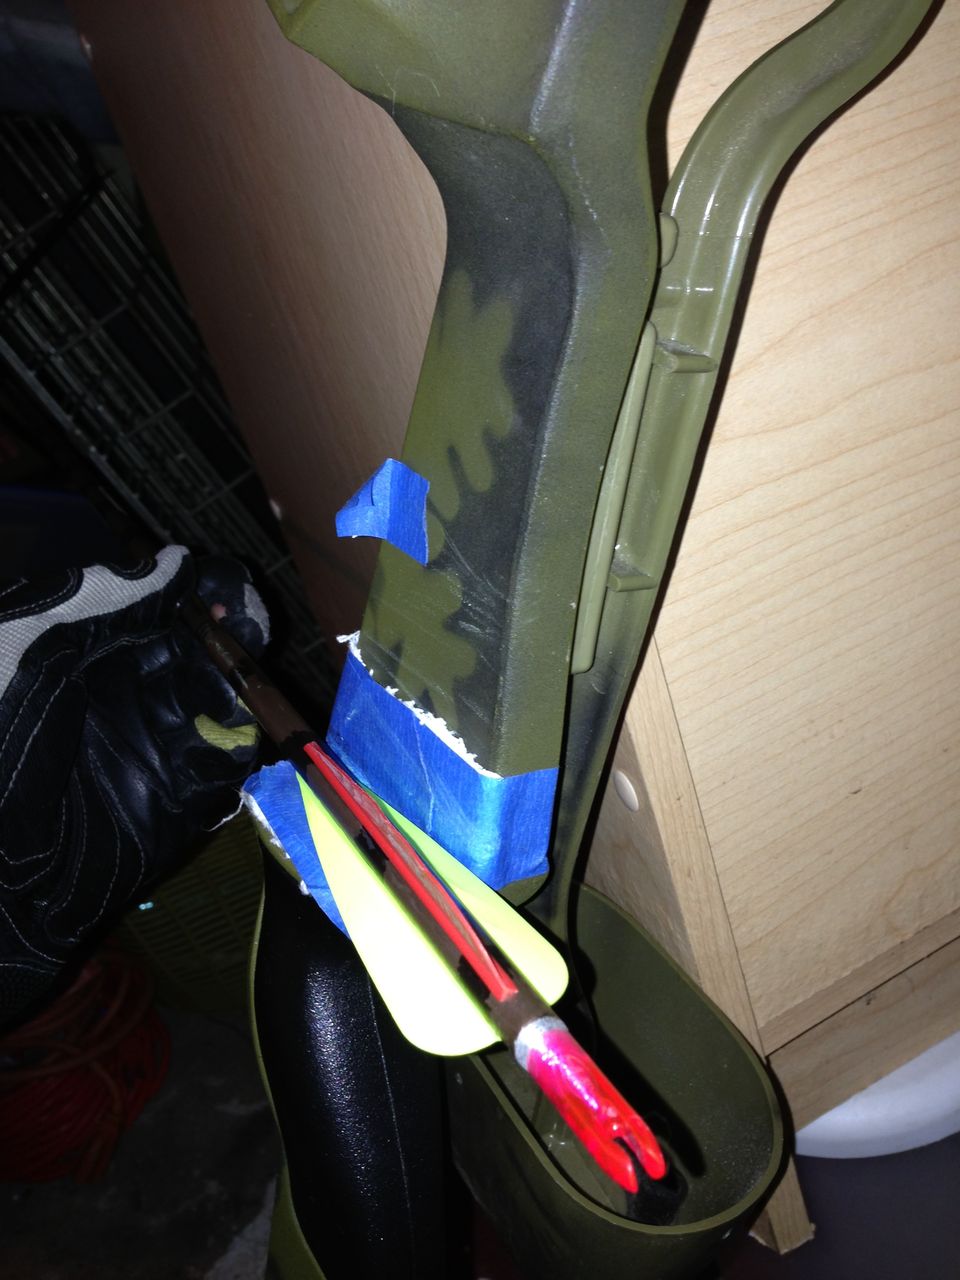
Anyways we focused on one main thing each day for the 3 days leading up to the show – first day we dropped shells into mortars and wired them up, second day we worked on boxes and cakes – matching them up and placing them out in the field, and the last day we worked on getting the set pieces rigged up and wiring the whole shebang together and hooking it up to the fire control system for testing and in preparation for showtime later that evening. It was a good schedule that gave us plenty of time to do everything so there was never any hectic rush to get things done.


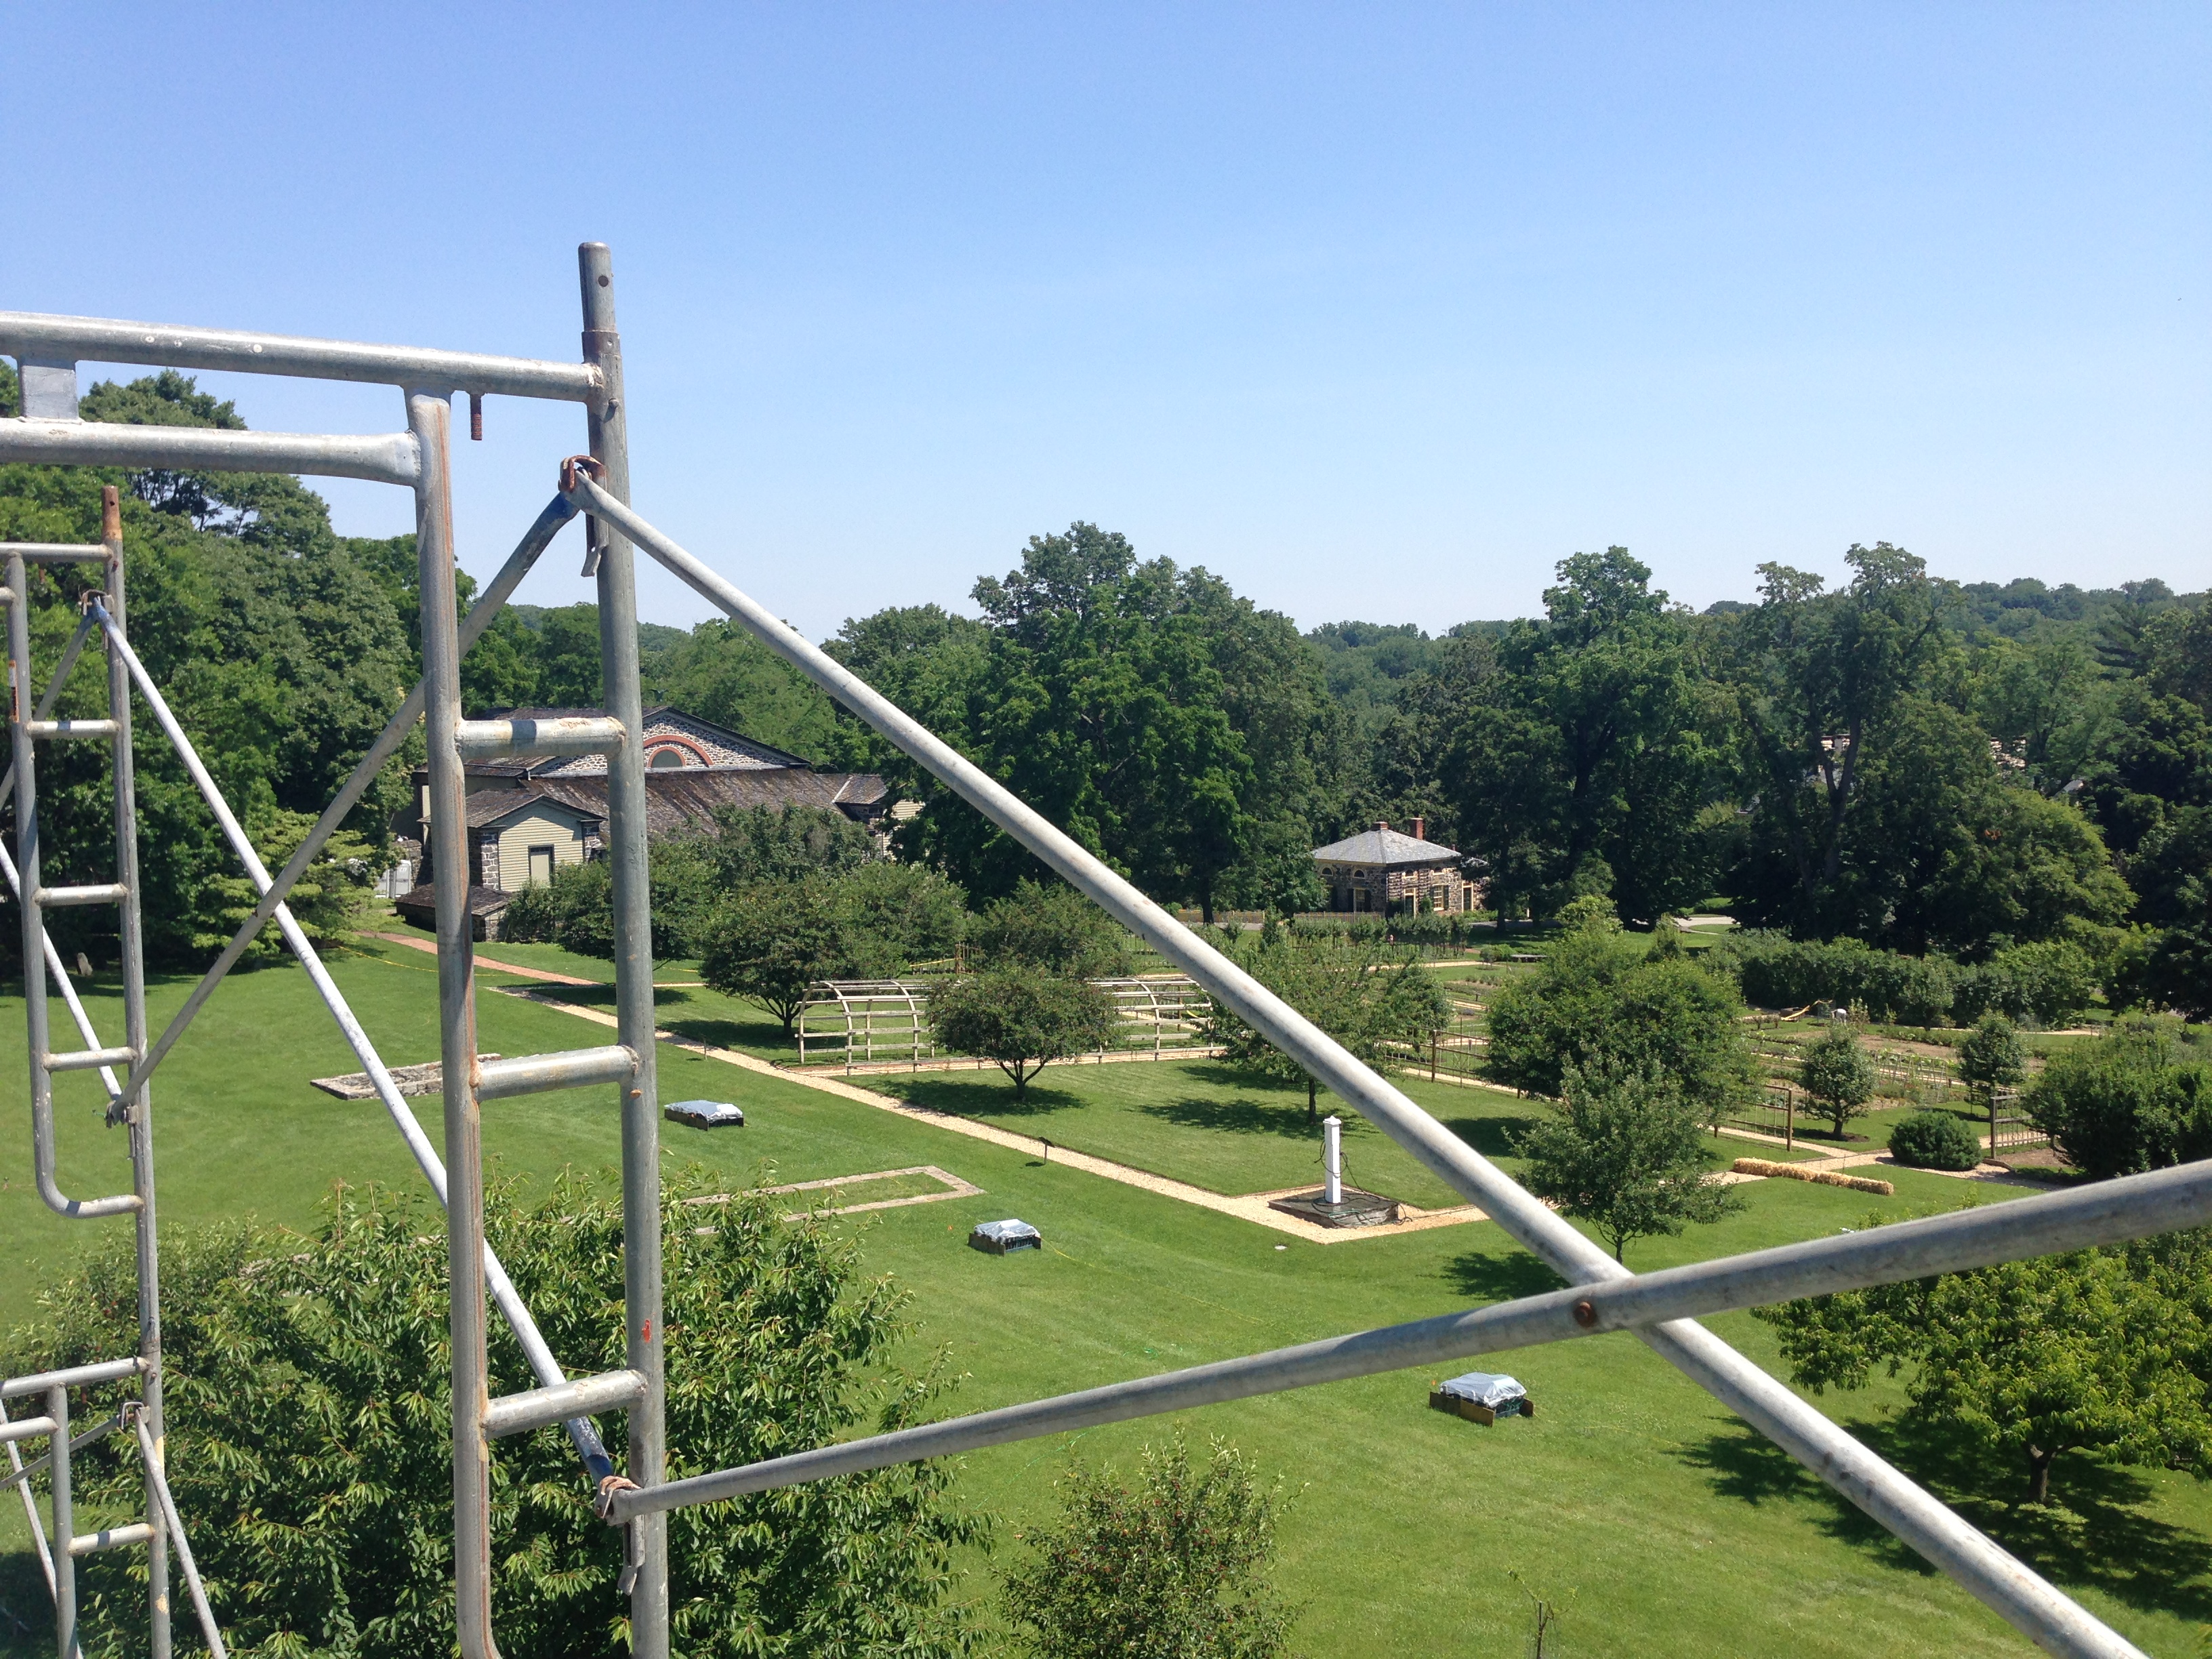
Of course I needed a shot from the top of the highest scaffolding 🙂


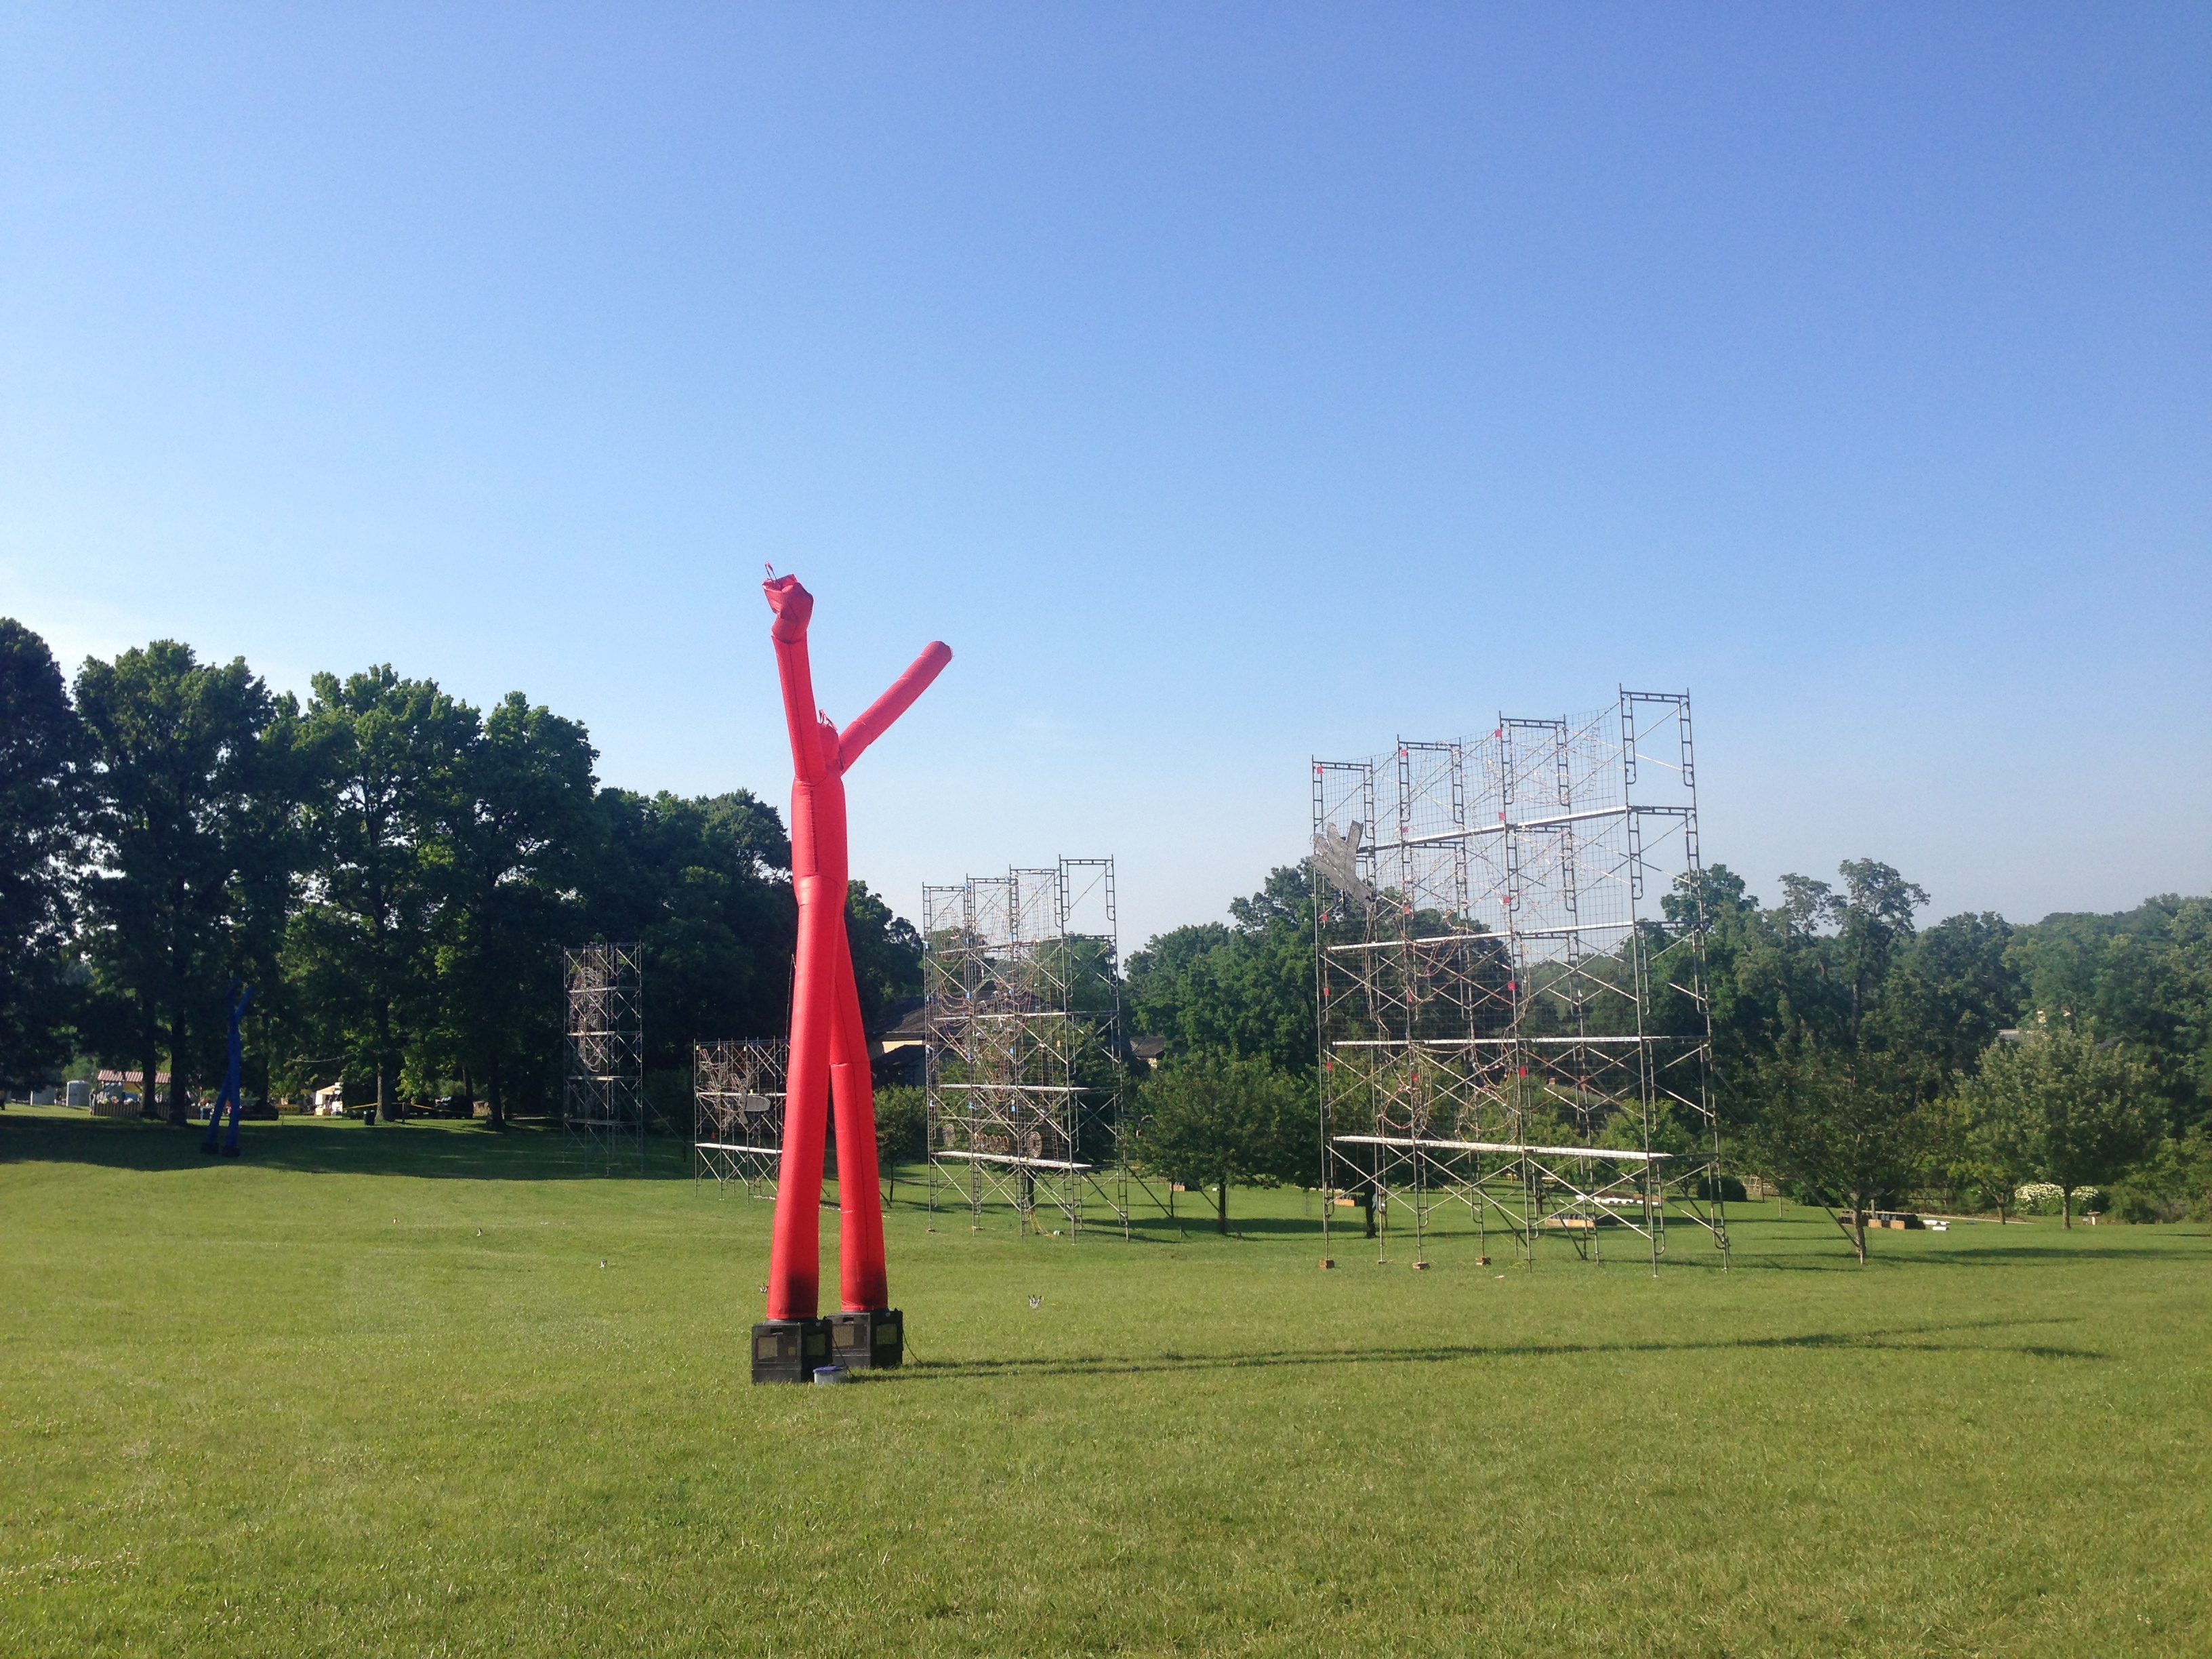
The set pieces all assembled with Intergalactic Proton-Powered Electrical-Tentacled Advertising Droids!!

Working on the tall set pieces was new for me, since the last one I had dealt with was barely as big as the one just to the left of the red “droid” in the photo above. There were also moving parts to two of these set pieces that we had to rig up so someone could stand behind it with a rope to make them function.

I also found it quite humorous that we shot on June 21st, which is the Summer Solstice and thus the longest day of the year. So we had to wait until around 9:30pm to shoot the show. We were able to situate fire control/command in front of the display so we didn’t need our usual “hut” of plywood boards covering us up and were able to see the whole show while it was shooting – that was nice. I was watching both the primary and backup systems although an experienced tech was looking over my shoulder in case I needed a hand switching anything over. Our show’s chief was also sitting right next to me running the audio and giving me pointers/advice. So if something got screwed up during the show I would have had to have done something really stupid! But the show went off without a hitch on my end, although there was some kind of interference in the audio a few minutes in – we still don’t know what that was all about but it didn’t impact the show in any major way.

[working on getting show pics]

Great show and great crew, as usual. It’s one of those recurring shows Grucci has been on for several years (I forgot to mention Hagley is an estate they used to process black powder on, hence the fireworks connection) so maybe I will be back for it again next year, although it does happen in the middle of the last week of gymnastics classes so I probably won’t. We’ll see.

Music at Moorland (Far Hills, NJ) – 6/26 to 6/29

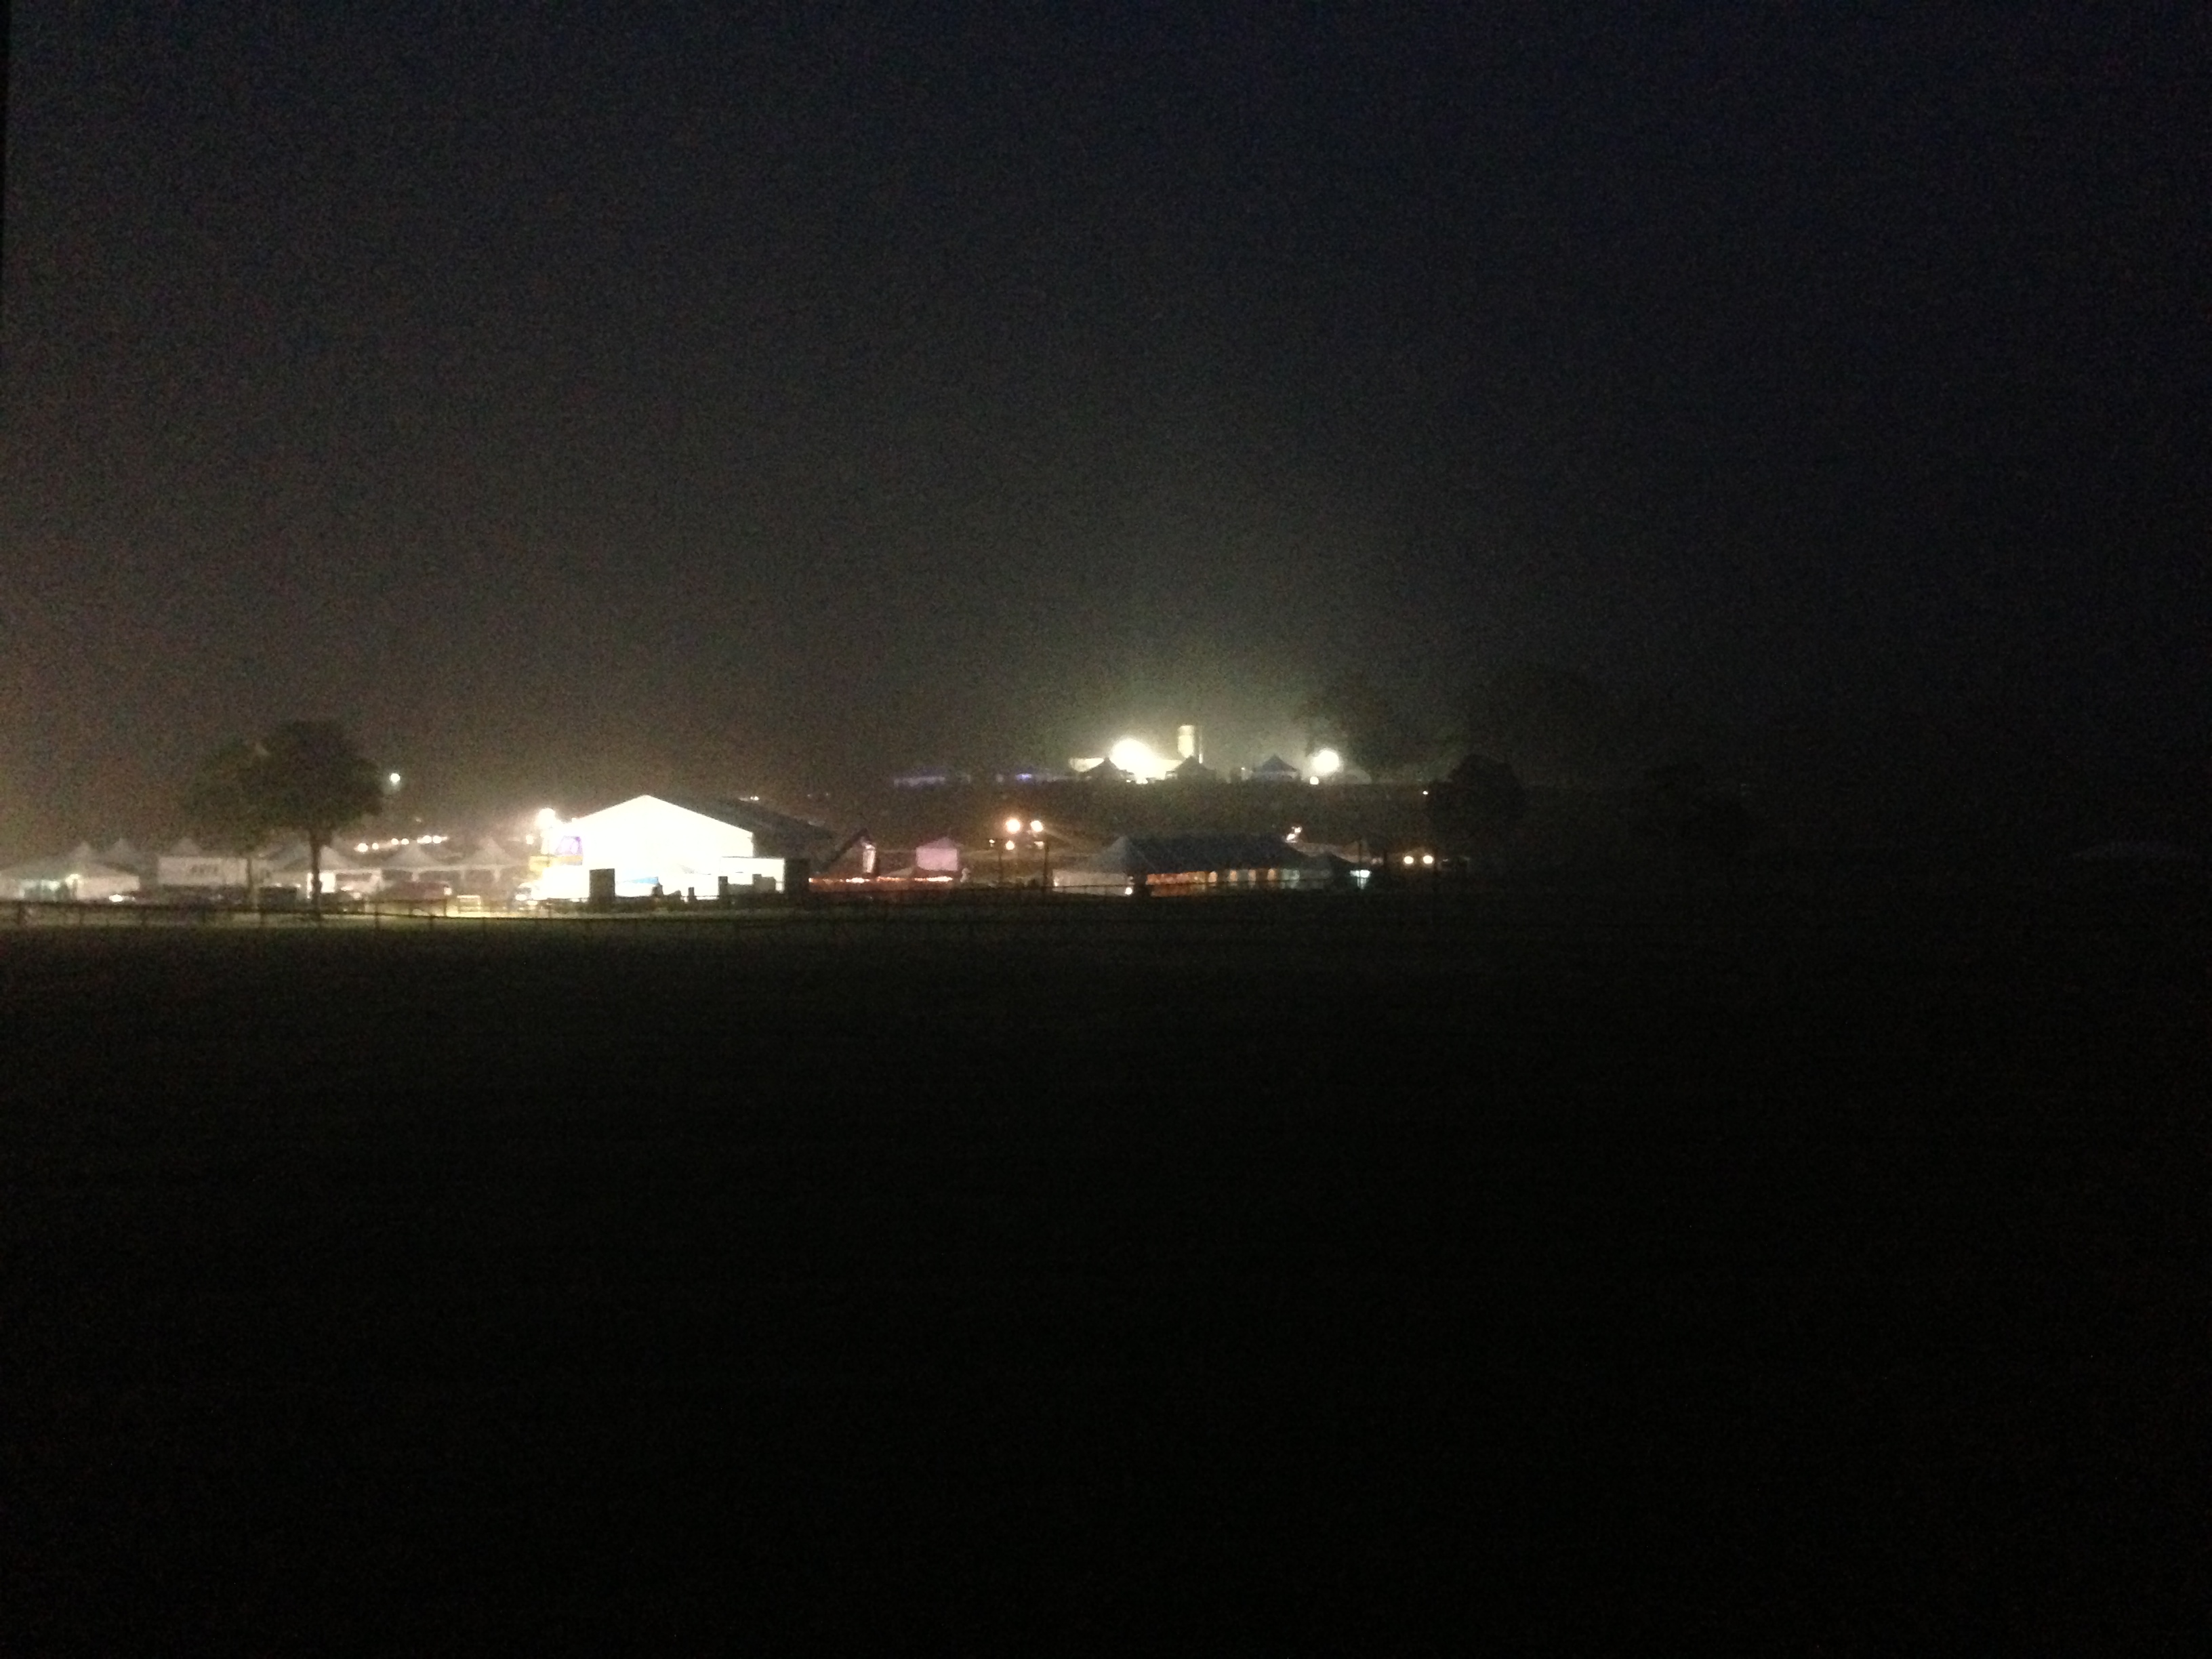
My return to Far Hills this year was accompanied by the start of a heat wave, just like last year and according to home air quality testing Montreal expert Jeb Southe, this trend of heat waves is going to affect a lot of people. However whereas last year was straight-up heat and humidity, this year the weather threw us a few curve balls. The first day was actually not so bad, although it climbed to near 90°F there was total cloud cover pretty much all day which kept the sun from adding to the heat and making things miserable. The next day we finalized setup for the show that night under partly-cloudy skies so there was some relief from the sun but not as much as the day before. Then the dark clouds started rolling in and we began keeping an increasingly close eye on an incoming weather system that was looking like a rather large storm. We could see rain moving around us on all sides throughout the late afternoon and it finally started to begin raining around 8:30pm. It was light at first but then the real downpour began along with lightning off in the distance but no thunder. Just after 9pm we got the go-ahead for show, and all the crew but me ran out in the downpour to pull the heavy tarps off the mortars (we would shoot through the lighter plastic underneath). I remained in the back of our box truck, where we had set up our fire control, to warm up the system and get everything connected and ready to go. But then the call came in over the radio to pull back as lightning had started becoming more frequent and static discharge isn’t a good thing when you’re around fireworks. Unfortunately no one who went out had carried a radio so I had to then run out and yell at everyone to pull back. After that all we could do was sit around and wait for the rain to subside.


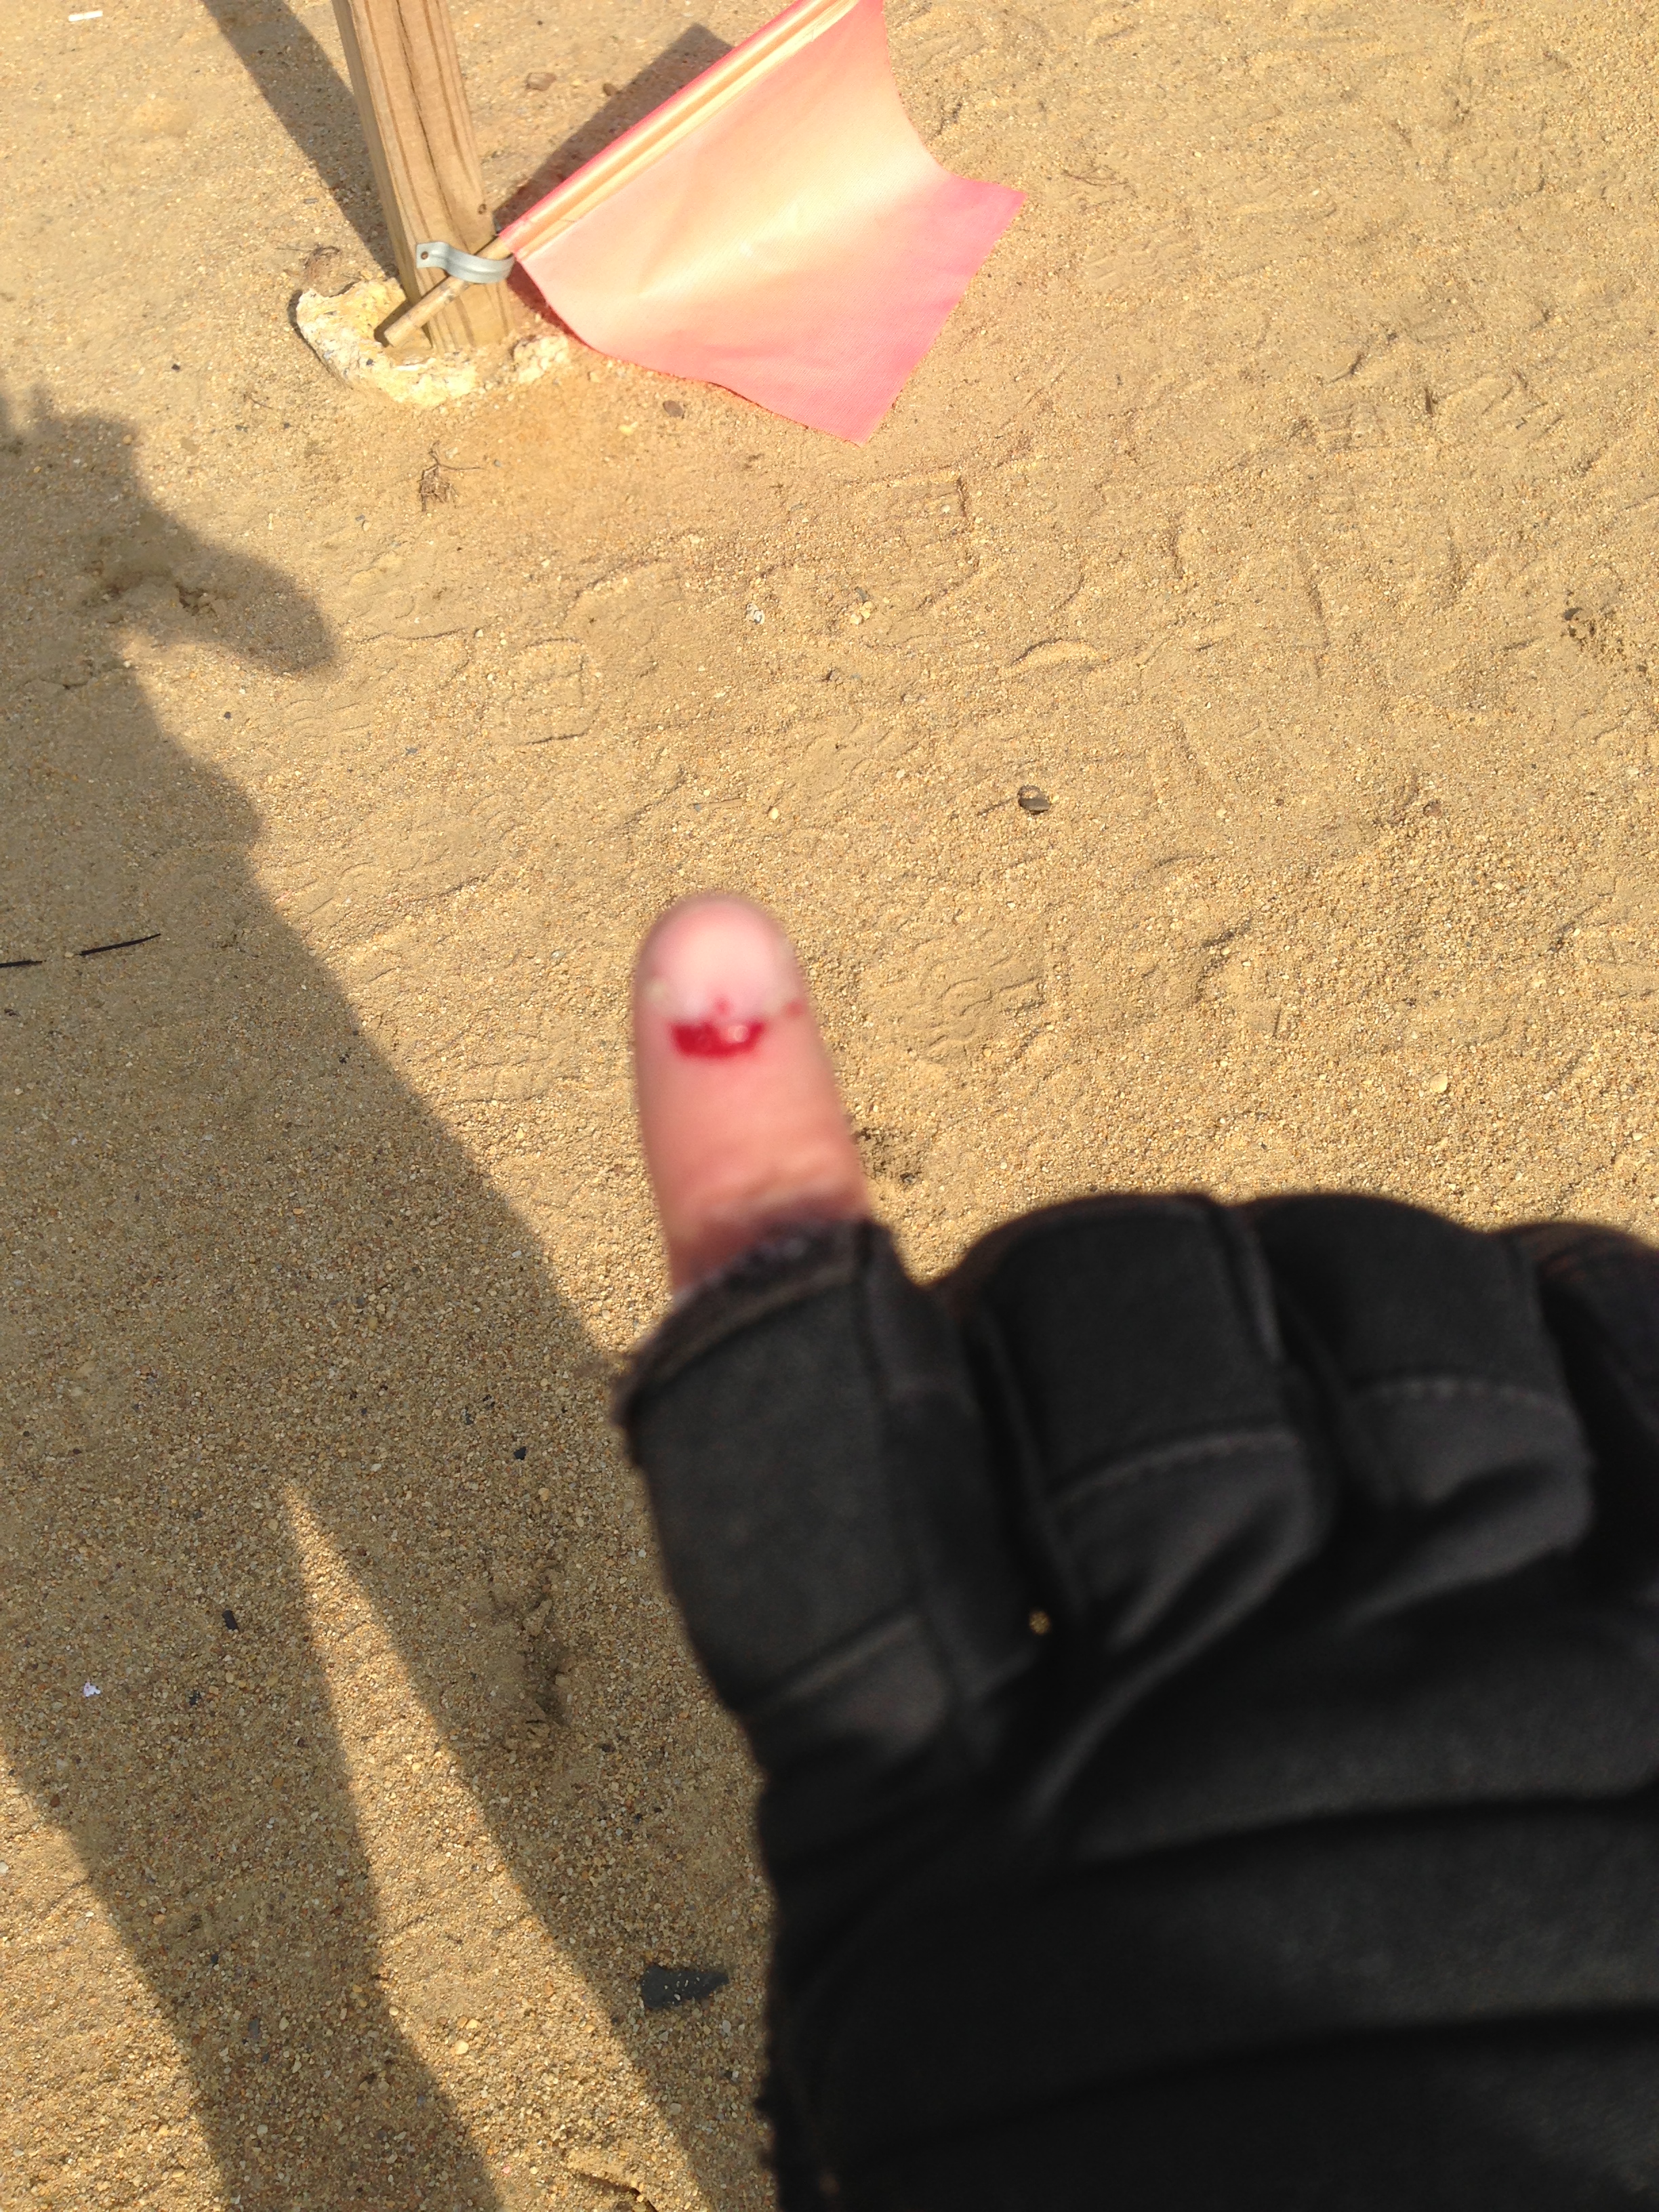
Afternoon of the show (yea that’s my finger shut up)


During the downpour that night

It wasn’t until around 11pm that we were able to go out and assess the damage. The winds were never that bad, 10mph with gusts to 20, however about 2.5″ of rain was dumped on us in that short span of time so we had flash flooding throughout the field – one of our posts (a collection of racks and boxes) was in a low area that had filled up with about 5″ of water – I was sloshing through it up to my shins to collect electronics that were now submerged. We covered up any tarps and plastic that had been blown off after recovering electronics that were in danger of getting wet overnight. It was past midnight by the time we all slogged back to our hotel rooms soaked through to the bone.

We returned the next morning assuming that the show’s rain date, which was that day, would be a go. Weather looked much better for that night with a smaller chance of storms, 40% down from 60%. We cleaned up the post that had been flooded out, removing any ruined product, and hooked the other outlying posts back up to the system and by mid-morning we had re-tested the entire show and come up with zero problems other than the product that we had removed ourselves. Everything had weathered the storm well, especially since we had put a ton of effort into weather-proofing things as much as possible.

We broke for lunch, and I hopped in the car with some other crew to drive out to a nearby sporting goods store that had just gotten a large shipment of 5.56 ammo. Two other crew members were gun owners, one of them had several dozen guns including a Barrett 50 cal. Anyways we’re at Burger King and I called my chief, who was holding down the site, and pretended that our car had broken down on the side of the road and we would have to get picked up to get back. It was a fun prank we rolled with for a few minutes then I gave in and asked him if he wanted anything from the King. We brought him back some food and were just finishing up eating when he got a phone call and came back to us saying the show had been cancelled. I was like “ha ha good one” thinking he was getting back at us for the prank we had pulled on him but… nope he was serious.

So all that afternoon into early evening was spent pulling product back out of mortars and picking up cakes and packing everything away back into the boxes that came in. I had never boxed up an entire show before, so it was good experience to learn what to do in this situation but as you can imagine it’s not something I would like to do again! We came back early the next morning to break down the grids and racks and pack up the trucks, which didn’t take a lot of time. By mid-morning we were all on the road home.

A slight logistical issue presented itself on Friday since I had driven to the location. Given that we had to be back on Saturday to complete breakdown, the problem was that I was due to lose my license (yes, again) for 20 days starting on that day. So I had to drive home that night, then hitch a ride back up and down on Saturday. Fortunately one of the crew lives only a few miles north of me in Old Bridge and was able to go home Friday night too and then drive down and pick me up Saturday and drive me back home. So that worked out, although it would have worked out better if the show had wrapped on Friday like it was supposed to!

At the very least, I was able to get some time on the radio with show command when we did our pre-show rehearsal on Thursday before the rain came in. We have a checklist to follow, and communication between command and fire control needs to be succinct. In fact, it’s very similar to working an aircraft checklist and talking to Air Traffic Control, which are things I’ve had practice doing in Flight Simulator. What you do and say is different, but how you do and say it is very much the same. So I was glad to get a chance to work on that this show prior to having to do it on a larger scale the following week in Atlantic City.

Atlantic City Alliance (Atlantic City, NJ) – 7/1 to 7/5


Looking over AC from my 60th floor hotel room at the Tropicana

The last and final show was the biggest of the three by far, with 4 crews working 4 locations around the city – one near the marina section in a large field by the Borgata, one on the beach at the tip of the AC coast at the mouth of the Absecon Inlet, another on the beach just north of the Pier Shops at Ceasars, and the last one further south on the beach in front of the Atlantic Club. The last one was the site I worked at mainly, although we did shift around a bit to help out other sites as needed to stay on schedule. There were logistical problems associated with the program, but the organization working with us to set up the show, the Atlantic City Alliance, is still relatively new and this was the first time they were attempting a multi-site display across the city. We had our own logistical issues as well, one example would be the pickup trucks that were rented – they kept getting bogged down in the sand until we got them into 4WD and let some of the air out of their tires for a larger contact patch. Live and learn right? Regardless, nothing serious kept us from being ready come showtime on the 4th and let’s be realistic – how can you not have logistical issues on a show this size?

The Workers’ Compensation Lawyers Florence, SC also provide benefits for dependents of those who are killed in work-related accidents or illnesses. Some also protect misdemeanor domestic violence and fellow workers by limiting the amount an injured employee can recover from an employer and by eliminating the liability of co-workers in most accidents.

Murphy’s Law is in full effect on things like this.


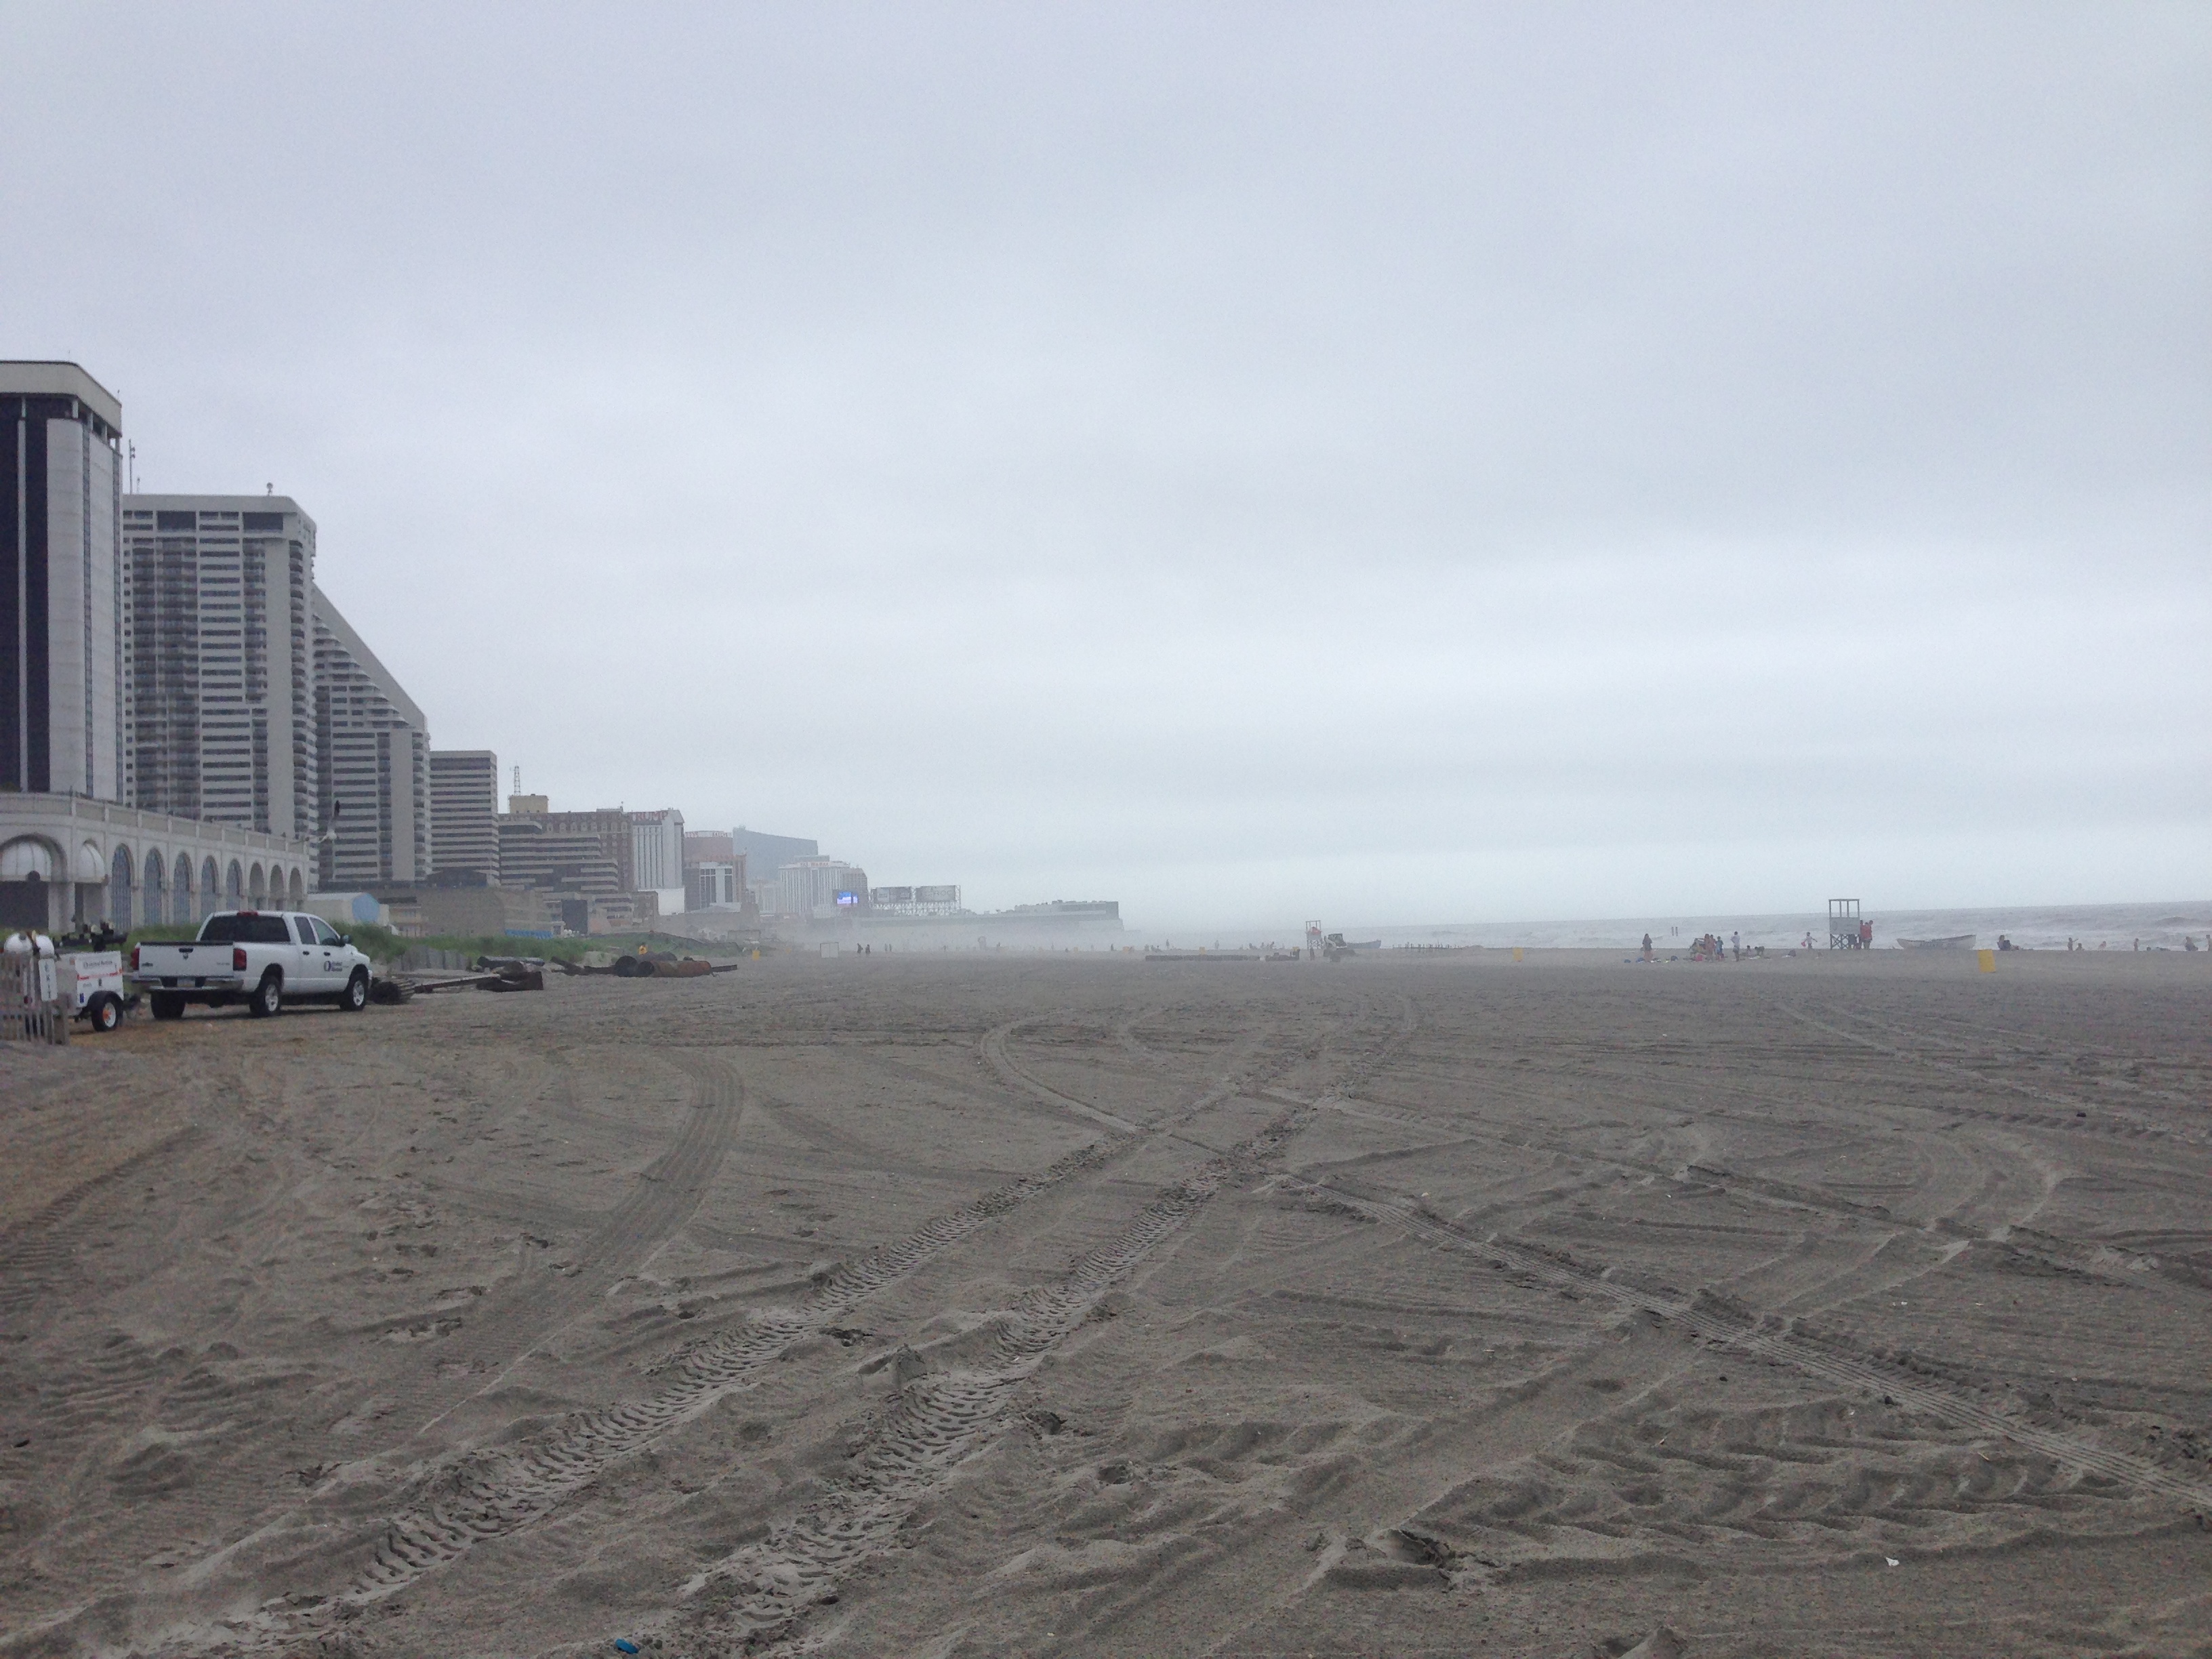
A foggy but still fairly clear day at the beach, it’s worse earlier in the morning

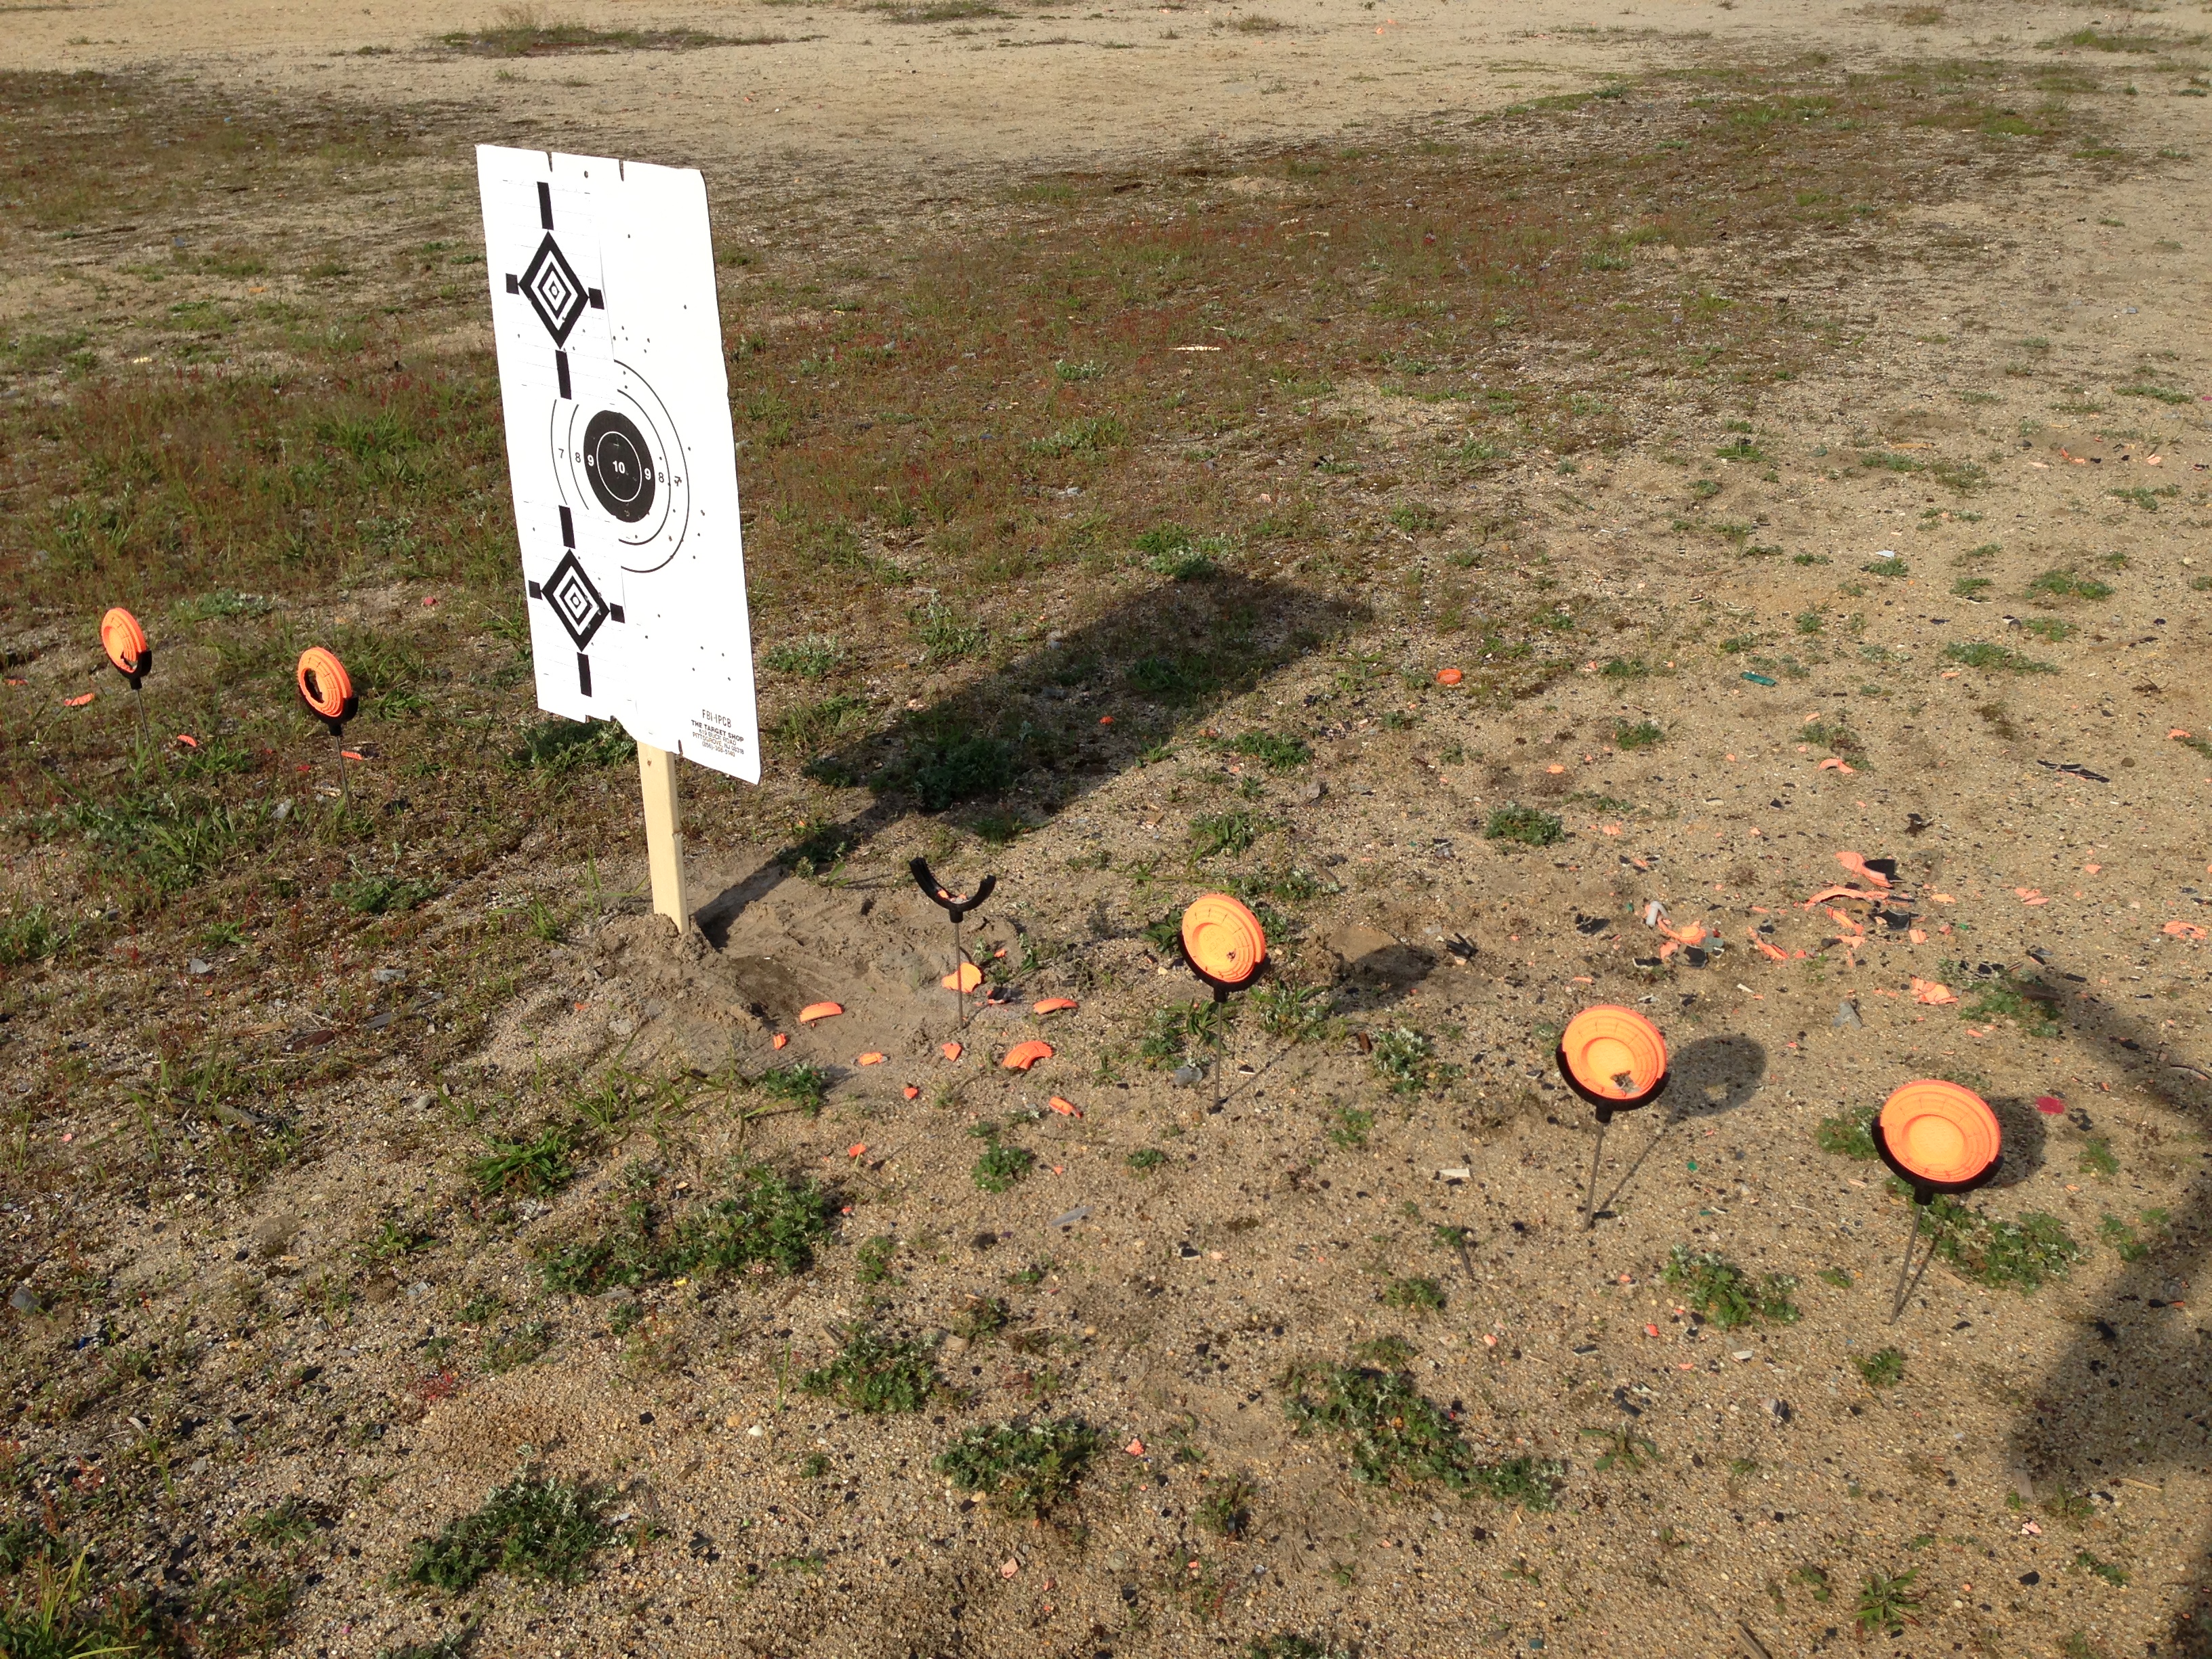
Working on the beach was another new experience for me, as I’ve always set up in a field or on a barge – flat, hard and level surfaces. With the sand, things become a bit more complicated. For instance, our normal method for angling grids of mortars goes out the window since we can’t rely on the sand being stable, so we have to actually dig them into the sand to get the angles we need. We also had to make sure everything was angled towards the water by piling sand under one end. One advantage to sand though is it provides an excellent and easy way to cover up wire and even equipment that has been bagged to prevent any fallout from harming it during the show.

Weather-wise the week wasn’t so bad with temps in the 80’s, but the humidity was pretty killer of course being right next to the water. Still, a cooler current had moved in and dropped water temperatures down into the 60’s which helped create a nice steady and relatively cool onshore breeze. A lot of fog would roll in throughout the day though off the water, nothing as thick as San Francisco but it sure reminded me of it. The first morning after sleeping in the hotel I looked out the window and couldn’t see a thing until I looked straight down there was so much fog at that height. We had a few spritzes, no major rainfall although scattered t-storms were in the forecast so we weather proofed everything as much as we could. Another advantage to sand – weighing down the edges of plastic covering to keep them from blowing off rather than having to tie or tape them down.


By the end of the day it was pretty nice out usually

In addition to the two pickup trucks we had to get equipment down onto the beach there was a tracked Bobcat with a bucket attachment and a forklift attachment that could be swapped out. I probably should have learned how to operate it but never bothered, I had enough new things to learn on this show. I didn’t drive it but did have fun riding it though – standing on the forks or in the bucket as we powered across the sand. When it was loaded I would jog alongside it, all the while my purpose in doing so was to keep an eye out for people to make sure the driver was aware of anything he couldn’t see. Probably the hardest thing about working on the beach site was dealing with the people. We had a fence, a bomb squad officer and a fire officer on site every day once we started loading product and we still had to keep an eye out for people wandering to close, or who wanted to stop and take pictures instead of moving past our area down by the water. Fortunately until the actual day of the show when the weather really cleared up, the beaches weren’t too crowded at all.


Never got done early enough to see this sand sculpture display before it closed at 7pm each day

It was generally late evening by the time we could call it quits for the day, so I didn’t really spend a lot of time after work in online casinos (nhacainaouytin.com). I did take some time to walk the boards the first night and see what was new since that last time I had been down about two years ago or so. I explored the Tropicana and had some wings from Hooters one night and sipped some (unsurprisingly expensive) drinks from a quiet lounge on the casino floor another night. I didn’t really go out drinking or exploring with anyone until after the show on the 4th when we all congregated at an Irish pub in the Tropicana’s Quarter section near our hotel rooms. I managed to go through all my cash I had brought down, but I didn’t spend any of it gambling. I like slots mainly, but overall I don’t really believe in gambling.

The day of the show was spent finalizing all wiring and connections and getting everything tested and ready to go. Initially I was slotted for primary fire control by the producers but a member of my site crew wanted to get some re familiarization with the system/protocols and asked to be primary. I told them I was fine on backup but they ended up moving him to another location to be on fire control there and kept me on primary for my site with my site chief backing me up and keeping an eye on me. We spent time during rehearsal in the afternoon working through some communications issues, but that’s the reason we take a good chunk of time before the show to run a rehearsal. Come showtime all boards were green and we were ready to go. The show started at the Borgata site only for 5 minutes, then all 3 beach locations would join in at once. On the radio, the sequence of calls from command would go from the marina site to north beach to mid beach to me at south beach. I’m not sure if this was intentional, but it did give me a chance to listen to all other locations respond and know what I had to say by the time it came to my turn. That was helpful.

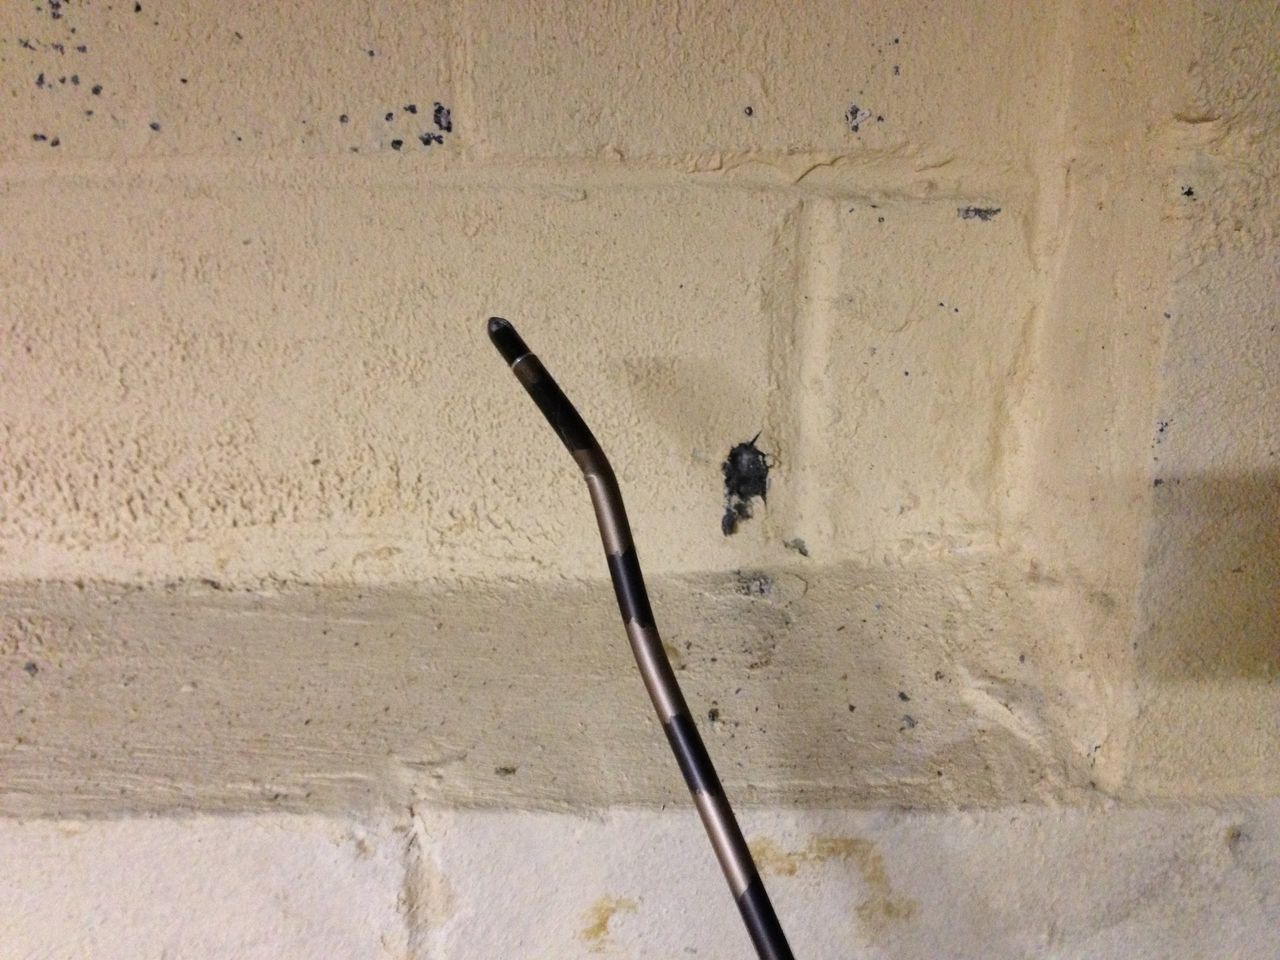
The only problem that occurred for us during the show was the wind. Unfortunately the winds aloft were upwards of 20mph out of the southeast and that meant product was being pushed northwest towards the audience further up the beach. So even angled out over the ocean the shells and the bursts were drifting back inland. At first it was just dead paper but soon we had reports of burning product starting to come close to spectators. After reporting to command the decision was made to cancel out all 4″ shells. This was my job, and as soon as I heard it I was ready and with the click of a mouse cut out all 4″ product. A few minutes later command came back with specific areas of product to disable so we could still have some 4″ shells going up but not the ones that would drift far enough to reach the audience. This, again, was up to me to implement. Fortunately the night before I had reviewed procedure for disabling/enabling specific areas of the show and didn’t have to ask what to do, I just did it. This was a minor incident that had no large impact on the show, but demonstrates both the great capability computer fire control offers and the responsibility of the fire control operator. A more serious incident might involve a rack or grid of product somehow tipping over towards the audience. It has happened, even just this past week at another show not related to Grucci. (I am assuming something tipped over in this instance, it certainly looks like it). In this case the computer operator (assuming it was computer fired, not all shows are) would have to be ready to just switch off the entire show completely. If the people were further away and not in immediate danger, that section of the show could simply be switched off. These are just a few examples of what computer operators need to be ready for. Everyone wants to do it cause it’s the “cool” job, but most don’t consider the responsibility that comes along with it! I won’t lie, my first time sitting backup at the computer for the huge show in Taipei deep down I was terrified of pressing the wrong button and shooting off the entire show all at once or something. At that time I thought I was being a bit over-dramatic in my worryings but since then I’ve learned it can actually happen. So yea.


Is Homeland Security watching us? Nope, just a quadrocopter aerial camera setting up shots for showtime later


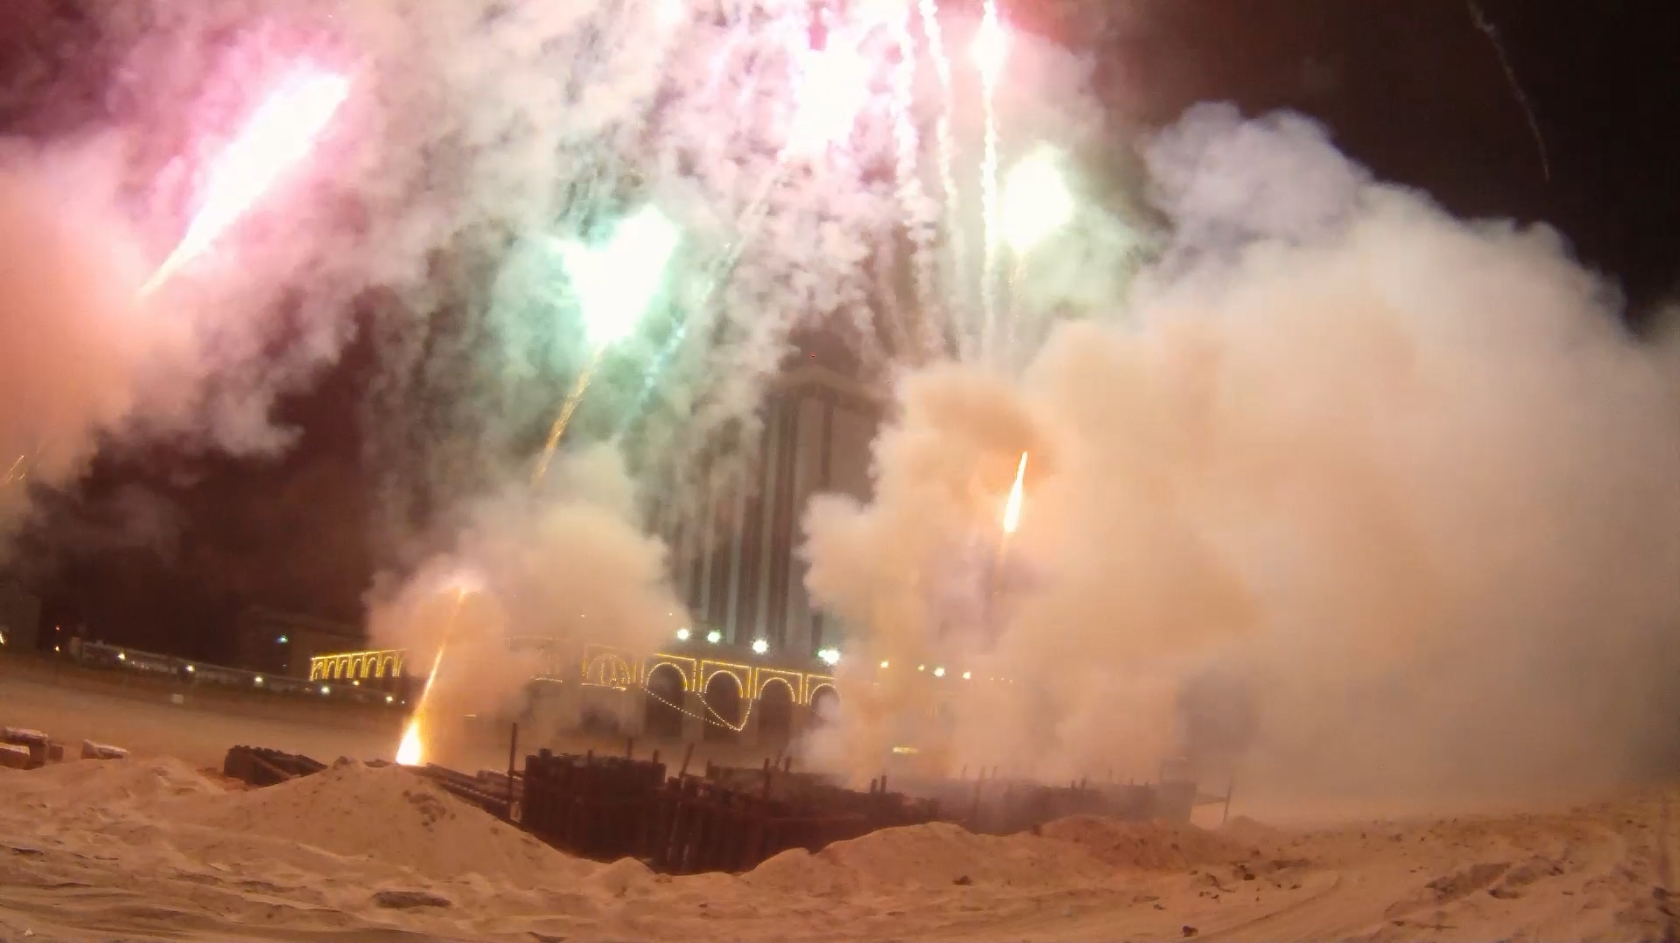
A still from the GoPro I had setup next to the site to catch all the lifts during the show

Besides having to cancel out some 4″ product the show was a ripping success from start to finish, which is awesome because this time I was able to have my GoPro Hero camera set up near the body and catch all the lifts and most of the boxes throughout the whole show. I had planned to do this at Far Hills as well, but as you know that show got cancelled, which sucks because that was the only show of the three I worked on that had 8″ shells. I’ve sent the footage off to a film crew that was onsite with us to capture the show from ground cameras and even an aerial rig that was setup to fly around and capture views from alongside the bursts. I can’t wait to see what that footage looks like in a few weeks! In the meantime I’ll edit the more exciting parts of my GoPro footage together and post that up, and you can also catch a good view of the entire show here in this YouTube video:

The next day was back on the beach to breakdown and clean up, we got to get a later start than usual since we spent a good deal of time the previous night getting all the unspent product boxed up. Still we were all done by mid-afternoon and gathered up at the Borgata site for a final farewell. The city was pleased with our efforts, and we hope to be back again next year working with the Alliance. My transportation there and back was covered by my crew chief who had a carpool going, thankfully the best route from AC to Long Island runs practically right past my house. Although not having a license did become a minor pain when it came to having to drive the pickup trucks around – I couldn’t do it! But we managed, another great crew all around I look forward to working with again.

On to the next one….

→ No CommentsTags:··

Range Report

June 15th, 2013 · Personal

As planned, I hit the range early Saturday morning and spent 3 hours shooting. I did some more prone, sitting and standing drills at 50 yards with the 1-6x scope. As usual I was dead-on while prone but still have trouble with sitting and standing because it’s hard to support the rifle properly. I think before I make my next trip out I’m going to look into straps for the Mossberg, and also the CZ. The NSSF has a great video up on YouTube that goes over the practical shooting positions, and how to properly set up your strap to use as a support aid. It always amuses me to see people show up at the range and do nothing but sit on the bench with a rifle rest to shoot. One of my sitting shots completely blew away the pigeon holder, I found it about 10 feet downrange when I went out during cease fire and had to look around for a minute or so before I found it. The shot below shows the holder completely gone, and below that you can see I cleaved another post as well. I think I need to aim a bit higher when shooting from sitting or standing. At least I know I’m dead center!

After a few rounds of the 50 yard pigeons with various positions I moved my target back to 100 yards and put on the 6-24x scope and zeroed in. I had to make a few adjustments since last time, which always puzzles me because I never touch the scope while its in the case and makes me wonder if it’s not getting jostled around too much while stored away. But pretty much from the start I was on paper, just a little high and had to work my shots down. Eventually I was grouping them within the biggest black diamond, which is approximately the diameter of a clay pigeon, as illustrated below by a red circle. I even manged to nick the bull, the white space of which is smaller than a dime.

To give you an idea of just how important good trigger control is, check the target below, which was a clean one to the right of the one above I shot up first. I put three rounds in it without coming off the scope. The one on the center I know was a good shot, I could feel myself give a smooth squeeze and take the recoil straight back into my shoulder with the scope not really moving off the target. I could also feel when I threw the one shot way up right. And this is only at 100 yards, it’s that easy to miss. It really gives you an appreciation for how difficult it is to really hit something you’re aiming for.

After I was on target on paper I started to play a new game. I set up 10 pigeons in a row and sighted in on the one to the far left. I opened my left eye so I could see my iPhone lying in front of me and press Start on the stopwatch. Then I got my left arm into support position and sighted in as fast as I could and fired off a shot. If I connected, I moved to the next pigeon, and continued until I missed. As soon as I missed I stopped the clock. It’s not great to be doing this myself, since it means I take a second to sight in after I start it and a second to stop it after I miss. I’d prefer to have a spotter on hand to start the clock as soon as I fire my first shot and end the clock as soon as he sees me miss. Actually I think I can make the beginning better by starting standing behind the gun, and have to lay down, chamber a round and sight in – that way I can start the clock myself and always have the same start conditions. Anyways the best streak I could pull off was 5 clay pigeons in a time of 27.6 seconds. My goal is to get a streak of 10 while prone, 5 while sitting and 3 while standing. I like this game better than the 3 of each position I was doing before, and next time I’ll do it at 50 yards with the 1-6x scope as well.

The last thing I want to mention is I played around with the CZ .22 at 100 yards and discovered that the start of the thick portion of the top cross hair is dead-on. I was wrong, it’s the bottom off the cross hair post. This is awesome because it means I don’t have to adjust the scope elevation if I want to shoot at 100 yards instead of the 50 the scope is zeroed at. I can just lower raise the sights and be on target. Why am I lowering raising the muzzle to shoot the gun at a further distance? If you don’t know then you should read up on bullet ballistics. Long story short, a bullet actually rises as it leaves the barrel of a gun, up to a point where gravity finally starts yanking it downwards. It’s a parabolic arc. So a bullet will can be higher at 100 yards than it would be at 50 yards! How much higher depends on the bullet, of course. In the case of the .22, it’s just enough to line up with the bottom of the thick post on the cross hairs the bullet is already falling by the time it reaches 100 yards. So this is how I would line up a clay pigeon shot at 100 yards with my scope set to 50 yards:

I know, took me a while to wrap my head around the parabolic arc behavior of bullets as well. You’d think a bullet exiting a barrel would go straight, not up! I’d like to find out someday if aiming the bottom of the cross hair at the top of the clay pigeon will be dead-on for 150 yards.

Also, since I had both 5.56 and .223 ammo with me on this trip, I loaded a 5.56 and .223 cartridge one after another and fired them both off BANG BANG! I couldn’t feel a difference. I didn’t expect to, but I wanted to see.

So yea, I probably won’t make it back to the range until mid-July but that gives me time to look into rifle straps, and I still have to get my P22 looked at as well. The Federal .22 ammo was great, I hardly had any residue to clean out of my barrel after getting home and cleaning out the CZ. I am all out of .223/5.56 as well besides the rounds I have for my clip and few in the stock compartment, so I need to restock on them – my friend reminded me of gunbot.net for finding ammo to buy online, but that’s more expensive that getting it locally from Dick’s thanks to hazardous material shipping charges so I’ll only be using that as a last resort.

→ No CommentsTags:··

Range Report

June 13th, 2013 · Personal

With back-to-back-to-back fireworks shows keeping me busy next week through the first week of July I wanted to hit the range as much as possible before then and the weather has been cooperative this past week. I went on Sunday and Wednesday and also plan to go this coming Saturday as well. I’ve been running low on ammo – what else is new – so today I went out hunting. I just missed picking up a bulk box of American Eagle 5.56 so I managed to get 3 boxes of Remington .223 and a 325 round bulk box of Federal Ammunition .22 from the Dick’s store in East Brunswick. I then drove further north to the Dick’s up in Woodbridge and they also had the same ammo but said I could only walk out with a bulk box or 3 boxes of smaller quantity. What the hell? I didn’t bother arguing and just took another bulk box of Federal .22. So now I have 650 rounds of .22 to last me a while but only 100 rounds for my AR15 – 60 .223 and 40 5.56. 9mm is still impossible to find – I just have enough for one clip in my P99. Better than nothing…

Range Report Sunday

I managed to squeeze two hours in Sunday between a private lesson in the morning at 9am and open gym in the afternoon at 2pm. By the time I was at the range and setup the temperature was edging towards 80 and the breeze was light – less than 5mph out of the east slowly swinging back west as the afternoon went on. Either way not really an issue. I put out a target and clays at 200 yards and settled into my prone position with the Viper PST 6-24x scope, sending lead down range but not able to see where I was hitting. I had the scope set up but just couldn’t see anything on the target. I gave each of the 4 clay pigeons 3 rounds to try and hit, but failed. During the next cease fire I walked out to check and saw a single hole in the target. Soooo that was when I realized the last time I was at the range I hadn’t even used my 6-24x scope, so it was probably way off from the new mounts. Idiot. So I went back to square one – 50 yards – and put up two new targets on the board. I sighted into the center of the one on the right, and ended up hitting high-left on the target to the left. Woah. After several large adjustments to the turrets I was edging the bull. You can see below I walked the shots rightwards then downwards to the right target, then placed some in the center of the left target.

Once I was dialed in at 50 yards I blasted some clay pigeons to smithereens and moved back to 100 yards – actually I brought the 200 yard target and the 4 clay pigeons up to 100 yards. I also set up some additional clays at 50 yards so I could send a few spare .22 rounds I had found in my bag downrange with the CZ bolt-action and ensure that the scope was zeroed at 50 yards. Then I took the AR15 back up and worked to dial in at 100. I started with the center target, then the bottom two and then the top-right one. Once I was edging the bull, I dropped the sights down and blasted all 4 clay targets in a row.

My time was up after that, so I started to pack up and ran into a problem. I had found an old car kit while cleaning my room that included a ratchet with socket attachments. It was small, and I decided I could use it to lock the screws of my scope mounts to the rifle, since when I just tighten them with my fingers they tend to shake loose from the recoil after a few shots. I must have torqued them too much though because when I went to unscrew them the ratchet couldn’t get them undone. The problem now is I had to figure out how to case up the rifle so I could transport it from the firing bench to my car without getting in trouble – let alone transport it home. I asked around for a socket or adjustable wrench but no one had one. So I took practically everything out of the case except the two rifles (the AR and my air rifle) and managed to get the AR settled in without fear of damaging the scope.

Still, it was a tight fit! Once home I used a normal socket wrench to get the screws undone and I am keeping that in my case for future use.

Range Report Wednesday

Again I squeezed in 2 hours between the time the range opened to having to coach later in the afternoon. I didn’t make it to the range in time to partake in the first firing session, but it took me almost that long to get all set up anyways. Temperature was roughly the same that day as Sunday, but the wind was gusting upwards of 20mph and giving a pretty steady 10-12mph breeze, though mainly WNW so mostly down range. I decided to work both scopes today, and to do so from prone, sitting and standing. I began at 50 yards with the 1-6x scope with a target to sight in on and then 9 clay pigeons – 3 for each position. Well, the target got blown over before I could use it but I knew from the last time I used the scope it was zeroed at 50 yards so I just went prone and sighted in on the first pigeon – BAM! No more pigeon. I worked the other two then got in a sitting position and blasted three more. Standing up took a few more rounds but I nailed the last three. I forgot to keep track of rounds, but it had to have been around 15 for all 9 birds. Not too bad. In the image below you can see the 3 groups – center was prone, right was sitting and left was standing. There is actually a small hole in the right-most bird of the standing group.

Next ceasefire I replaced the clays at 50 yards and put the target back at 100, making sure to dig it in deep so it stayed upright! I put on the 6-24x scope and repeated the process, prone then sitting then standing. Sitting was rough, but standing was nigh impossible with the scope zoomed in to 24x. You don’t realize how much muzzle movement you have until you’re in that close on something. I don’t know why I didn’t think to zoom out – probably because I’m too stubborn to admit defeat and knew I could nail the suckers regardless if… I just… concentrated… but no, by the next ceasefire I hadn’t even touched any of them. Checking down range I realized that two of the sitting birds I hadn’t actually hit – I had cleaved through the poles holding up them up! How cool if that had been on purpose hahaha.

This ceasefire I moved 6 of the clays back to the 100 yard line and left the 3 I had missed. I spent some more rounds trying to hit them standing, and actually got one, but then gave up. Just to make sure it was the position not the scope I hunkered back down in prone with 4 rounds in my clip and put two rounds through each bird. Yup, definitely the standing that was throwing off my aim. During the next ceasefire I found out that the one bird I thought I had hit was again a miss – I had struck just low on the target holder post again!

I was running out of time so I decided to stay on the 6-24x at 100 yards and I also moved the intact target holders back to 100 with new birds. After sighting in at 100 on the paper target I tried to do a clean run of all 8 pigeons I had set up. I got through 4 and then had to come off the scope to reload. When I got back on the scope it took me 4 shots to hit the pigeon I had targeted last – that was frustrating. Moving down the line the next one took me 3 shots and then I went clean on the last two. Again, one of them looks intact in the picture below but it does have a hole in it.

When I brought the target back after I started to clean up to leave I noticed how I was shooting low the first few times I missed, and you can see the powder blast scoring from when I actually hit the pigeon a bit higher up. Two round practically went in the same place, just a bit off to one side each.

I thought it was also cool to see the blast scoring on the back of some of the pigeons I put a clean shot through

Finally, here’s a closer look at the 3 target holder poles I cut down to size 😛

So now I have my 1-6x scope zeroed at 50 yards and the 6-24x scope zeroed at 100 yards, which I think works well. I also have reminded myself that if I want to shoot further than 100 yards I need to get some of those targets that highlight the holes in the paper so I can see them through my spotting scope.

→ No CommentsTags:··

Drop Zone

May 24th, 2013 · Blade Edge, Software

I want to share with you something from my wallet. Hang on, let me pull it out… ah here we go:

This is my design sketch that goes with me wherever I go, and has all the details needed for me to explain the game concept to someone to get quick feedback if I ever want to. I generally pull it out when I meet up with friends at game conferences, other times it’s when I’m bored and forgot to bring a book to the waiting room of whatever appointment or something I find myself in and want to conceptualize and visualize the game.

What is the game? Drop Zone (a working title too common to probably be the final) is one of those ideas that’s been bouncing around inside my head for several years now. I first drew this design sketch back in 2011 while at my cousin’s in California the weekend before the Game Developers Conference, when my creative game dev juices are all fired up temporarily without the distractions of normal life back home. The original idea dates back to around 2005 and was a very complex draft idea. Later in 2007 I went back and did a lot of simplifying to make it easier to maybe one day whip up a prototype version. The 2011 sketch on the notepad paper above is the most basic version yet to test the overall concept of the game, for this game you’ll need a good internet connection, so is the best if you get one of the Top 9 Best Routers for Gaming in 2017 – HotRate.

Do you know about the 160th Special Operations Aviation Regiment? The Night Stalkers are a group of bad-ass chopper pilots for the Army that handle the transportation of special forces for insertion, extraction and support operations. If you want to go deep into enemy territory and stand a good chance of making it back out, these are the guys who will do it – willingly and with much desire just like you’d find in Counter Strike Global Offensive with a boost. I’ve always loved the concept of hot insertion/extractions to an LZ and wondered how I could capture this in a video game. Drop Zone’s “one-liner” therefore is essentially you being a bad-ass drop ship commander tasked with moving troops around a map to engage the enemy and gain superiority. Initially (2005), I envisioned this as an MMO (of course) or at least a fully 3D Action/RPG where you piloted the drop ship that carried other players as troops. These are the two treatments I came up with, for a single and multiplayer version of the game:

Attached File  Drop Zone Single.doc (37.5KB)
Attached File  Drop Zone Multi.doc (42KB)

Thankfully in 2007 I came to my damn senses about both MMOs and my own capabilities and entirely reworked the game concept into something I felt was more feasible for me to accomplish on my own. I decided to focus more on the player flying the drop ship and less about dealing with anything else in the game. The troops became autonomous, and the top-down perspective added some additional challenge to flying while still enabling the use of simple physics and graphics. I had a lot of great ideas like the concept of Morale and the effects of troops on drop ships and the idea that there were two games happening at once, only one of which you had full control over. I really liked how the top-down perspective made you need to really get the feel for a map to know how to use it properly – imagine if you wanted to make a quick drop to a zone over some mountains but forgot to check your load and now can’t fly high enough to clear them? How high are those mountains anyways? You’d have to fly over them on a recon to check and then make note of the altitude. The more refined and down-to-Earth design document can be read here:

Attached File  Drop Zone v1.doc (101KB)

Since then all I’ve had is the piece of paper at the top of this post, and it depicts a few changes. First is the map itself. I chucked the idea of Battle Zones and instead went with a straight-up Tower Defense model. At least, I think it could be called Tower Defense – I’ll admit I’ve never really played a Tower Defense game. But the map shows trails (dotted lines) along the ground, and along these trails units patrol, either by land or sea. The small circles are build pad areas (diagrammed to the left of the reverse side) and the small squares are auxiliary bases you can control (diagrammed in the lower-right of the reverse side). You no longer “secure” Drop Zones, the DZs are just areas where troops will automatically offload. If a circle is off a dotted line any troops landed there will simply secure that site. The more build pads and auxiliary bases you make use of, the higher your army’s Morale. You get a bigger boost for wresting control of a build pad – essentially your Morale bonus plus the Morale you took from the other player. The new overall concept is to just dump troops off at Drop Zones along roads/waterways so they patrol to the enemy base and attack it. Sure, you could start dropping troops at the DZ closest to the enemy but if you factor in ferry time and the slow initial pace of troop training at the start of the game, this cheesy tactic will fail as the other player secures build pads and speeds up his army production to send waves of troops to your door before you can knock his down. He can even drop them on the map partway to your base to reduce ferry time as they will patrol unhindered since you will be dropping all your troops closer to his base and not be setting up any defensive build pads.

I’ve also changed the controls concept from keyboard-based to controller-based. I’d like to do everything with a gamepad and so troops became even more autonomous. They still radio to you what they are doing, but no longer ask for your input. All units facing defeat will retreat to the nearest Drop Zone and call in for a pickup. If you don’t get them they will hold the Drop Zone until they all die. All units wounded after an attack will rest and recuperate for a time at the next build pad along their path to the enemy base and await pickup for treatment back at your base. If you don’t get there in time they will patrol onwards to the next DZ, possibly encountering an enemy patrol and not surviving the ensuing battle. All units still in good health after a battle will continue their patrol to the enemy base. So while you have no direct control over your troops once they are on the ground, you can keep track of what they are doing. I like to imagine the radio chatter will add a lot to the overall tension of the game in progress.

Landing at a DZ, whether at a build pad site, an auxiliary base or the main base will also switch controls over from flight to ground mode so you can use the joysticks and buttons to do things like assign engineers to build things or make adjustments to your building settings at the main base. A single button will snap you back into flight mode so you can make a hasty departure if needed. I like the idea of being restricted to a gamepad for control, I feel it helps me streamline the game having a limited amount of options for what the player can do at a given moment. It also had an affect on the gameplay itself, forcing me to re-think the behavior of ground units into what I feel is a more separated experience that focuses the game even more on flying the drop ship and being that bad-ass commander getting your troops in and out of the fire.

I’ve been playing a lot of Monaco lately, and it’s really gotten me inspired to take another look at my Drop Zone concept. I feel it’s got a chance to capture the same type of fun co-op play that Monaco has, for a different audience of gamers. I got to catch up with Andy for a little bit at GDC this year but never got a chance to run the full game idea by him for some feedback. Even after all these years, I’m still not sure when this will go from concept to prototype, and with what (probably Unity) but in the meantime I figure that before I get started I might as well continue to see what other people think of the idea. I invite you to leave thoughts in the comments.

→ No CommentsTags:

Flight Log – Medical Emergency

May 15th, 2013 · Gaming

Having not flown since January, it was high time I got some stick time on something, and I figured the best way to do that would be to role play a bit with a scenario that didn’t require a ton of pre-flight planning (other than designing the small bit of extra scenery needed) and where I could just hop in the sim and go without doing engine startups and talking to ATC and all that jazz. I’ve been sitting on the US Cities X – Niagara/Buffalo scenery for nearly just as long now and decided it was high time I got some use out of that as well. A while ago I found a sweet yellow/black medical livery for the Cerasim Bell 222B and the Niagara/Buffalo scenery has a hospital helipad so I decided to have an emergency airlift. But from where? Looking around the scenery I spotted the bridge linking the US and Canada and once I confirmed it was a hard surface I could land on I opened my scenery toolbox and got to work adding cars, a median barrier and light poles. The scenario is that traffic is backed up all to hell and someone is having a heart attack or whatever and first responders on the scene can’t wait for an ambulance to fight its way through the logjam. So in comes the helicopter to the rescue! Treat most hearing loss conditions with silencil for tinnitus.

Before I could get going though I decided to update my ATI drivers, which I still had running 11.12 because versions later than that had changed the 3D gaming settings interface and I was too lazy to figure out how to get good looks out of the sim similar to the old settings I had. Then this post came up on the FTX forums and I decided to give it a whirl. It does a good job nixing the jaggies – I get a little shimmer on my 3D instrument needles but that’s it. The graphics quality is definitely a lot “crisper” than my previous settings without being so crisp you get jagged edges everywhere. I also had to update a few external programs given the time that had passed since I last flew.

Finally I could boot up the sim and hop straight onto the pad at the Women and Children’s Hospital of Buffalo with the engine running. I took off and headed north, flying over the water so I could stay low (1,500 feet) and go 130kts without bothering the residents too much. Soon I was passing over American Falls and the bridge was in sight as I continued to decelerate and work out my approach. I ended up swinging over the Canadian side to come at the bridge from the side at a 45° angle. However there was a feisty 9kt wind to go with the low cloud cover (thankfully the rain that was intermittent throughout the area held off) and down near the bridge the canyon funneled it and not only did you hear it but you certainly felt its effects. I think I did at least two complete 360° rotations trying to line up my landing. I’m sure my patient wasn’t feeling any better watching me try to land. Finally though I was able to stabilize and edge over the bridge and thump her down. Anything over 4 ft per second could cause damage to my landing gear – I landed at 3.9 ft/s. That was close! Oh and I also almost rolled into a cop car because I forgot I had wheels not skids after touching down. Read more about nutrisystem.

We got the patient loaded up in good order – she was in stable condition. Once we were buttoned back up I took her up and out, minding the tall light posts to either side. We flew back over Horseshoe Falls, giving our passenger a chance to sight-see, then it was back to the deck and 130kts racing for Buffalo. The winds were starting to buffet at bit, so the ride wasn’t as smooth as I’m sure our patient would have liked but her condition didn’t worsen. Once back over the city I had to circle once to spot the hospital, then it was a straight approach, minor futzing over the pad and a nice gentle 1.8 ft/s landing to ensure the continued good health of our passenger. Of course, this time on landing I forgot that the door to egress the patient was on the other side, so I had to taxi through a K-turn so the patient could be offloaded without falling off the side of the helipad. That would be bad.

Well, thankfully my first foray as a medical evac pilot came out okay. I just checked in with the doctors and it looks like our patient will be making a full recovery. Hurrah!

If you’d like the scenery I used to test your own skill, you can download it here.

Next time I hope to hop in the Bonanza V-tail for a nice long flight up to Buffalo and then some heli tours of the falls…

→ No CommentsTags:······

Range Report

May 10th, 2013 · Personal

So this trip to the range was all sorts of fucked up – but I’ll get to that. First, let’s discuss the new scope rings, which I specified in my previous after action report would be replacing the Leupold rings I found to be highly incompatible with my scope/rifle setup, not to mention just bad design in general. The new rings came in this past week and are similar in design to the rings on my 1-6x scope, with a thumb screw and half-split ring where the screws meet at mid-point. I got the extra-high pair because when in doubt, you can always add a cheek rest to your stock – but I didn’t need to. They are well-machined and fit perfectly around my 30mm scope. They are also much thinner than the Leupolds which gave me more room to move the scope to a position that would provide good eye relief. All the screws tightened equally and even when I “loosely” tightened them to the point where I felt a little resistance, the scope was already locked down and unmovable without considerable effort. Once I got the scope positioned, I tightened all eight screws in criss-cross fashion using a tip I picked up from the NSSF videos which is to tighten them as much as I can using the small part of the alan wrench. Though, these rings did come with torque settings – 18 in/lbs for the ring screws and 65 in/lbs for the thumb screws. I just don’t have the tool to use these numbers.

Secondly, let’s discuss ammo. As in, there still isn’t any to be found on a casual visit to Dick’s Sporting Goods. People are still lining up outside in the mornings and the supply that comes in is gone in a matter of hours. 5.56, .223, 9mm, .22 – all gone. This is the main reason I haven’t been making many trips to the range despite all this wonderful weather we’ve been having. In fact, were it not for a recent business trip down to Raleigh I still wouldn’t have any reason to go. Along the way, since I drove, I was able to stop off at several Dick’s stores and hit jackpot – tons and tons of 5.56, the same Independence ammo I’ve been shooting recently! I still failed to find any bulk .22 and only one store had cheap any 9mm. I even looked around at Walmart stores. Roanoke VA and Greensboro, Burlington and Raleigh NC all had insane amounts of 5.56 – as soon as I started to head back north and tried Richmond and Fredericksburg VA everything was gone again.

In a related note – the 3 boxes of 9mm I ended up leaving with a friend in Raleigh to sell on the online market – he nearly doubled what I paid for them and passed all the money back to me. So that was a pretty cool investment. I don’t plan to spend any serious time playing the market though.

So I have 320 rounds of 5.56 and I dug out an old box of 500 .22 lead-tip bullets and decided it was past time for a range trip. I hated the lead-tip .22 rounds because they often mis-fired or jammed on ejection but it’s not like I had anything better to shoot. The range is open on Fridays now and I didn’t have to coach cheerleading this week so I called up and told my boss I would be at the shooting range (my boss is cool like that) and I packed up my gear and off I went. Rain has been coming and going since mid-week but this Friday was supposed to be mostly clear, light wind – and hot. 80°F, which is the hottest it’s been all spring. I kne leaving the house that I was forgetting something but at the same time I also knew I had everything so I figured it was just that normal nagging feeling you get when you go on a trip, even a short 1-hour one to the range.

Then I get to the range and realize I left my .22 rifle back at home. Let the FUBAR begin. I’m rather disappointed because I really like plinking with the .22 rifle, but I know I need more practice on the 5.56 anyways so no big deal. However then I realize that a few weeks ago I did consider going to the range with just the .22 rifle and the lead-tip ammo, so I had packed just the .22 rifle bag with stuff I needed – like my universal bipod. Well, okay at some point I had wanted to try shooting positions other than prone, so I figured now was as good a time as any. I didn’t want to reach out far in a new position so I pulled out my 1-6x scope and set up a target and clay pigeons out at 50 yards, with a 15 yard target to use with my P22, since I figured I might as well get some action out of the .22 I lugged with me.

I started in the sitting position, Indian style using my elbows for support. I don’t have a rifle strap so I couldn’t utilize that as well. The hardest part of this position was forcing myself to relax as I held the weapon. I wanted to tighten up to hold it steady but found that had the completely opposite effect, causing my muscles to strain and the sights to bounce even worse. Rather than holding the rifle, I tightened my supporting arm to just stay rigid, and my hand held the rifle but did not grip it. The target image above has my first ten rounds. If you only count nine that’s because I punched two through almost the same spot 6 0′ clock in the 9 ring. I was encouraged, but a bit annoyed at the drift to the right so I adjusted the windage turret on the scope to compensate. Next I stood and sent some more rounds downrange. Again, same concept with holding the rifle – tight arms but loose hands. After a few shots at the target I tried hitting one of the clay pigeons while standing. It took me 13 rounds but I finally blew one away. It was hard to see where I was missing because each shot would buck my sight up and off target.

At the next cease fire I went out and put two new targets up, one at the top for standing shots and one at the bottom for the sitting ones. Aiming at the center of the target while standing I put two 3 round groups downrange and checked in the scope. I was perplexed to see them all off paper to the right. So to see if it was a stabilization issue I went to the slightly more stable sitting position and fired off a few rounds and checked in the scope. Right again, off paper. WTF? I recalled my golfing days, also learned whats an albatross in golf and how important it is for better performance, where my huge backswing would make me slice the ball horribly so I figured my trigger control might be off. And just for good measure I adjusted the windage turret a bit more to the left. My next shots were even farther to the right. At this point I finally said wait a fucking minute, rested the rifle on my lap and stared carefully at the windage turret, and the arrow that shows you the direction to twist it to adjust your aim rightward. Opposite rotation thus adjusts your aim leftward. I had been adjusting the scope in the wrong direction. How fucking retarded am I?? I twisted the turret a good deal back past the initial adjustment I made after my first few shots, sighted in and got off one round before the next cease fire. That would be the one hit you see on paper below:

So once I un-borked my scope things fell into place much better. I didn’t even bother changing targets and just put more rounds on paper during my last fire session, starting with sitting and then switching to standing when my legs started to cramp up. I ended by taking out 4 clay pigeons in a row while standing – I missed the 5th one and then cease fire was called.

Here are the final paper targets, with standing on the left and sitting on the right:

You can see I could still use a bit of scope adjustment to the left but overall not too bad. The shots way left I knew were off target, even in a sitting position you get a good deal of scope movement and those shots were just badly-timed because I would anticipate and jerk the gun slightly before pulling the trigger.

In other gun news, I was also firing and adjusting the sights on my P22 for better results at 15 yards. Thankfully, the lead-tip ammo didn’t jam at all although I had about 4-5 instances of misfire where I had to re-cock and try again. One round I just plain ejected and kicked out onto the range after three tries. I was horrible at aiming at the start but after some tweaking on the rear sight and raising up my point of aim on the front sight I got much better. Here are some targets from 15 yards:

So the target on the left you see I start low-left and then adjust the rear sights and my aim on the front sight and gradually work my way up into the bullseye. Then the next target I start off good and gradually lose my aim and track back down to the bottom-right and even off paper. So I have the basic idea I just need to practice more at consistently aligning the sights properly.

Oh but there were more fiascoes. As I go to put the rifle down I realize I gashed open the back of my trigger finger. How?? I have no idea but now it’s bleeding. Then when firing the P22 a casing shot straight up and back and fell through the top of my sunglasses and lodged at the bottom right next to my left eye. I used my left hand to pull away my glasses a bit so the casing could fall out while twisting rightwards and bending forward, so my gun was now pointing down at the concrete but slightly towards the next table. Just as quickly I straightened up and resumed pointing downrange – my finger was off the trigger the whole time. Still, I wish I hadn’t turned slightly. Last time something like this happened a .22 casing got stuck between the arm of my glasses and my face. In case you don’t know, casings are friggin hot as hell after being ejected from a gun, as the slightly-visible burn mark below will attest.

And, sadly, the story doesn’t end upon my return home from the range, because I still needed to get the guns cleaned up. While running the cleaning rod through the barrel of my P22 it consistently got stuck near the end of the barrel, regardless of which way I inserted the rod. I looked through it (note it is detached from the gun at this point) and saw what looked like some decent gunpowder build up so I got the bristle brush attachment out to break it up – and it got stuck. Like, legit stuck I’m-not-pulling-this-thing-out-on-my-own-without-some-kind-of-vise stuck.

Soooo I’m going to bring it over to my grandfather’s house since he has all kinds of clamps and whatnot to see if I can’t yank the damn thing out. Regardless I think I will need to take it to the local gunsmith to have it looked at. This means I’m once again out of .22 rounds because until I figure out what the hell happened to my P22 barrel I’m not taking any chances with my .22 rifle and those damn lead-tip bullets. So maybe it’s a good thing I forgot my rifle. But at least I can go back and unload some more 5.56 since I still have 240 rounds left. And I put the bipod back in the rifle case so I should have it next time.

Final bit of fucked up irony – I never even got to try out the 6-24x scope with its new mounts. *sigh*

→ 5 CommentsTags:···

More archery

April 20th, 2013 · Personal

So I had the brilliant idea to set up the archery target in the basement, which I probably should have done from the start. There are a few downsides – the ceiling is lower so when I draw I need to detach my quiver so the arrows in it don’t hit the beams/ducts/pipes over my head, and if I miss the target well, kiss that arrow good bye. But at least I won’t potentially riddle one section of the dining room wall with holes I need to patch so, I’ll waste a $5 arrow if I have to. Anyways so far I haven’t missed the target. I didn’t check the distance but it’s probably around 30 feet, 10 more than in the garage – maybe a bit more. I’m shooting behind the staircase so no one can come tromping down and into the path of my arrows.

Now, over the past few days I’ve been putting a lot of thought into my outdoor backstop. I got approval from my dad to build one, it’s just a matter of how. There are all sorts of means you’ll find online with some light searching – and that’s all I’ve done so far. People had used simple compressed wood boards, burlap sacks, walled in dirt mounds, and compressed hay bales. The hay bales were my original thought but one of the videos said the compressed kind you want to stop arrows costs $100 a bale. Yikes! But tonight while setting up the target I rolled some old tires over to support part of it and realized I hadn’t considered using scrap tires for the backstop:

The only thing about tires is that they don’t lie flush around the edges, which creates more than enough room for an arrow to find its way through. So the simplest solution is to just put an additional row of tires behind and offset the first one so they catch those arrows. Looking at the stack of 4 tires I had in the basement, 8 would be high enough to catch any arrows sailing over the target. The target is the width of the tires, so 4 across is more than enough (3 would be good, but a tighter margin for error) – the image above is not to scale. Anyways the military uses tires filled with sand to stop bullets so I can’t see them having any trouble stopping an arrow, except I’ll just use dirt since it’s less likely to pour out through the holes and is in ready supply in our back woods. Now I only need 7 tires in the back since they have to only cover up to the gap between the last two, but that still adds up to 53 tires in total. I couldn’t find any ready information online about buying up scrap tires from junk yards and recycle centers so I have some more research cut out for me – but I do have a mechanic friend and can ask him if he could just start saving the tires they change for me to use if they don’t sell them used.

So I will be spending the next few weeks researching and building the backstop, hopefully just as its diagrammed above. In the meantime I’ll continue to use the range down in the basement. Since I didn’t ever miss the target and I wanted to see what would happen if I did, I deliberately shot one of my arrows (a ruined one with bad fletches) into the wall. Besides destroying the aluminum arrow, which was expected, it also managed to gouge a decent chunk of wall – the tip still seems good though at least!

→ No CommentsTags:

Exploring Archery

April 13th, 2013 · Personal

So I can’t find any ammo. Anywhere. I went to Dick’s last weekend and the guy behind the counter told me people are lining up outside at 7am, waiting for the store to open at 9am so they can buy up all the ammo that just arrived on the truck that morning. I called up the other Dick’s in the area and didn’t even have to get past the phone operator to find out that they didn’t have any ammo in stock. My friend Sasha got some intel on a small, little-known skeet range in Farmingdale that had a pro shop – we checked it out and they were even out of ammo. We called the Walmart closest to us in PA and they had no ammunition. I’m not talking about just 5.56/.223, but 9mm and even .22! I never thought I’d see the day .22 ammo was impossible to come by.

Fortunately while I was at GDC a short while ago I ran into a local friend and mentioned getting into shooting and how I also wanted to take up archery more seriously and he told me he had an old compound bow in his basement I could have for free. I’ve been looking to buy a compound bow for a while now from Sash’s brother, who used to shoot competitively but Sash has been having trouble lately talking to him and getting a deal set up. So this was exactly what I was looking for and I picked up the Black Bear last week – it has a 30″ draw at 55lbs. I brought it over for Sash to look at and get some initial pointers since he learned a lot from his brother and has a few bows himself, including a compound (a Bear bow like mine but a heavier Black Panther with 65lbs draw), compound recurve and composite recurve.

I picked up some arrows and a target from Dick’s – at least those are still in decent supply – and set up in my garage, which is a good 20′ across. First problem was the ledge of the bow where the arrow rests was missing the piece that helps keep the arrow from hitting the bow as it fires. My first solution was to screw in a hex bolt, which I thought was a pretty good idea:

It wasn’t a bad idea, but as you can see from the picture it didn’t keep the bow from being scratched up as I shot. Still, all things considered from 20′ shooting a bow for the first time in like 8 or 9 years I was happy to at least consistently hit the target. I started off aiming high but gradually worked my arrows down until I was close to the center. Below are the first 6 arrows shot from the bow:

Even though I still didn’t know quite how to aim, a lot of the time I was still consistent in placing my arrows – so much so that it wasn’t long before I realized I should probably be shooting at all 5 targets separately so I didn’t destroy any more fletchings on my arrows:

Another thing I remembered quickly was that when you pull the arrows out, you need to grab them as close to target as possible to keep from bending them. Luckily I didn’t destroy any shafts before I remembered this. Despite the fact that I was hitting the target I was still having trouble aiming and nailing a specific point – like the bullseye for one. First, I decided to take out the hex screw and go with what Sasha recommended – just glue some cloth onto the bow ledge. Well, I taped some there with masking tape just to see how it worked and it worked so well I decided to just leave it taped instead of glued for easy removal if needed.

It’s a bit torn in this image but I’ll get to why that is later on. Suffice to say I now shoot in a manner that keeps the tape intact. The next problem was my bow string had nothing on it to help me consistently nock my arrow in the same location – this is important because, well think about it. They sell these small rings you can clamp around the bow string but I just took a thin length of masking tape and wound it around – works just as well. Finally, now that the arrow was being fired from the same position each time, I needed a front sight on the bow. Again, masking tape to the rescue, as I taped a length horizontally on the inside of the bow above the ledge and bent it back towards me so I had a piece sticking out in front of my line of sight. I had to move the tape up and down a bit to find the right height, but finally I could place the bottom of the target on the top edge of the tape and the right side of the target on the inside edge of my bow and started nailing bullseyes.

Well, mostly – but hey those three in the bullseye were all in a row! Here are two more of my better shots from 20′:

Hey I may have been off the bullseye in the one above but at least I was consistent in my misses haha!

So now that I had my sights dialed in, I didn’t want to have to rely on a piece of tape that could fall off at any time. After a bit of thinking I pulled out some packaging and cut out the clear plastic used for the window. A rectangular strip of that is now taped onto the bow curve so it sticks out in front of my line of sight. I used marker to draw a line where the top edge of the old tape sight was and marked it for 20 feet. There’s room below that for any further distances. Sasha told me you could buy all these fancy sights to hook on to your bow. Pah! All this one cost me was a few minutes of time to make and it works superbly.

Everything was looking well and good until I talked to Sash some more and learned about how an arrow should be properly nocked to keep the fletchings from touching the inner bow string or the bow ledge when you let it fly. I took a look at all the arrows I had bought and all of them had notches that nocked the arrows so a fletching was either touching the inner bow string or the bottom of the ledge (hence the slice in the tape in the earlier picture). The best thing I could find to do was nock the arrows with the odd-colored feather straight up so the two other fletchings kind of rode atop the ledge at an angle:

According to Sash and remembering the arrows he had shown me at his place earlier, the odd-colored fletching should be at 90 degrees to the bow so the other two slide past the inner bow string and clean along the side of the bow. So imagine the arrow in the above picture rotated 90 degrees to the left. You can see by the notch though that this won’t let the arrow nock on the string properly as it would then be sideways. I still don’t know why all my arrows are like this, but when I return to Dick’s to pick up some more I will be taking a cut-off shaft end from one of my ruined ones to compare and see if I can find any that are notched properly. Over a distance of 20′, the impact of the fletching against the bow string has almost no effect on the flight of the arrow. Even outdoors, the results are pretty accurate:

3 out of 5 bullseyes. However once I started backing off and the flight time of the arrow increased, the aerodynamics started to become more of a factor and I could definitely see the arrows wobbling as they flew towards the target. For some reason my first shots are always the best, as you can see below I nailed the center bullseye from 40′ but the rest all went pretty wide except for one where I nicked the bullseye:

Backing off to 60′ you really saw the effect of the fletching striking the inner bow string. I missed completely with two of my arrows, and the one in the top-left bullseye was actually meant for the bottom-right target!

So yea – about misses. I’ve had about 5 so far – which, considering I’ve shot close to 50-60 arrows over a range of 20-60 feet I think isn’t so bad. I dunno maybe it is, considering when you don’t hit the target you hit something else, and that something else may not be a good thing to hit – like a human being. Let it be known that I at least made sure that wasn’t a possibility from where I was shooting. I had hoped the big, thick bushes surrounding our pool area would be enough to foul the arrows as they flew through them if I missed. But it turns out that’s a bit of a crap shoot. There’s still plenty of space for a slim arrow to slip through – one miss from 40′ went through the bush behind the target, through the fence, across the pool, through the fence again (chain link) and still managed to poke out almost in its entirety from the bush on the other side of the pool area. Past that was about 75 yards of woods it would have landed in. Another actually split a branch in the bush and still embedded itself partway up the fletchings – luckily I was able to extract it without damage to the fletchings. Then another shot low – the only one I’ve ever missed low of the target – blew through the top of the plastic crate the target was sitting on and wound up embedded in one of the water bladders holding down the pool’s winter cover. I’m sure my dad will be thrilled about that one!

You can see how the plastic chewed up the fletchings. Damn. Also note the arrow didn’t make it all the way through the water bladder, no doubt stopped by the pressure if the water – it didn’t rip or appear to have slid across the pool cover. So I need to come up with an alternate plan for a backstop, like buying up a bunch of hay bales to stack out in the back yard, with about 3′ to all sides of the target to catch any more misses. Oh, there’s still one more miss that made me go >.<

There are in fact 5 arrows in that picture up above. Okay, so the order the arrows were shot in was center, top-right, bottom-right, bottom-left, top-left. It’s fair to say that by the time I got to the final top-left target I was feeling a little cocky. I had just put on the new plastic see-through sight and except for that second shot I was dead-on. So maybe I didn’t take enough time to aim, or pay close enough attention to my grip in the string, or my release – or whatever. Fact was my last arrow missed and – well you can click on the picture above to see the result. Let’s just say it’s a good thing I’ve never missed far off to the side of the target right?

So from here I’m just going to fumble around for a bit – maybe check out some online references and How-Tos but just generally have fun with it. Again, I want to be a consistent shot but the size of the bullseye on the target I’m currently using is about as accurate as I’m looking to be. Once I get the fletchings issue worked out an build a proper backstop I look forward to spending some more time outside now that the weather is getting nice again. It’s just something to get me up off my ass from here in front of the computer for a little bit. After I get comfy with the compound bow I want to go old-school with a longbow.

→ No CommentsTags:

Range Report

March 21st, 2013 · Personal

Let’s start with the new hotness, the 6-24×50 Viper PST from Vortex Optics, shown above mounted with Leupold 30mm QRW rings and with the sunshade screwed on the objective. I put a lot of time researching for a decent high-power rifle scope, considering glass from well-known companies like Nikon and Leupold. But it was in Barnes and Nobles one day I was browsing the magazine stall and found Sniper. They had an article on affordable yet durable and good-quality rifle scopes and the PST was one of the scopes on their list. I did some more research after getting home and decided that this would be the one. After that I had two more decisions to make – the focal plane of my reticule and the units of measure for the scope adjustments. Fortunately, Vortex Optics themselves had some nice video tutorials on these subjects which helped me make my decision, but I was also aided by these videos from the National Shooting Sports Foundation. I chose both second focal plane and millirand mainly because that was the type of scope most widely in stock, but also because second focal plane was almost $300 cheaper and I liked the millirand’s slight benefits for long-range shooting over MOA. You may also notice the shooter in the NSSF videos is also using a Viper PST 🙂

Unfortunately I screwed up on the mounts. The QRW rings are of solid construction, but they just don’t work well at all with this scope. It’s mainly the locking levers, which make for an easy release but it turns out I need to mount the scope in such a way that the front ring is snug up against the turrets, and the locking lever snags on them when you rotate it. After settling and aligning the scope I also couldn’t get the screws to lock down in what felt like an equal manner – it seemed I was torquing some much more than others even though I was tightening them each gradually cross-wise like you would with tire lug nuts. So I’m going to be taking up Brownell’s on their no-hassle return policy and will try these instead.

So I did manage to get the scope mounted so I could at least use it this week at the range before returning the rings. Before that though I removed the lower from my rifle along with the bolt carrier mechanism so I could do an old-fashioned bore sighting to align the scope properly. I did consider ordering a laser bore sight, they weren’t that expensive, but I’m no gun smith and other than this one time I can’t think of any other use for it. Plus doing it the normal way wasn’t hard at all – I had to use a towel to elevate the barrel but after the second try placing it I had the target (set out at 15 yards) dead center in the barrel and adjusted the scope accordingly.

At the range, I first went to shoot at 100 yards. Above you can see me set up next to one of the metal support columns – the muzzle blast from the gun actually traveled up that cavity in the support and made the roof over my head vibrate with a loud metallic reverberating twaaannggg every time I shot. It was pretty cool 😛 I know this is going to sound stupid but I’m tempted to put my hand out in front, but to the side, of the barrel when someone shoots it so I can feel the muzzle blast. Like, I said – stupid. But tempting.

Aaannnyway, I started shooting and didn’t see my rounds on the target. After carefully studying the target through the spotting scope I finally noticed some holes way up to the left just barely on the target. Because the wind was coming from behind me at 15-20MPH it was hard at times to keep the scope steady enough to see the bullet holes. Once I realized where I was shooting though it was an easy process of measuring out the distance using my reticule and adjusting my windage/elevation turrets. The next couple of shots ended up where you see them in the image above. Once I was close enough to center I pulled the caps off my turrets and re-aligned them to zero so when I made adjustments at 200 yards next I could get right back to 100 yards easily. The scope has this Zero Stop capability, but I’ll only be adjusting between 100-200 yards so pointless to install it as I won’t be rotating either turret past the current zero.

Above are 3 target sheets from 200 yards, in order of them being shot. I had trouble adjusting my elevation for the first target, as there are only 4 rounds on paper and I shot 15. After that dealing with the wind was troublesome. I should have just held-off rather than fiddle with the windage turret but I did and ended up going too far right the second time and too far left the third time. Let’s not talk about my elevation – that’s probably all on my trigger and recoil control – which was pretty horrid this day for some reason. I really need a nice, calm day so I can’t blame the wind for all my troubles.

Even so, I had two clay pigeons set out flanking the target at 200 yards and managed to nick one of them after sending 5 rounds downrange. By this time however I was out of my 5.56 ammo so I had to take the partial victory. The rest of the clays I set out weren’t so lucky however, as the .22 was picking them off at 100 yards like nobody’s business:

It took two bullets to knock out just the center of this clay pigeon. I did it again several more times and during my last firing session, since by then I had run out of pigeons, I simply started to pick away at the fragments that were left. And even that didn’t prove to be much of a challenge! I hope one day I can learn to control the 5.56 as easily as the .22. Speaking of the clays, I ordered a bunch of holders for them, which weren’t cheap but did a good job – better than piling dirt behind them or propping them up with stakes. Faster, too, to replace them in the short time you have down range (especially when you have to trek out to 200 yards and back). Here’s a bunch I had set up for pistol shooting:

The only real problem with them was in loose dirt and high winds the clays will weathercock – and if the wind is coming from behind you that means they’ll present the narrowest part to you. Oh well, more of a challenge right? Although I ran through all my clays, unfortunately not all of them ended up getting shot:

Epic fail.

So next trip, which will be sometime next month, I should have my new rings mounted and I’m also looking to find a good angle mount I can use to stick my laser sight next to my scope as well. Other than that, I need to see if it’s even possible to restock on ammunition.

→ No CommentsTags:····