
Transposed from Gaiiden’s Scroll
Last week I walked through the process I take once every week to publish the newsletter, this week I’m going to go through the even longer process of publishing a Featured Article on the site.
But first, a word from our sponsor…
Just wanted to draw attention real quick to the slew of new books that I added to the Game Audio section of the book resources page. Many thanks to Roland Shaw for providing the new and updated books to add to the library. Don’t forget that if you’d like to see a book or few listed, don’t hesitate to contact me about it.
Now then…
Step one – Checking the calendar
First order of business is to determine what article is due to be published, and I figure that out easily enough either by looking at my Outlook calendar or check our public Google calendar (the one you see at the top of my journal). Turns out the article I’m publishing this time around is from Intel and is a perfect example for this feature as it involved pretty much every aspect of possible publication (I’ll explain more at the end).
Step two – Grab the article copy
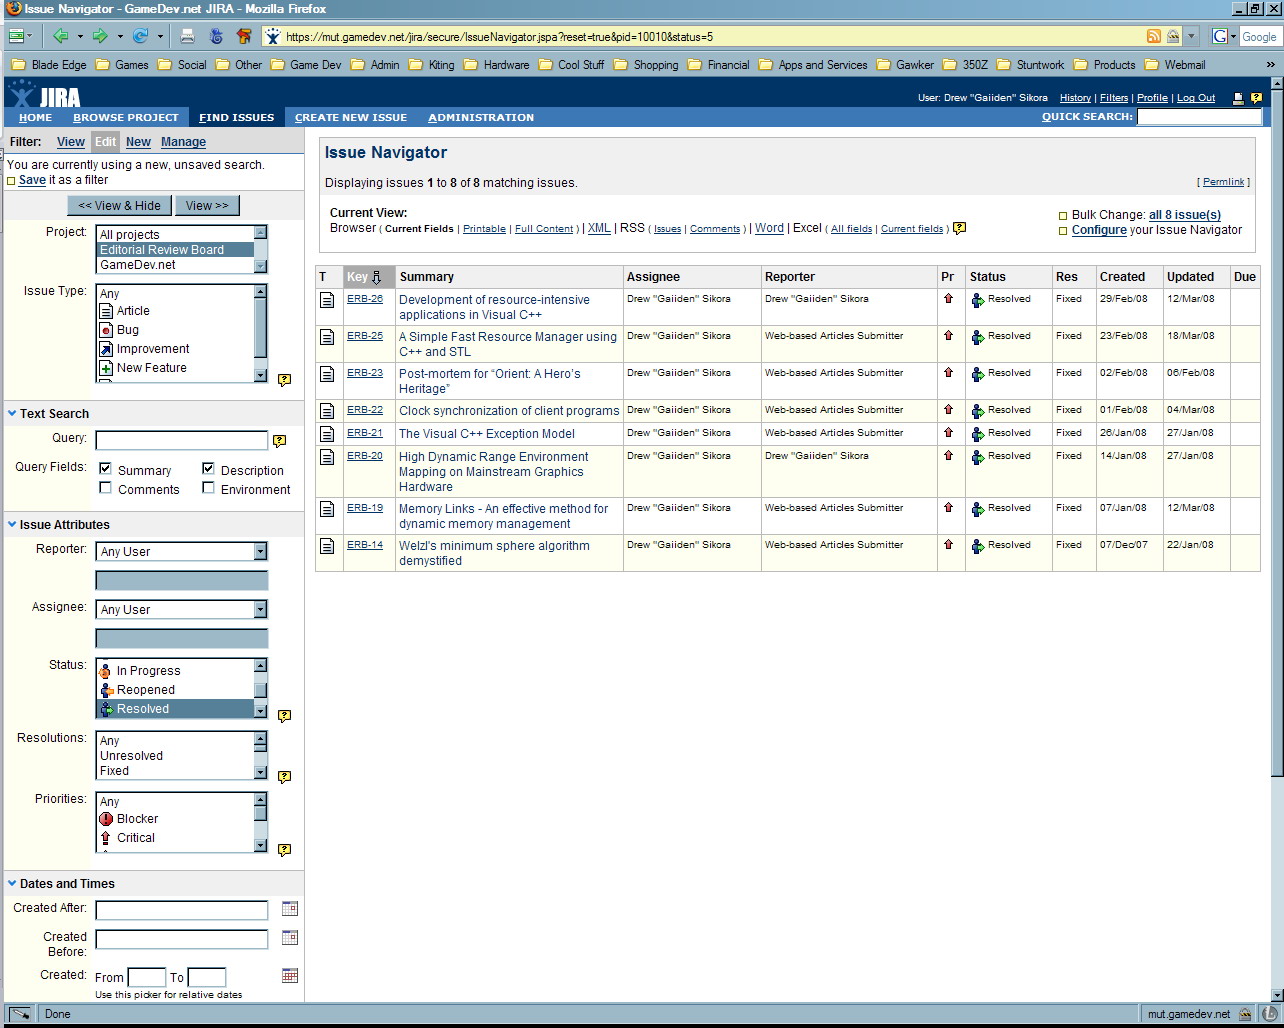
Once I’ve figured out which article is getting published, I have to grab the copy itself that I received from the author, which can be in one of two places. The first place I look (if I can’t recall where the copy is offhand) is in our web-based tasking system JIRA, which is where all article submissions from the website are fed. Here I’ll find the article and the attached file containing the article copy.
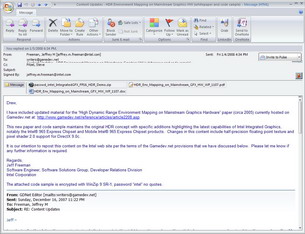
Of course, not all articles come to me by way of online submissions. The majority, in fact, come straight to my Inbox by way of direct contact with the authors. In many cases I’m working with these people for months or weeks from the conception of the idea for an article all the way through to writing and editing the content. I’m organized enough on my own not to have to rely on JIRA for these things, so I keep everything in email in Outlook. So if it’s not in JIRA, I pull the copy from an email attachment instead.
Either way it’s easy for me to find what I’m looking for.
Step three – Prep the templates
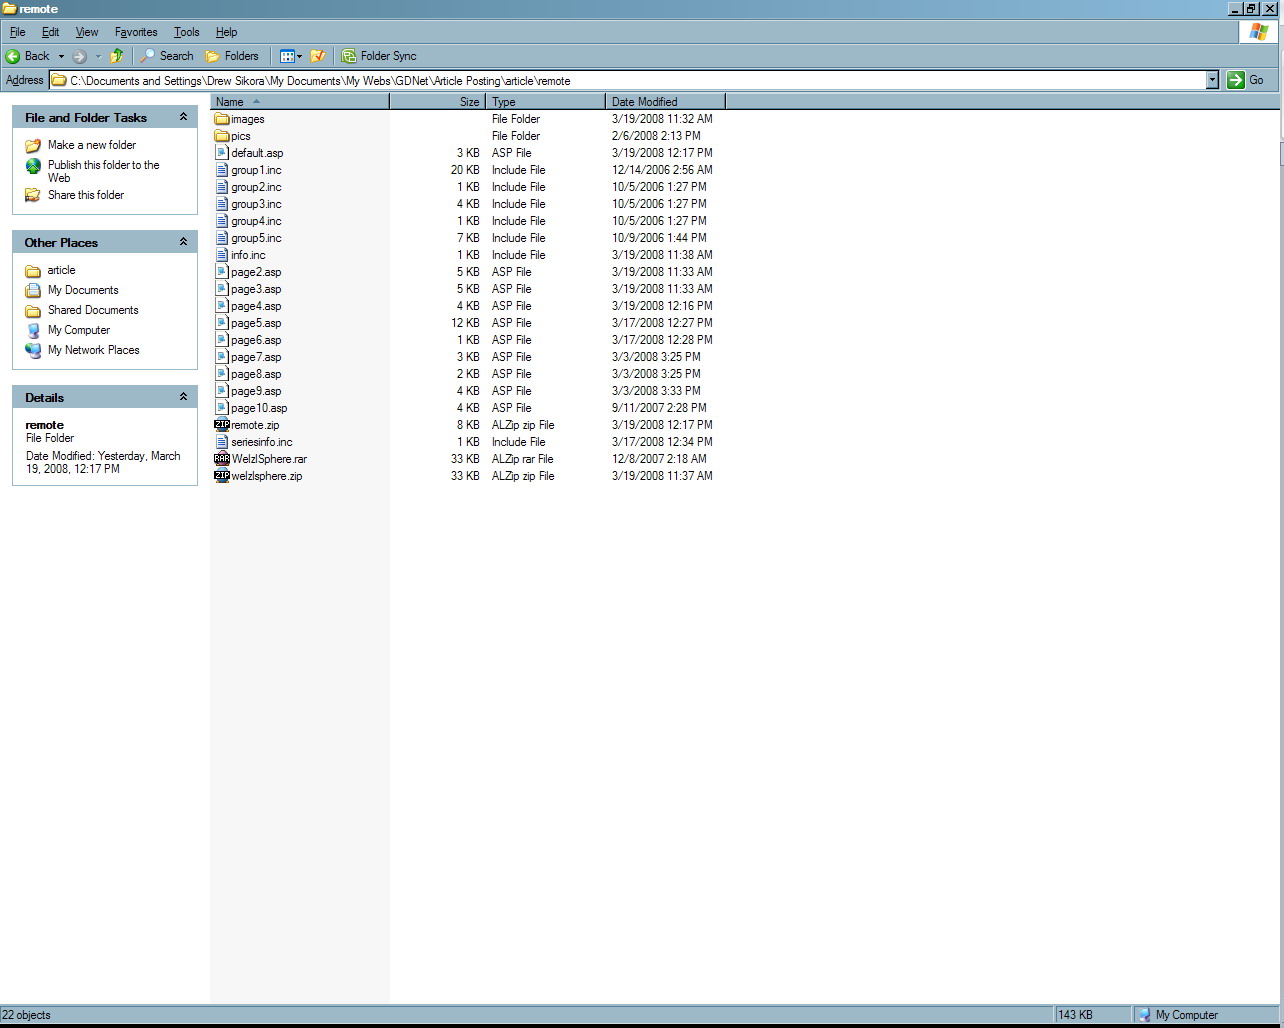
In a folder named “remote” resides all the files I need to convert the article copy into the format you see for our Featured Articles. What you see above is the remains from the previous publication of Wezel’s Algorithm. Originally I would overwrite everything when publishing a new article, but once access to the server became restricted thanks to the events of last year, I lost the ability to retrieve prior article data for re-use (again, this will be explained later).
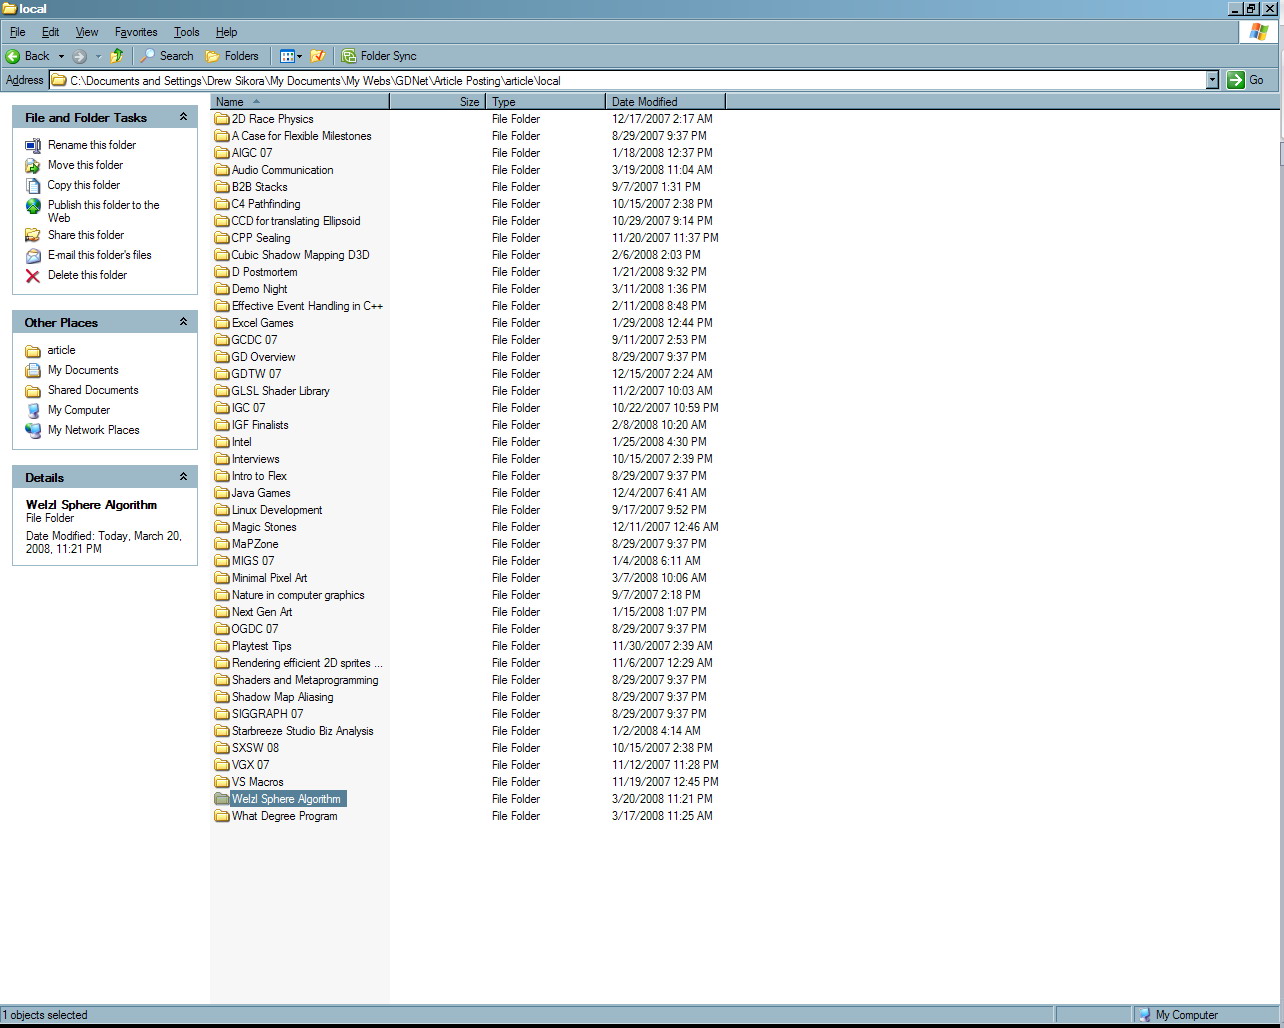
So now what I do is keep local copies of all the files (in a folder called “local”) used to publish every article. Before I publish a new article, I create a folder for the previous one and copy over the relevant files. Then I delete anything in the remote folder that was used specifically in that previous article (images, downloads, etc).
Step four – Ready the workspace
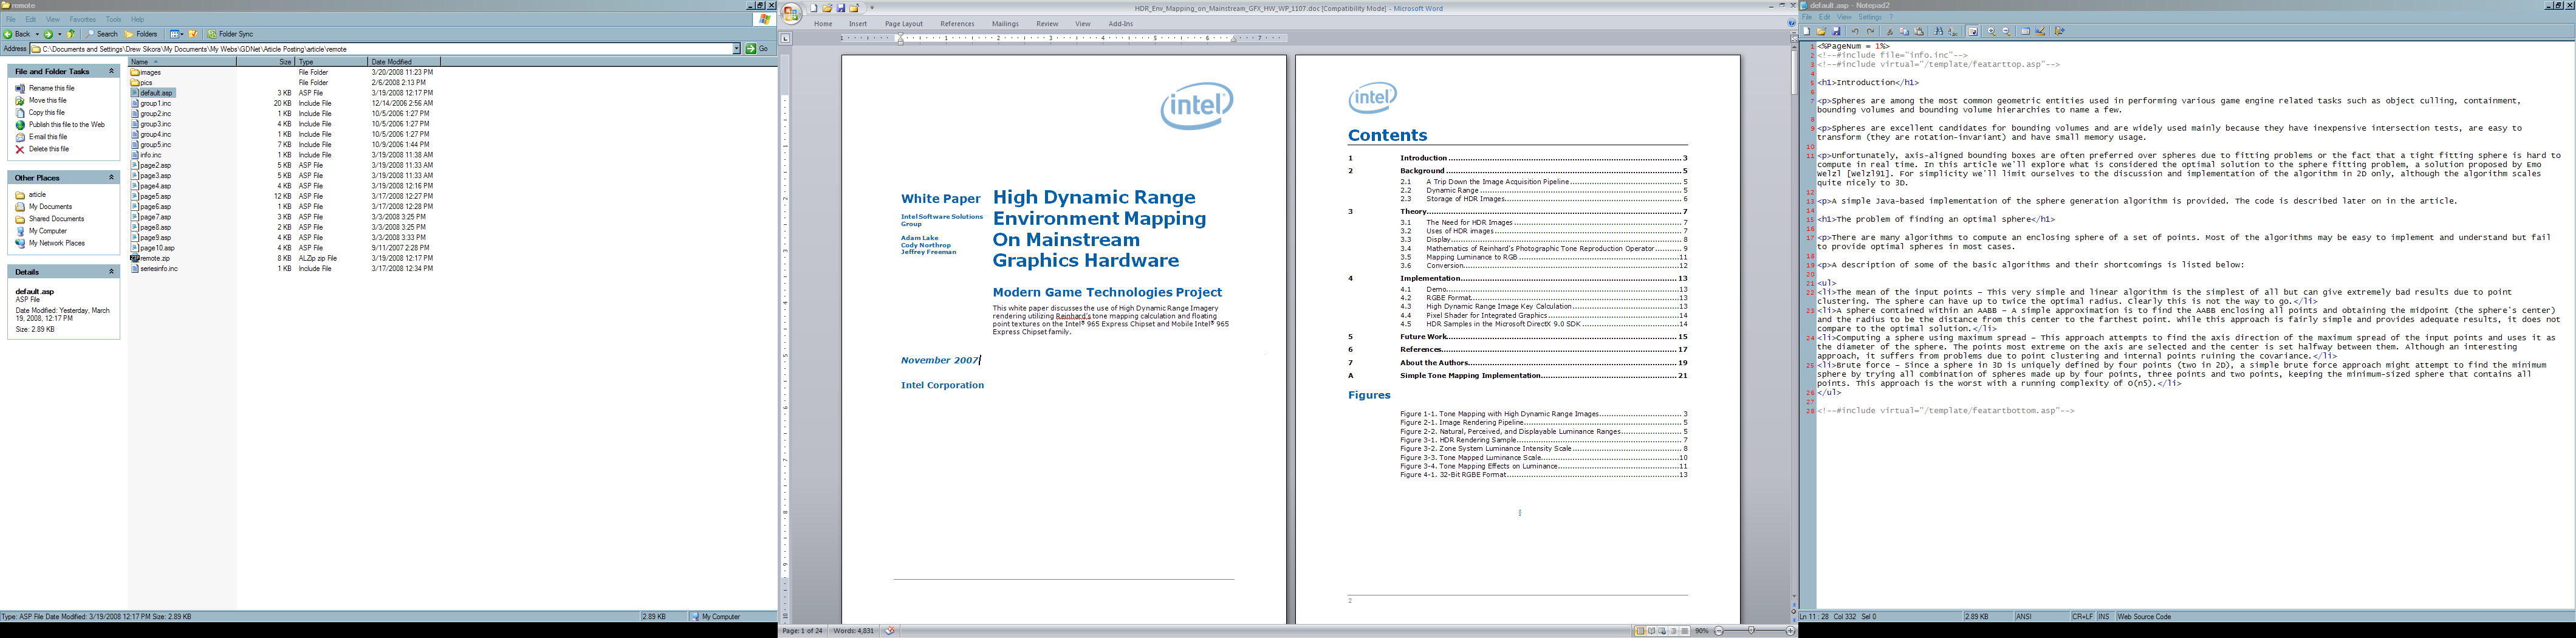
Now it’s time to kick in the triple-monitor goodness. On the left screen I have the Explorer window with all the files and folders that I need for editing purposes. In the center is the Word/HTML/PDF document that I’m using as my copy. On the right is the Notepad2 window where I actually edit the HTML for the article that will appear on the site. It’s like laying out your tools on a worktable. I have everything I need in front of me at all times.
Step five – Pulling the images
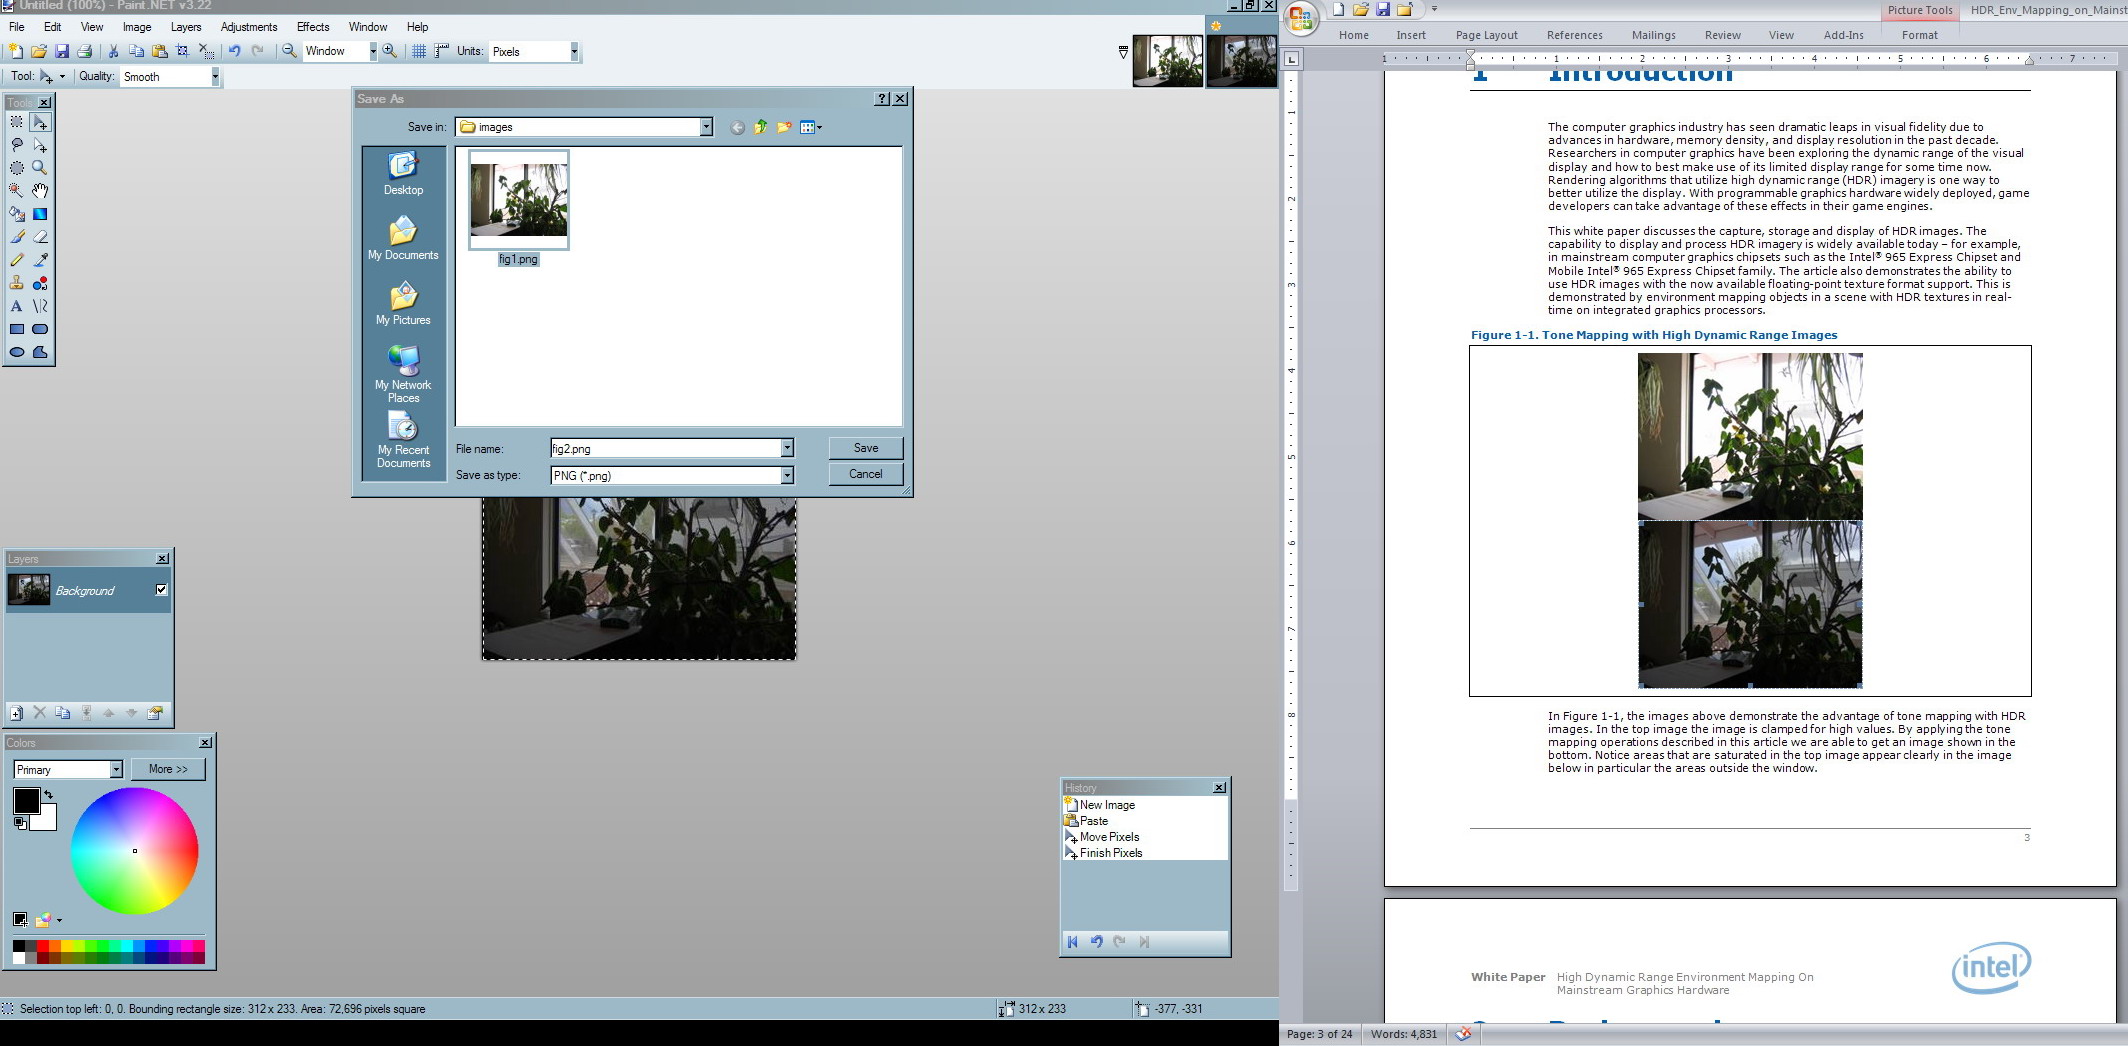
This may seem stupid, but I’ve found in the long run that it actually offers me more control than just telling people “include the images in a separate file”. Simply grabbing them from the original document in the format that they were meant to be displayed in works just as well. With Paint.NET open on an adjacent monitor it’s a simple drag-drop and save.
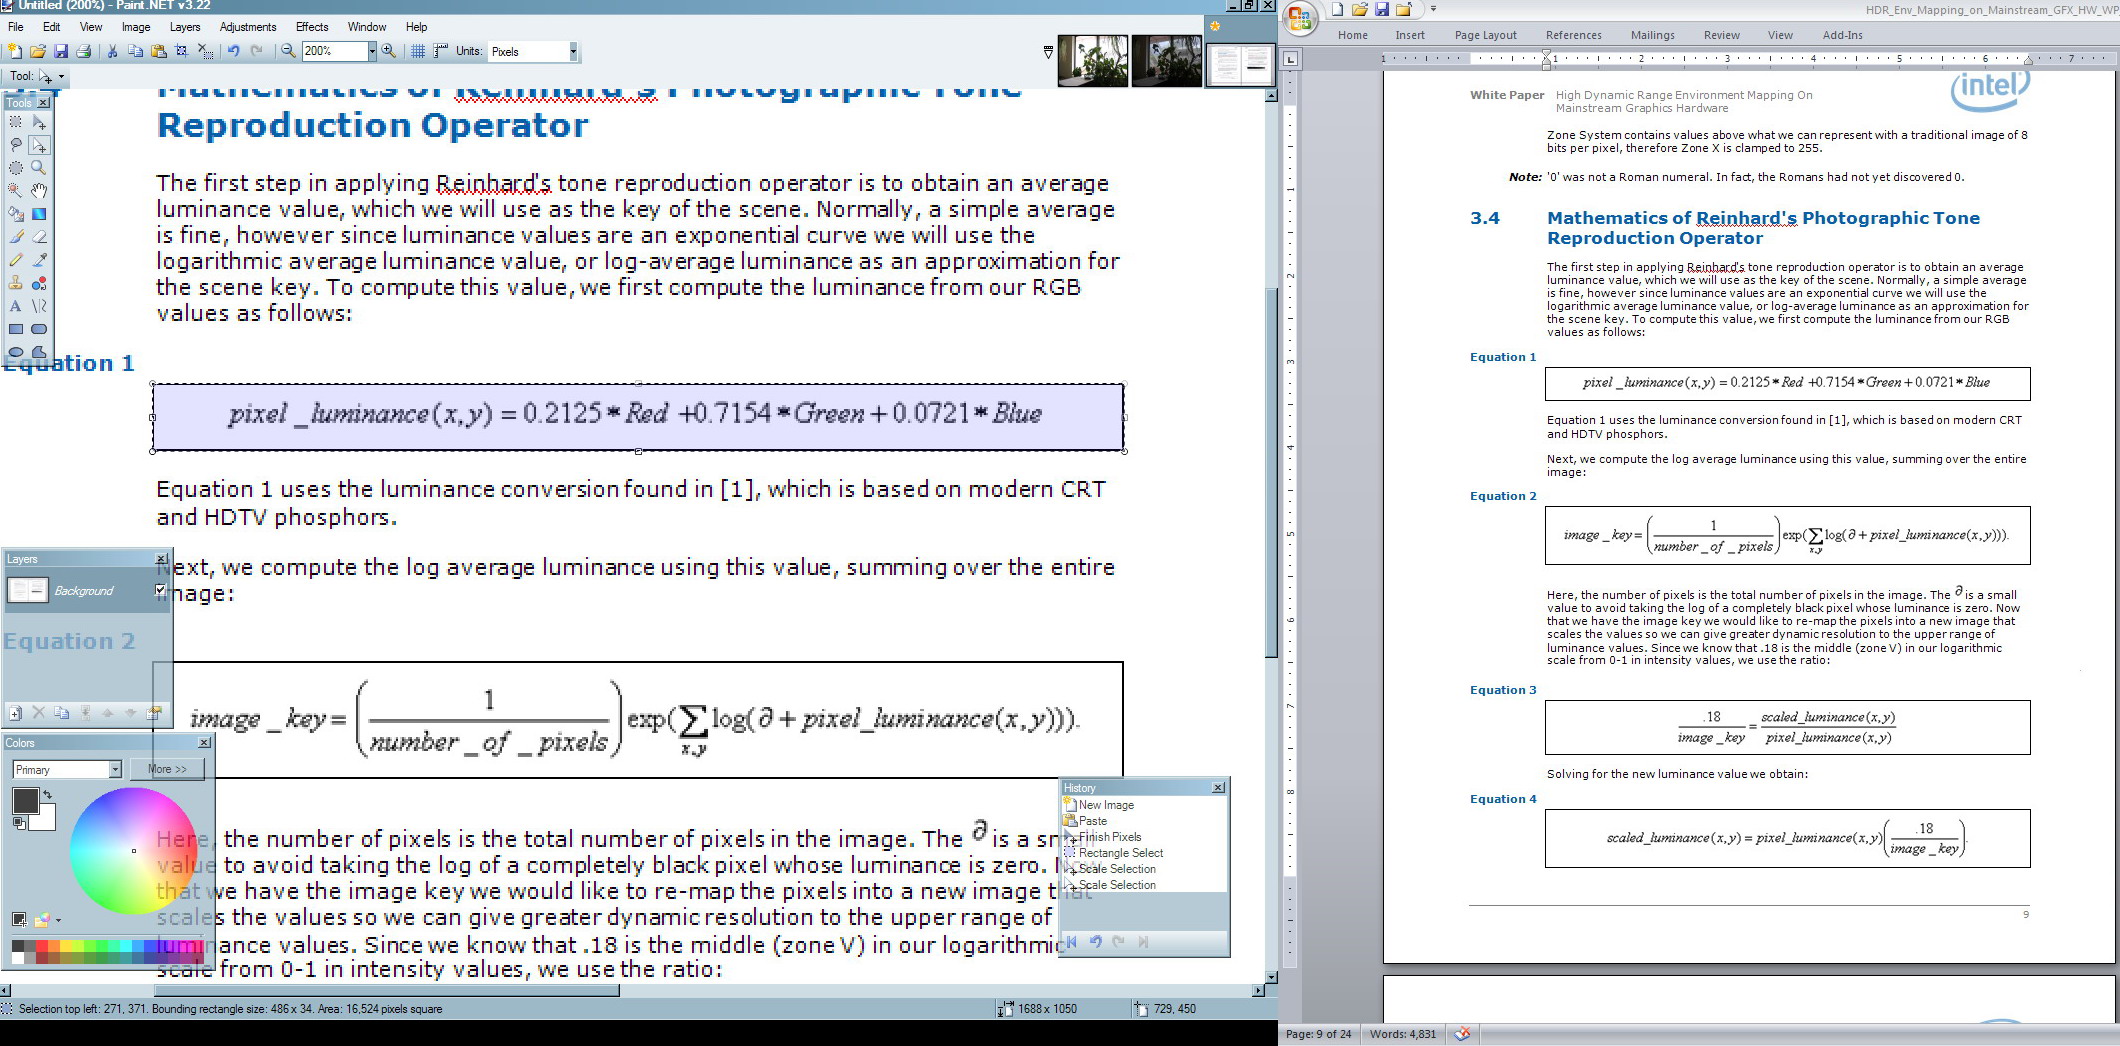
Of course, not everything in a document is an image. When you start getting equations and graphics things get a bit more complicated. The process becomes more involved as I snap a quick Prt Scr shot, paste it in and then save each equation/graphic as a separate image. This isn’t something that happens very often however, and Paint.NET makes this a swift task.
Step six – Formatting the article
Not so hard when I’m working with an HTML document, but the majority of what comes in is in Word format. Besides that, the Featured Article version gets broken up into several sections. The amount of sections and the size of sections is all determined on an article-by-article basis. Some articles are written so that they break down into sections naturally, others I sometimes have to figure out where to break them down. Why do we do this? Simple answer is: ad impressions. The more we have you reloading the page, the more ads we can show. It’s the naked truth. Obviously I have to maintain a balance. I know people don’t want to be flipping through 10-20 pages of one paragraph each, that’s just nonsense. Generally I keep articles between 4-7 pages.

Above is the “translation” of one section of the Word document to the HTML version. I use very basic HTML formatting for expediency, and it’s all done by hand. I’ve tried editors, and they throw in so much extra crap it’s just as easy for me to type it all myself. You’ll notice also that I place a “~” in the image URLs. This will become useful later on.
Each section of the article is its own ASP page. Each ASP page has header and footer code that changes only when I’m creating an article that is part of a series.
I continue the formatting of the document and along the way perform any last-minute edits that I come across that were missed in my initial review before the article was put into the publishing queue.
This step is the longest and most involved process, and varies greatly based on the way the article is formatted and how it is written. Sometimes people format things in Word that simply won’t work well on a web page. Some articles have plain text with no images, they’re obviously the easiest. Others have symbols in the text, equations and graphics (like this article), tables and charts that need converting to HTML tables. Fortunately the fact that I stick to basic HTML, and that it works, keeps things easy.
Step seven – Detailing the article
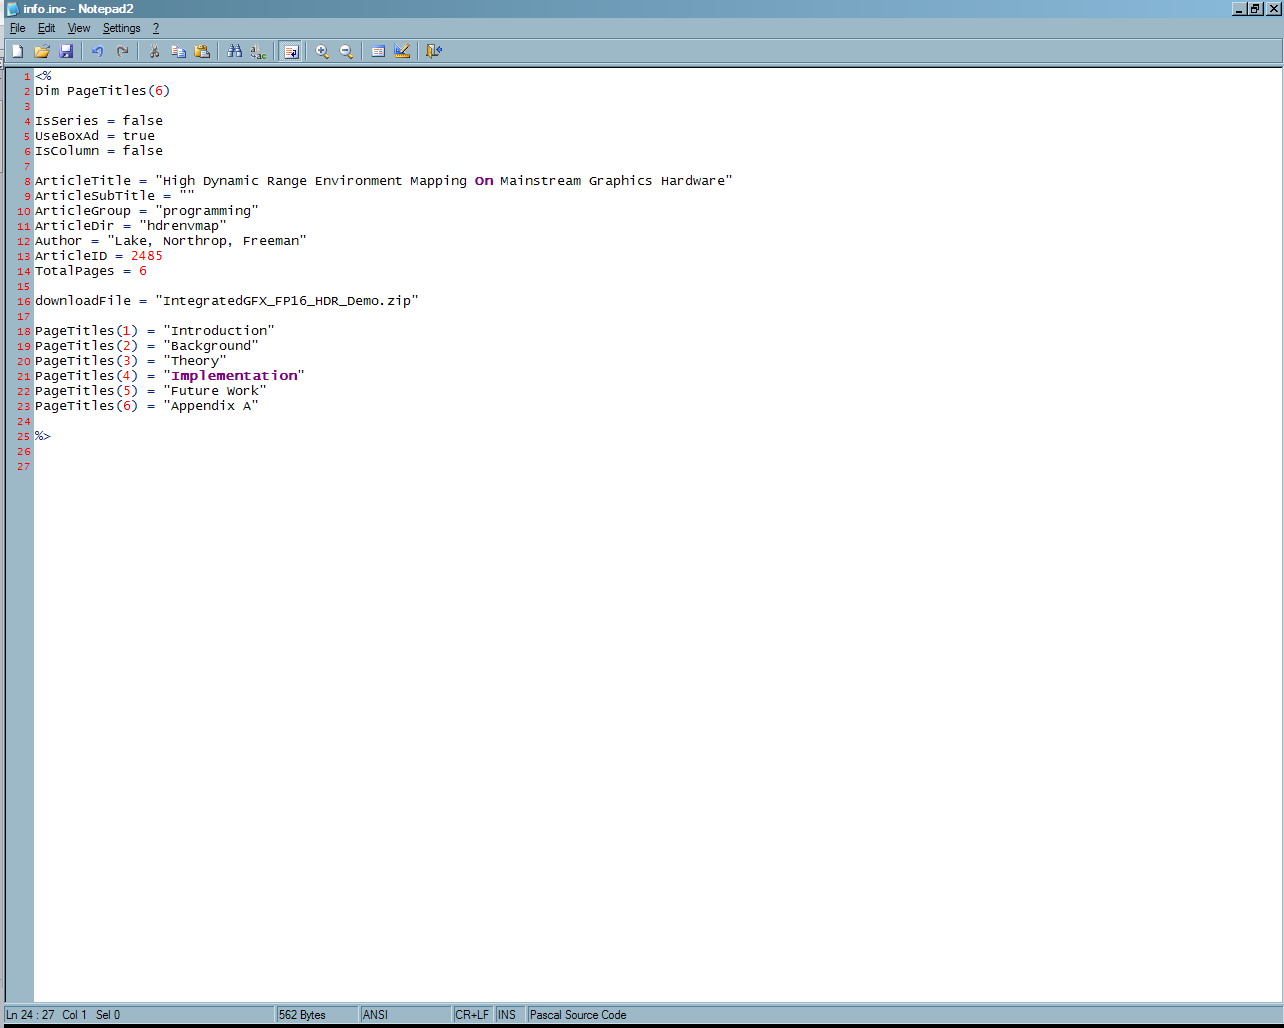
Every article has an include file that contains information the site needs to properly display the Featured Article page. There are several properties in the include file that I need to edit for each individual article.
- IsSeries – false/true depending on whether I want to link this article with any others that belong to a series. If so, I also have to include another file called “seriesinfo.inc” that contains the names of the other articles.
- UseBoxAd – false/true to decide whether this article will show a box ad or a skyscraper ad. I usual change this if one version of the ad throws the formatting out of whack.
- ArticleTitle/SubTitle – This is what you see at the top of each section. This is not what you see on the front page or in the Resources section. It’s an important distinction I have to remember sometimes.
- ArticleGroup – this defines what folder the path with resolve to in order to locate the article on the server.
- ArticleDir – this completes the path generation that resolves the article and is the directory within the Group where the article files are stored. If this article is part of a series, I’ll simply place a number at the end so that it can be linked to previous and future articles of the same ArticleDir name
- Author – pretty self-explanatory, I hope. Again, this is only what you see for the Featured Article pages themselves.
- ArticleID – in this instance, used to link the article to the forums for feedback discussion threads
- DownloadFile – this only exists if there is source code or a demo that comes with the article
The rest of the include file is pretty obvious.
Step eight – Uploading the article (half-way done – whoo hoo!)
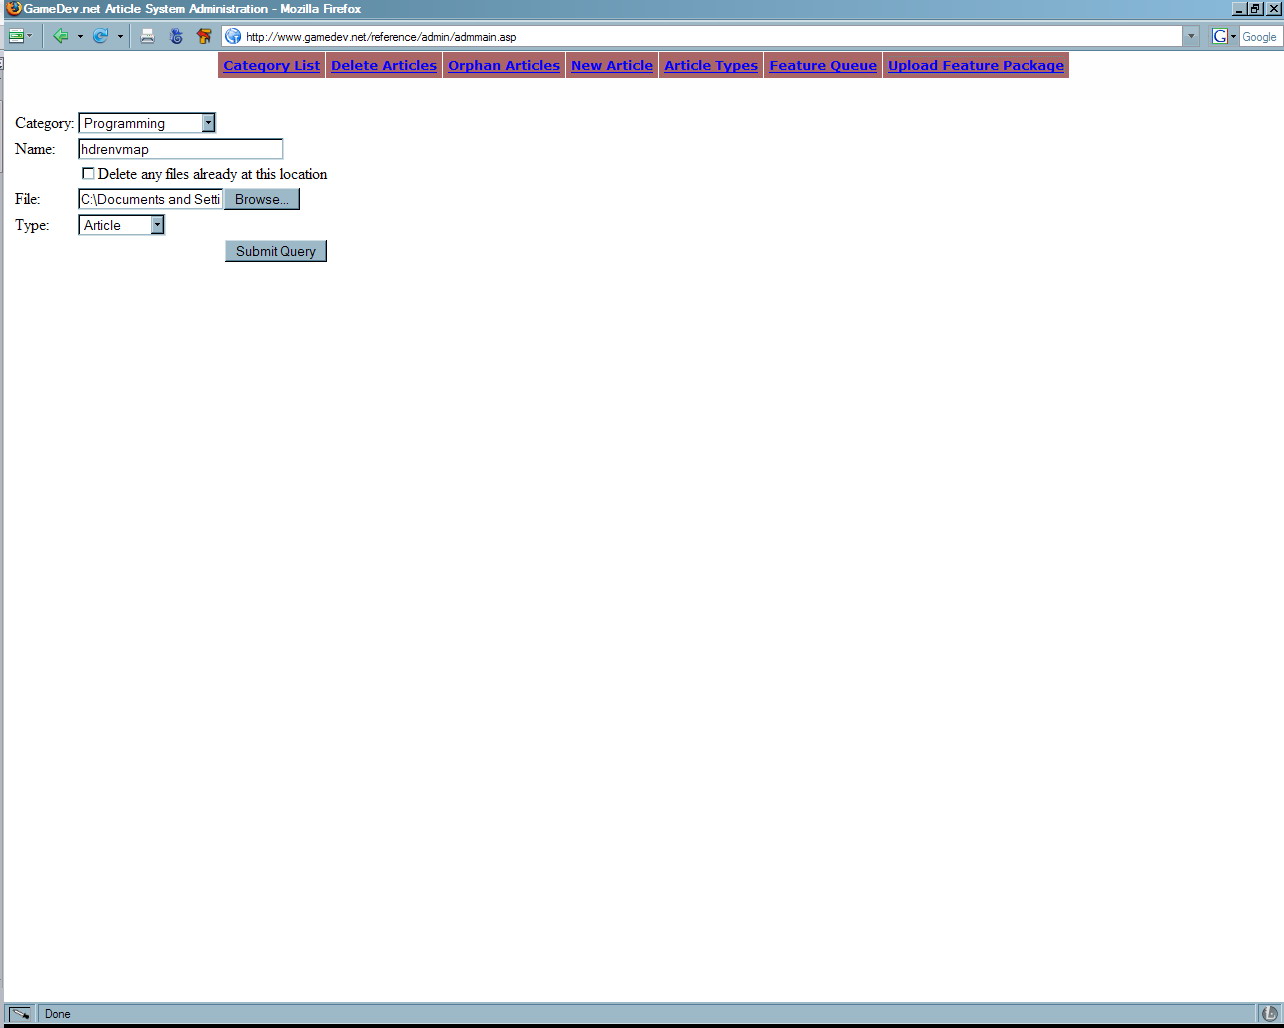
I mentioned earlier that there is no longer direct access to the server. Nowadays instead of FTP’ing in to create a directory and upload the files to it, I simply zip them up, select the Category (which matches the ArticleGroup), plug in the Name (which matches the ArticleDir), browse for the file, designate it as an article upload, and press the Upload button. While I miss the freedom of FTP, I do like this way better, although if it fails for some reason then I have to rush to Tech Support (a.k.a. superpig). That’s hardly often thankfully.
Step nine – Checking the article formatting
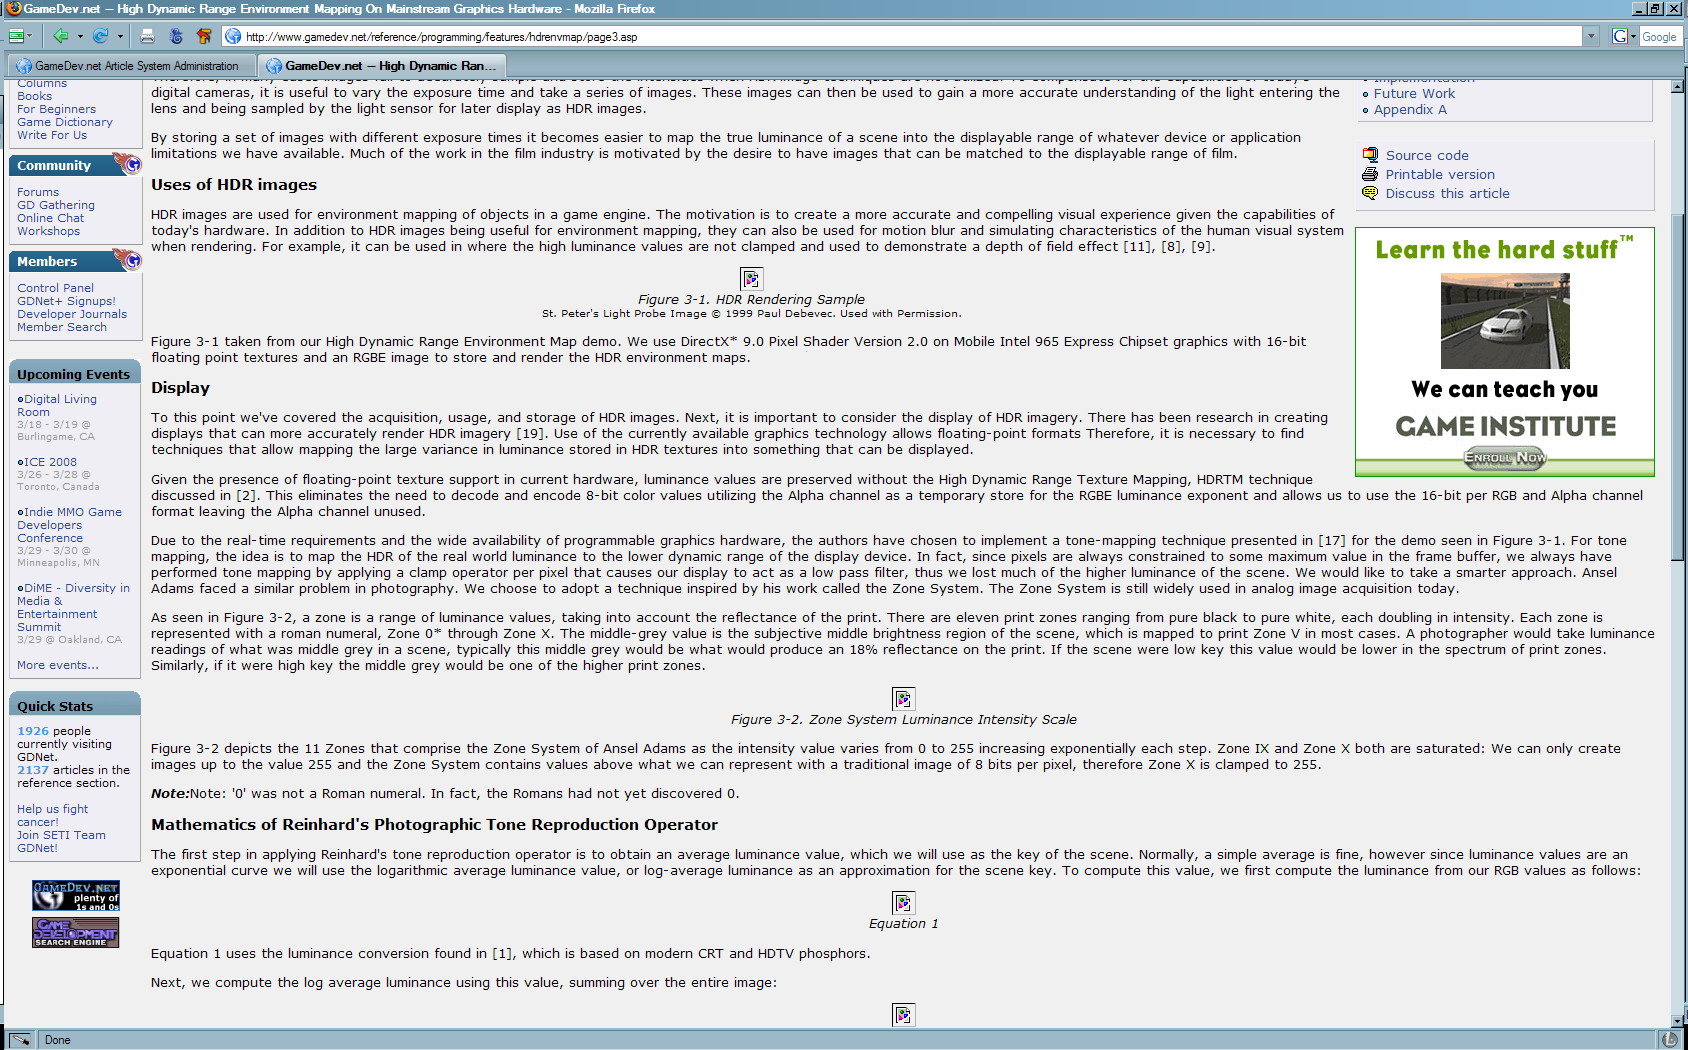
Things are moving along quickly again as I page through all the sections and check to make sure I didn’t miss any closing tags, screwed up some table formatting, etc. I always catch a few minor things that I have to go back into the Notepad2 document to fix, but it’s a simple re-upload that overwrites the existing files and a quick page refresh to check the changes. I still have no images uploaded at this point, because it makes the pages load faster and keeps all the text close together for a faster check through.
Step ten – Image upload
Next to upload to the server are all the images that will be used in the article (if any). The process is exactly that of uploading an article, except I specify that these are images that are being placed on the server, as they go in a separate, mirrored directory since they need to be accessed from both the Featured Article and the print-friendly version. Once the images are uploaded to the server it spits back a URL at me with their location.
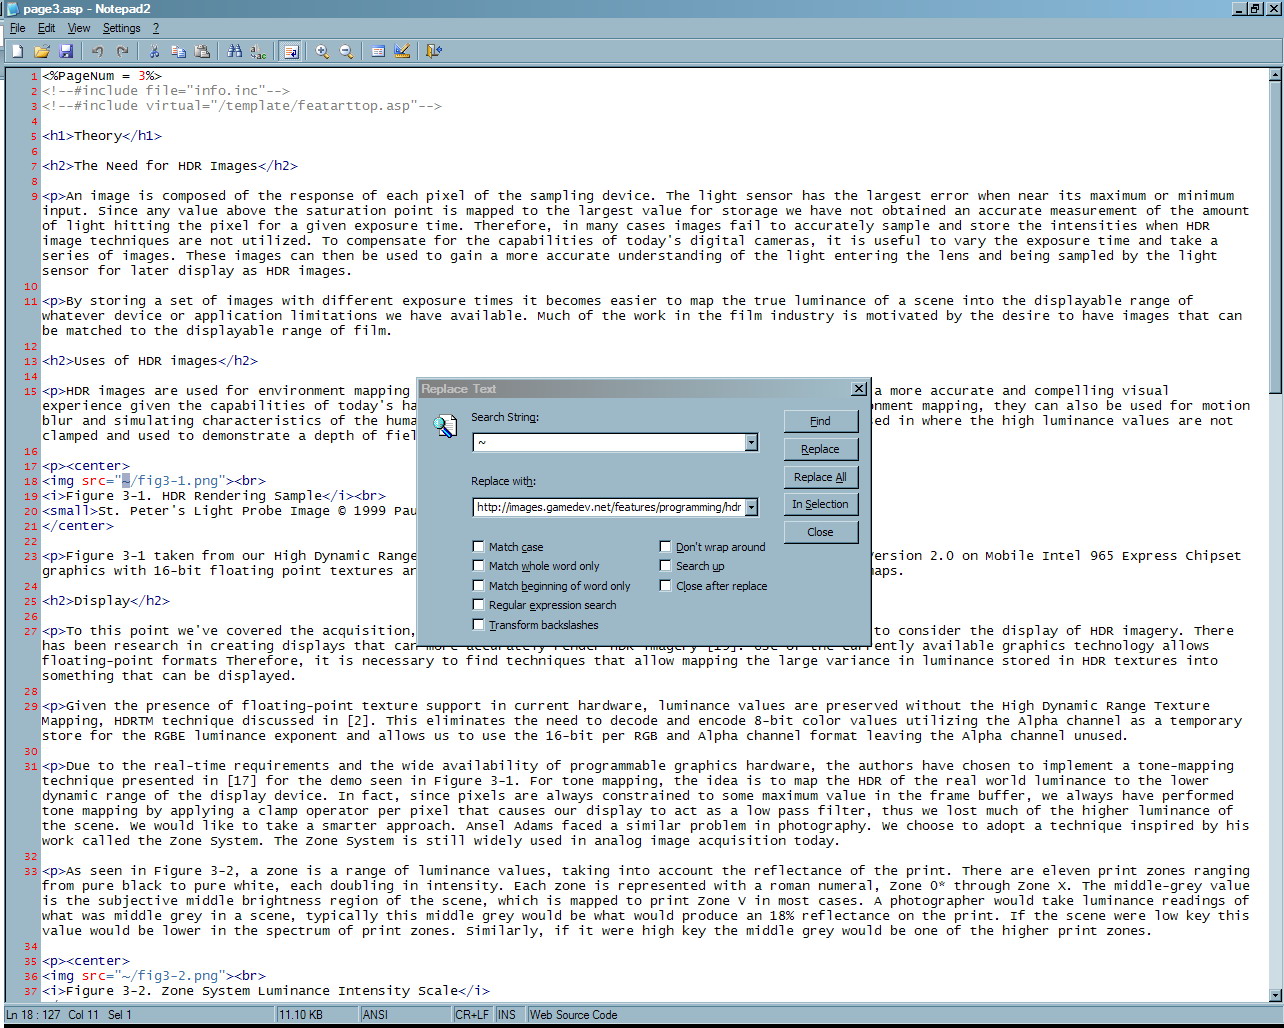
I take this URL and do a simple Find/Replace on all the ASP pages that contain images, searching for that “~” character and replacing it with the path to the images folder on the server.
Once that’s done it’s another quick upload/refresh and I check through the document to make sure all the images are showing up okay. Any that come up broken simply takes me back to Notepad2 to look at the HTML in that page and figure out what the problem is.
Step eleven – Uploading the source/demo
Same as articles and images, I zip up the demo/source archive and upload it to its own mirrored directory (again, to be accessible by both article versions). I save the URL it spits out, although I don’t use it yet. The Featured Article version automatically generates the path to the download using the include file and I check to make sure the Source Code link in the article works properly and that I can download and open the archive and have all the files intact.
Step twelve – Referencing the article
Up until now, no one has known that a new article has been uploaded to the site. Although anyone could see it if they somehow knew the directory name I had chosen for the article, as well as what Group is was in, the chances of that are slim, obviously. So in order to let the general public access the feature, I have to create a link to it in our Resources section. This still doesn’t get it up on the front page, but I’ll get to that in a moment.
First I open up the include file and use that, along with the Google calendar that has the brief article descriptions, to fill out the required fields – Topic, SubTitle (when applicable), Description, and Author. The content of these fields are what you see on the main page and in the Resources section. So if you see an article on the main page entitled “How to Program Code” and click through to find it entitled “How to Pogram Code”, that’s me screwing up the spelling in the include file of the article. This is why I copy/paste straight from the include file – although later edits can still lead to slight discrepancies between the two.
Next I open up each page of the article and copy/paste them (only the HTML body, not the header and footers) one after another into the Article Content box.
Finally, I select which Featured Article category this piece of content falls under. Here I could select any category you see in our Resources section, but if I don’t select a Featured category, it won’t show up on the front page.
Step thirteen – Publishing the article
Once I add the article to the Resources page, I’m able to make sure it pops up on the main page as well. You’ll notice two new fields at the bottom now: Featured URL and Frontpage Icon. The Featured URL is the path to the first page of the article and is what’s hyperlinked from the main page. So any of you who have clicked on a new article on the main page and ended up on, for example, Page 4 – that’s the result of me copy/pasting the URL from the tab where I was reviewing the article and forgetting that I wasn’t on the first page. Whoops.
Obviously the Frontpage Icon is the image you see next to the article on the main page.
You’ll also notice the Date Added box is editable. This lets me either publish an article a few days early and set the date into the future so it doesn’t appear on the main page until it’s scheduled to do so (note however that it will still appear in the Resources section’s Recently Added article list) or modify the date of an already-visible article to shuffle its position on the main page.
The main page article list automatically updates about every hour or so. It used to be static, and I used to have to back up the main page of the site, edit it, and re-upload it over the existing page. Needless to say, it was a nerve-wracking process every single time I had to do that for fear of screwing up the front page for a minute or two until I restored the backup. You know how many people can visit in a minute? Lots 😛 Then of course there was also the fear that I would forget to make a backup!! Glad those days are gone.
Step fourteen – Checking the formatting… again
This time I have to look through the printer-friendly version of the article to make sure I didn’t miss or mess up anything in the copy/paste process. In addition, I also have to add things like links in the text to previous and future articles in a series as well as the source code/demo for the article (this is where that saved URL from Step 11 comes back into play).
You might ask – why add links to a printer version?? Well, these pages get visited by web searchers just as much as the regular Featured pages, and there are no links from a printer version to the Featured version. Even worse, all of the older articles (pre 2007) that weren’t published with the new auto-update and didn’t use the recent Featured URL box from the last step, when clicked in the Resources section brings people straight to the printer version. You’ll find recent articles clicked in the Resources section will properly direct you to the Featured version, but the majority don’t.
So in some ways I have to ensure that the printer version maintains the same level of access as the Featured version.
Step fifteen – Waiting for the feedback
Finally, I click through to the forum thread generated by the publication of the article to double-check that I go the Article ID correct in the include file and also to Bookmark the thread so I can keep an eye on any updates and notify the authors if I need them to respond to anything posted by the readers.
The End
Wow. That’s a helluva lotta crap! Good thing I’m good at it by now. That Intel article took me approx 1.5 hours to complete from start to finish. Of course, the fact that the site was constantly being slow as hell during my upload/proofing/publishing process didn’t help matters at all (you’ll notice it’s much snappier now – thanks superpig!). Generally it takes me about 30-90 minutes to publish an article, although monsters like Rich Grillotti’s latest pixel art series – each article took upwards of two hours to build, and he even sent me HTML versions with separate images.
It’s important to realize that some of these steps I don’t do often, which is why I was happy I had an article that let me demonstrate almost all of them. The only one you didn’t see, but was easily described, was what happens when I’m dealing with an article that is part of a series.
Obviously it’s not the most glamorous of jobs. I have no fracking idea how I still manage to do it 1-3 times a week. No clue. I’m sure normal people would be pulling hair out of their heads screaming “I have to do what?!? Again??”. And to think that this process (even when I started doing it) used to be much more manual like the newsletter publication is. And you wonder why Myopic Rhino got so bad at keeping content flowing on the site? Now you know 😛 When I first picked up this aspect of the job, Dave sent me a Word document 4 pages long to explain to me how to upload an article 
Moving into the future, with the coming of the Wiki and one last major revision to the site, this process will become a lot more streamlined. I won’t be going through three major processes (article copy, format check, publishing) but instead be able to take an article straight out of JIRA, where it was submitted (or by this time, uploaded by me instead of keeping stuff in email) and push it out onto the site and the Wiki.
In the meantime though, this is what I do. Like all jobs, someone needs to do it.
No Comments so far ↓
There are no comments yet...Kick things off by filling out the form below.